Error “Access to the path ‘E:sitesroot is denied” when storing Azure AD’s public key in Web.config of an Azure Cloud Services application.
I have worked on a scenario where a Web Role application which had been working fine for a long time just started throwing the error “Access to the path ‘E:\sitesroot\0\Web.config’ is denied” without any change or update to the deployment:

Looking at the error, it’s a bit clear that for some reason, the Application Pool identity doesn’t have some specific access to web.config file. But if we didn’t make any change to the deployment a few questions start coming into play:
- What is the default Application Pool Identity account for a Web Role?
- What permission access does this account need now?
- Why just now?
These are very good questions and we I will answer one by one:
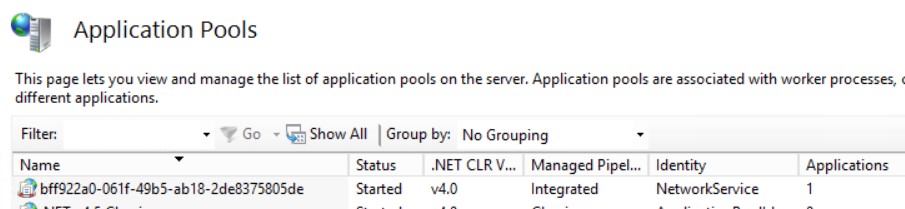
1) For Azure Cloud Services Web Roles, the default Application Pool Identity account is “Network Service”
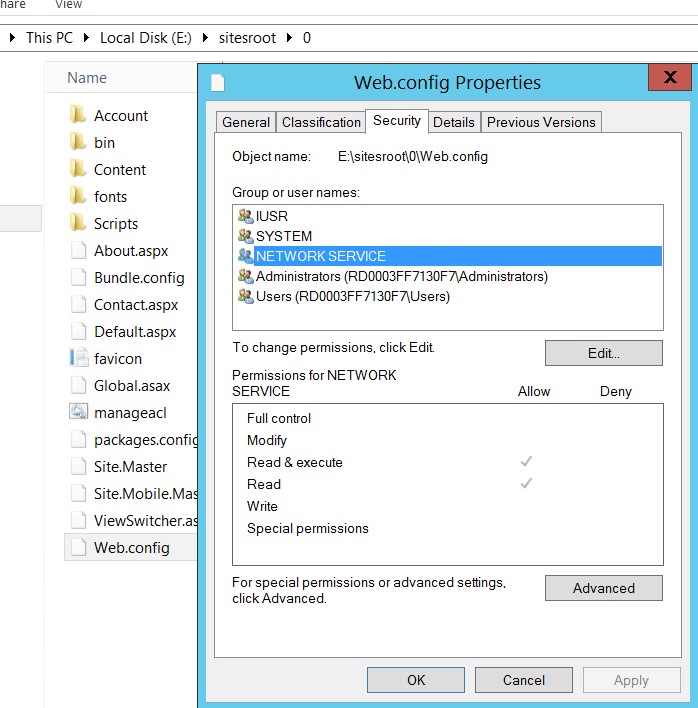
2) In a normal basis the Application Pool account needs read permission over the web.config file so it can read all the application configuration. However, looking into the Security info for this config file inside the instance, we can see Network Service already has read access.
So, what else does this account need? In this specific case, after we analyzed this web.config content we found a block which looks like the following:
<issuerNameRegistry type="System.IdentityModel.Tokens.ValidatingIssuerNameRegistry,System.IdentityModel.Tokens.ValidatingIssuerNameRegistry">
<authority name="https://sts.windows.net/ec4187af-07da-4f01-b18f-64c2f5abecea/">
<keys>
<add thumbprint="3A38FA984E8560F19AADC9F86FE9594BB6AD049B" />
</keys>
Note: The above block was taken from the article Important Information About Signing Key Rollover in Azure AD.
This means the application has a code that writes updated Azure AD’s Keys into web.config file and this operation requires NETWORK SERVICE account to have WRITE permission in the web.config file. If you are not familiar with Azure AD’s public Keys, please see Overview of Signing Keys in Azure AD.
Note: It is recommended that your application cache these keys in a database or a configuration file to increase the efficiency of communicating with Azure AD during the sign-in process and to quickly validate a token using a different key.
Now that we know what is causing, we can manually go into the security tab in the web.config properties and manually give write permission to NETWORK SERVICE account and the application will start working again.

3) Answering the last question, according to this article the code updates the web.config only when there is a change to the certificates. This is probably the first time the code got executed trying to update the web.config file and ran into the issue.
“Once you have followed these steps, your application’s Web.config will be updated with the latest information from the federation metadata document, including the latest keys. This update will occur every time your application pool recycles in IIS; by default, IIS is set to recycle applications every 29 hours. For more context about this update, see Adding Sign-On to Your Web Application Using Azure AD.”
This explain why just now the application ran into the issue, and we also know a workaround for that. However, we must not forget we are working on Azure PaaS Cloud Services and that it is “stateless” which means this manual change will disappear sometime. So what do we do? In this case, the best thing to do is to create a startup task that gives NETWORK SERVICE account write permission in the application web.config file. Please follow the steps below to get this done.
Creating a Startup Task to give write permission to Network Service in the application Web.config file
1) We first need to have the right command line that can get the above task done, and here it is:
icacls E:\sitesroot\0\Web.config /grant "NT AUTHORITY\NetworkService":(w)
Note: You can also test the above command inside of the instance and make sure it’s working. To have more context of the command “ICACLS” review here.
2) Create a cmd file named “manageacl.cmd” with the command from step 1 as its content. (you can name it whatever you want, you will use this file name in the next step)
3) Right click in your application project in Visual Studio and choose “Add Existing Item…” and add the manageacl.cmd file created in the previous step.


Note: Set the “Copy to Output Directory” property of the cmd file to “Copy Always”, otherwise the file will not be copied to the package when you publish it.

4) Add the following to the ServiceDefinition.csdef file under the WebRole:
<Startup>
<Task commandLine="manageacl.cmd" executionContext="elevated" taskType="background" />
</Startup>
Note: We are using taskType “background” because we need the role to be deployed in order to have the web.config file in the E:\sitesroot\0\ directory. If we use taskType=“Simple” the role will not start until this command to run.
5) Publish
After the steps above, you can RDP to your instance and check the security property of the web.config file and you will see that NETWORK SERVICE now has write permission.