How to use Custom Certificate for RDP to Windows Azure Roles
In case you don’t want to use the RDP certificate created by Windows Azure Tools and want to use a custom certificate instead, the following steps will guide you. These steps can also be used in case package is not being published from Visual Studio rather it is being built locally, saved in either Local Machine's Drive or Windows Azure Blob Storage and subsequently published from there.
Here are the steps which are required to get pass the publishing error which you might be running into. You would need to upload the Certificate with Private Key to the portal (when Visual Studio is used this is done in the background).
Detailed steps.
1. In Visual Studio, go to the solution which is being developed.
2. Right click the Web Project -> Configure Remote Desktop -> click on View to see Certificate details (Since I don’t have a custom certificate I will use one create by Windows Azure Tools itself)
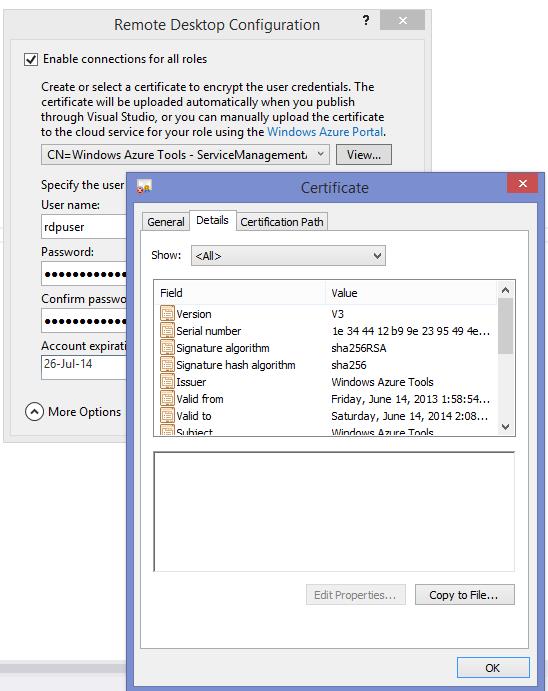
3. Go to Details tab on Certificate -> Click Copy to file.. -> Next -> Select ‘Yes, export the private key’ -> Next -> Continue with default setting and create a password when asked (please refer below screenshots)

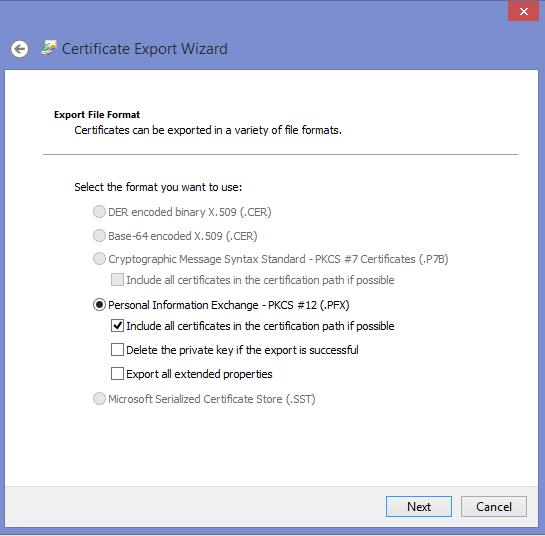
4. These steps will generate a .PFX file for this certificate. Now we need to upload this certificate to the portal (for the respective cloud service)
5. Go to the Azure Management Portal -> Go to the Cloud Service in question -> Certificates Tab -> Upload the newly created certificate (.PFX file)
6. Repeat steps 3, this time with ‘No, do not export private key’ option. This will generate .cer file. You may upload this to the Azure Portal at the Management Certificate section for good measures.
7. Redeploy the package again.