Sending events to IOT Hub over HTTP via REST
As you may know Azure IOT Hub is a scalable transport for communicating with Internet of Things devices. While conceptually what it does is quite similar to Event Hubs it actually supports several more scenarios including bi-directional communication and device specific authentication. Furthermore it supports standard IOT protocols including AMQP and MQTT out of the box. In addition to these protocols it supports an HTTPs based REST interface for communication. When I work with IOT Hub, I almost always find myself using the out of the box SDK, and therefore shielding my code from the underlying transport used.
In a recent project I found myself in a situation where I didn't have the ability to leverage the Azure SDK on the remote device, and therefore had to come up with a different way of communicating with the IOT Hub. I originally considered implementing an extra gateway at the remote site to communicate with the devices and forward messages to the IOT Hub, but this seemed like overkill because the device would literally only be grabbing the message and forwarding it on. No transformation, no aggregation, no filtering, nothing, like I said, overkill. The device in question is capable of communicating over HTTPs, so we opted to use the REST interface for communicating with the IOT Hub, and bypass the need for a gateway altogether.
While the following code is pretty simple in what it does, as doing a post to a rest endpoint should be, the key element of the solution is the device authentication. Since all devices are authenticated you have to get this right or you'll get HTTP exceptions on every call. The key takeaways that I got from security are:
- Use SAS tokens - While each device in the device registry has a primary and secondary key, these keys cannot be used for authentication on the rest endpoint. Only a SAS token can be used.
- The SAS token must be URL encoded - There are some special characters in the SAS token ("/" and "=" are the ones I noticed). To make sure these are handled appropriately they must be replaced with the URL encoded values.
- The SAS tokens must have a time to live - At first I was trying to be clever and use 0 for my TTL, thinking this would be an open ended SAS token.
- The SAS token must be included in a specific HTTP header. - I couldn't find this documented anywhere, and in fact had to use fiddler to examine the packets and see what the header looked like.
Here's the pieces to make all this work:
First we need to define the rest endpoint. The device communication endpoint for sending messages to the IOT Hub is at /devices/{deviceid}/messages/events. To address this in my code I used the following:
string iotHub = "[iothub]";
string deviceId = "[deviceid]";
string api = "2016-02-03";//Build rest endpoint for the device.
string restUri = String.Format("https://{0}.azure-devices.net/devices/{1}/messages/events?api-version={2}", iotHub, deviceId, api);Next we need to generate a SAS token for the IOT device. This can be done programmatically, or using the handy Device Explorer tool included in the SDK to create a device and generate a token. (https://github.com/Azure/azure-iot-sdks/tree/master/tools/DeviceExplorer). There are two things to keep in mind with this tool:
You must enter a valid TTL (> 0):
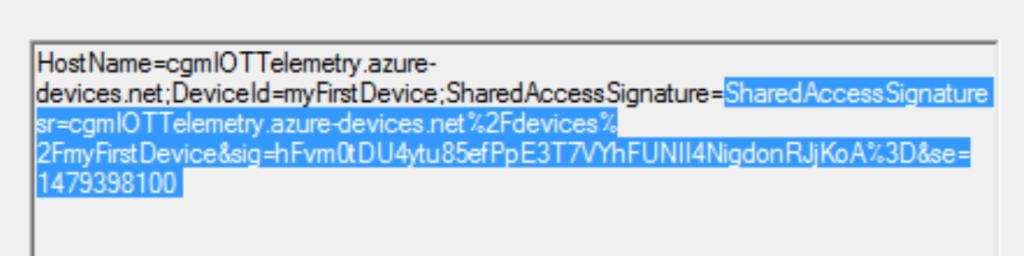
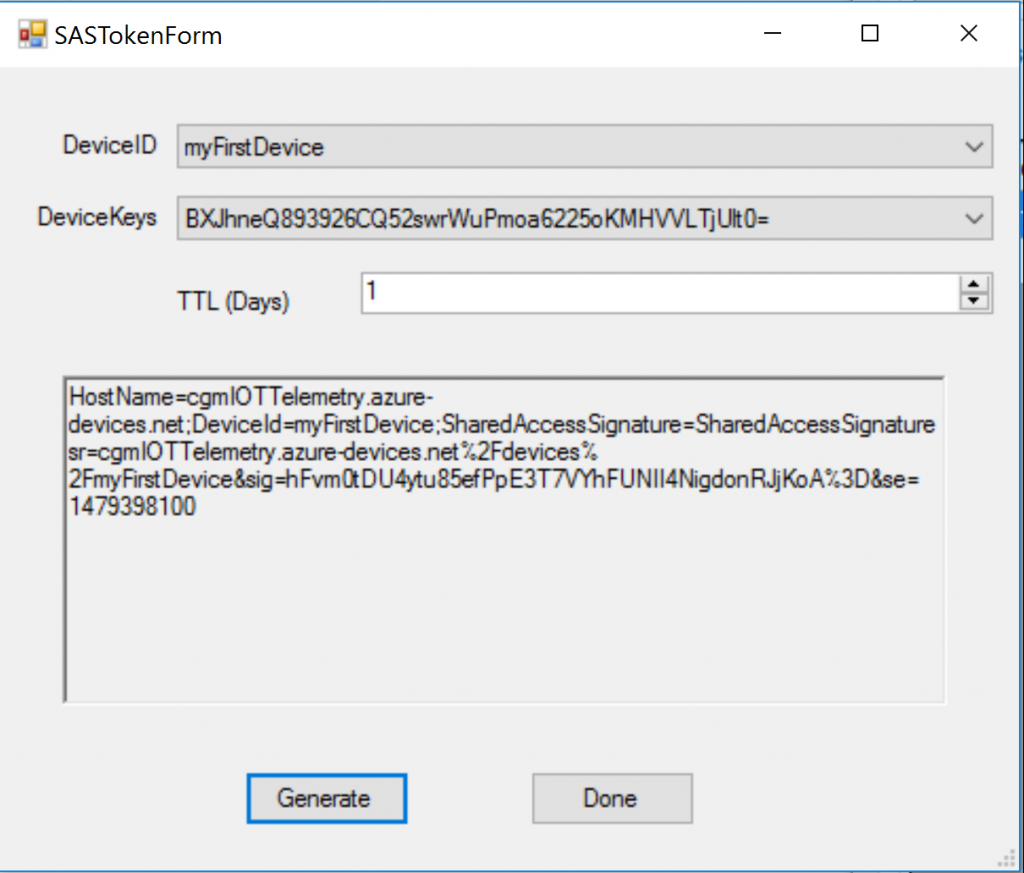 The output contains more than just the SAS token, select the portion of the SAS token after "SharedAccessSignature=", this is the URL encoded SAS token:
In order to package the header appropriately and send the message I used the following code. Here we add the generated sas token and add it to the "Authorization" header. Note the "body" is just any class that is JSON serializable.
string sas = "SharedAccessSignature sr=cgmIOTTelemetry.azure-devices.net%2Fdevices%2FmyFirstDevice&sig=hFvm0tDU4ytu85efPpE3T7VYhFUNII4NigdonRJjKoA%3D&se=1479398100";
HttpClient client = new HttpClient();
client.DefaultRequestHeaders.Add("Authorization", sas);var content = new StringContent(JsonConvert.SerializeObject(body), Encoding.UTF8, "application/json");
var result = client.PostAsync(restUri, content).Result;
Once all this is complete, you have a very basic authenticated call to the IOT Hub's REST endpoint. What's nice about this is unlike event hub, each device is authenticated. Therefore, if you have a problem with a specific endpoint you can disable it and/or regenrate it's keys and tokens without taking all your other devices offline. I wrote this code in C# because I'm most efficient in that language, but I hope you see that all we're doing is adding a specific authorization header and sending a json payload to a URL via an HTTP Post. Any language that can do an HTTP post, and add a string to the header can do this same logic.
As usual I've included this code in my github at: https://github.com/chmitch/azure-iot-send-via-rest