Visual Studio Code for Mac developers: Introduction to Extensions
Starting with Visual Studio Code beta (0.10.1 version), developers got a chance to use extensibility features there. You can use Visual Studio Code marketplace to download and install already created extensions or you can develop your own extensions using JavaScript or TypeScript.
Let’s start our overview with ready to use extensions that you can find in the marketplace. During the Connect 2015 conference Microsoft announced a single site, there you can download extensions for Visual Studio, Team Service and Visual Studio Code. Visiting Visual Studio Code page, you can find lots of extensions there that allow you to add support for new languages, install new themes, activate debugging features for some frameworks and so on.
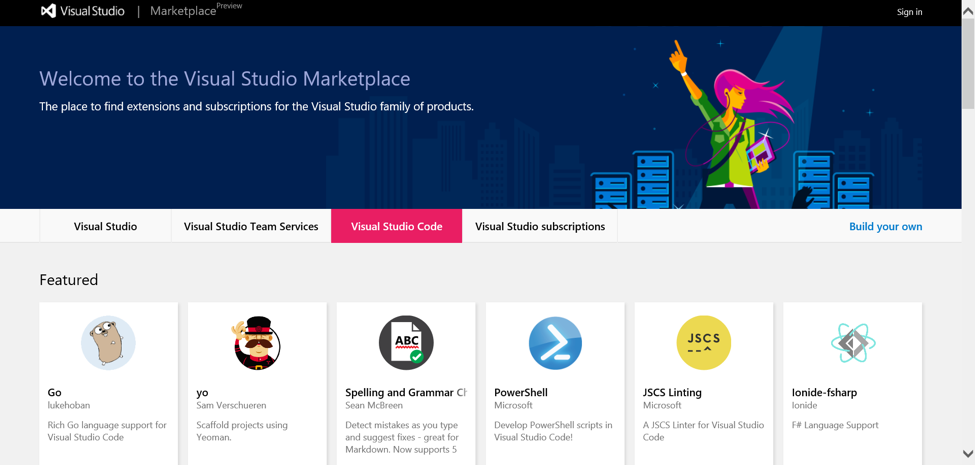
Of course, the extension library is not full yet because it’s just announced but you will see many new extensions soon or you can develop and add own extensions there. For example, you can visit https://taco.tools/vscode to get more information about VS Code extensions for Apache Cordova that is not available yet but should be published soon.
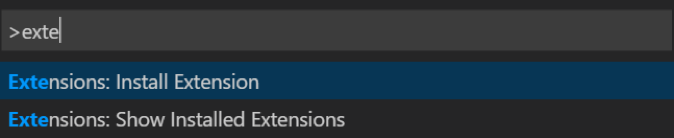
In order to install an extension from the library, you can use Command Palette window in Code and execute Install Extension command there.
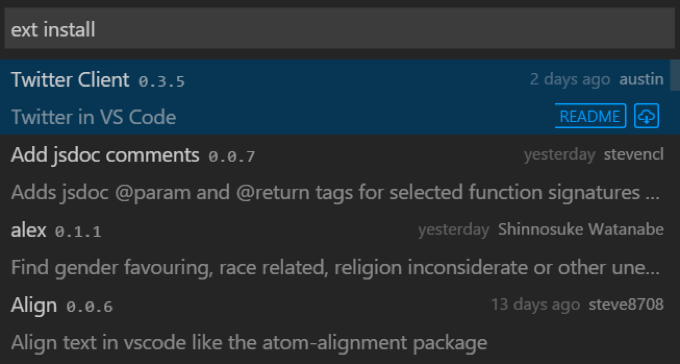
Once you select the command, Visual Studio Code will download list of extensions and you can select any of them just scrolling the list or start typing a keyword to filter the list.
Once the extension is installed, Code will propose to be restarted and you can start using the extension. Depending on the activation type, the extension can be invoked automatically once you select a file or a folder or using a command in Command Palette. Here are several extensions from the library:
- PowerShell extension – add PowerShell language support for Code including lots of code-snippets, IntelliSense, integration with online help, local scripts debugging etc. This extension is a very good example of how to add a new language support with lots of features there;
- Debugger for Chrome extension – by default Code supports just Node.js and Mono debuggers but there is no way to debug a web site that you can develop in Code. This extension resolves the problem by adding integration with Chrome debugger. Therefore, you can start and debug your web site directly from Code and use all debug features there;
- Go language support – one more good extension that shows how to add one more supported language to Visual Studio Code. Using this extension, you can find many snippets there, build-on-save support, integration with debugger and lots of editor features;
You can list all the installed extensions using Command Palette window and Show Installed Extensions commands.
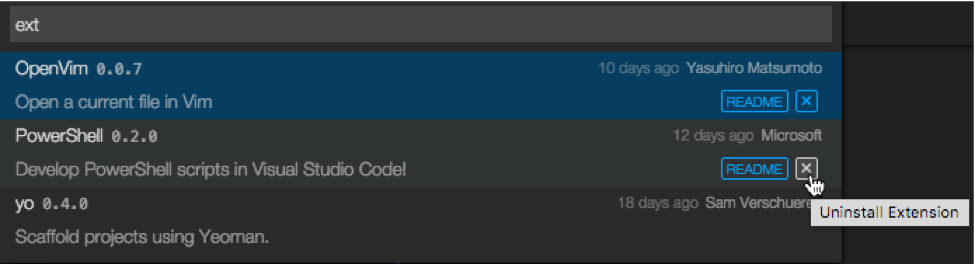
But if you are looking for a physical location for your extensions, you can open $HOME/.vscode/extensions folder on Mac and Linux or %USERPROFILE%\.vscode\extensions on Windows devices. Using these folders, you can remove any extension manually or check bits to increase your knowledge about extensions structure. If you have some extensions that are not published to the library you can use these folders to install the extensions manually.
If you want to create own extension you can use Yeoman tool that allows you to scaffold a new project. In order to do it you can use Node.js package manager executing the following commands:
sudo npm install –g yo
sudo npm install –g generator-code
Once Yeoman and the generator are installed, you can start working with Yeoman:
yo code
Executing this command, you have to select a language that you are going to use (JavaScript or TypeScript):
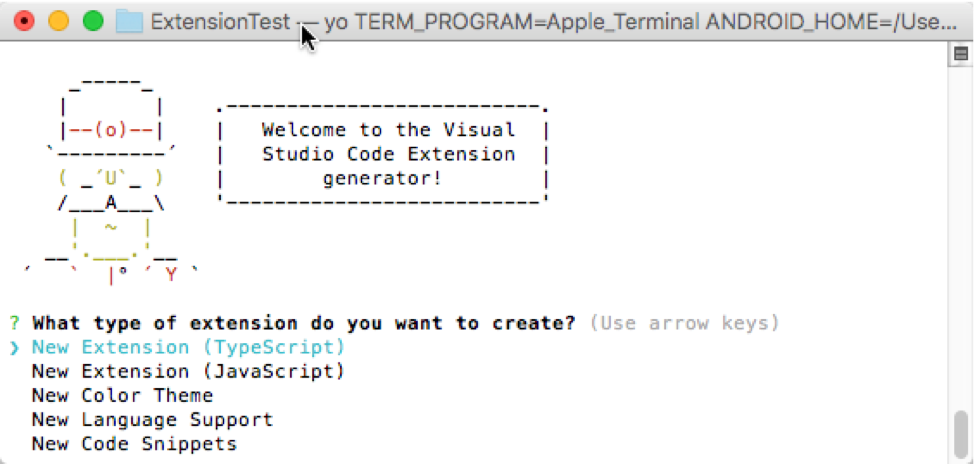
Right after that you have to select a name for the extension, provide a description and your publisher name and Yeoman will create all needed files for you. The generator creates up to hundred files, so we would not recommend to create or add them manually. In general you will work with package.json and extension.ts (or .javascript) but the project contains lots of supporting files: TypeScript definition files in order to support IntelliSense system; a template for unit tests; Node.js modules that allow you to get access to Visual Studio Code object model; some configuration files for the project; launch.json file that allows you to debug your extension directly from Code.
Pay special attention that in case of launch.json, Code contains two configuration elements that allow to debug the extension or launch and debug unit tests:
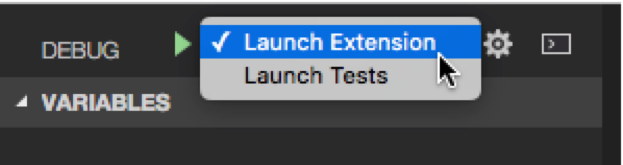
In both cases, the debugger will activate one more instance of Visual Studio Code and connect to that remote instance which is really helpful in case of complex plug-ins.
In the next parts we will discuss some ready to use extensions.