Visual Studio Code for Mac developers: How to deploy your site to Microsoft Azure
Using Visual Studio Community you can find some features that allow to make deployment to Azure directly from Visual Studio. Even though Visual Studio Code doesn’t have any integration with Azure there are still some opportunities to deploy your project to Microsoft Azure with minimum effort.
To start working with Azure you need to have an Azure account. You can request a trial account visiting https://azure.microsoft.com or using other ways like BizSpark, DreamSpark and MSDN subscription. In any case we assume that you have Azure account and have access to the management portal using https://portal.azure.com.
To make some experiments with Azure you can simply create a project that contains a single html file. Later you can create node.js or ASP.NET projects but the idea there remains the same.
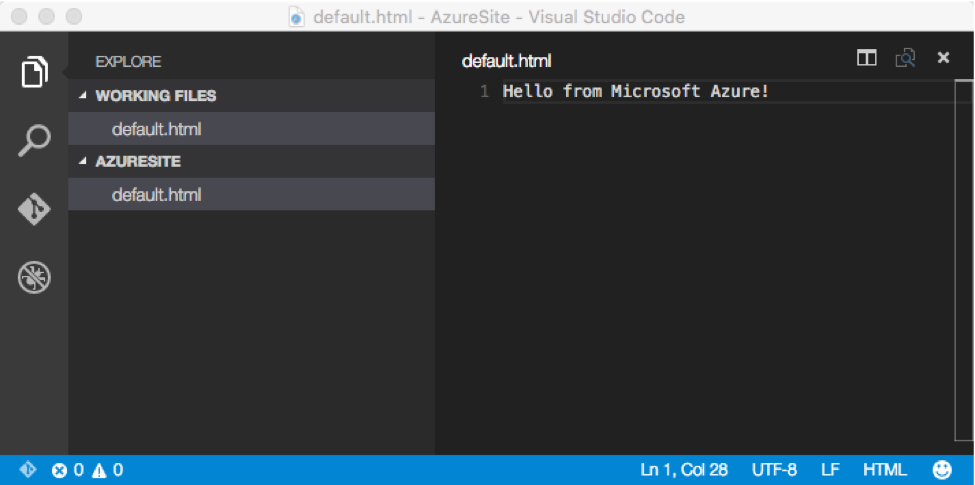
Before starting to work with Azure portal you need to open Git view and initialize local git repository.
Microsoft Azure supports old and new portal. Because some new features are not available in the old portal I propose to use a new one. So, open management portal using https://portal.azure.com/ and create a new Web Application there:
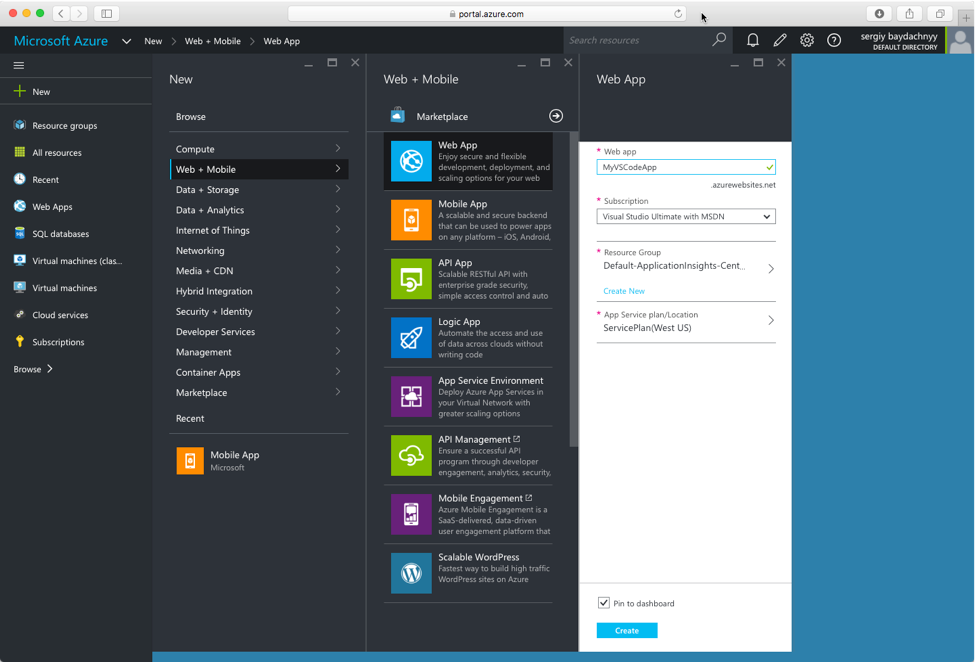
Thanks to Web App template you can easily create a hosting storage for your site and deploy there almost anything including PHP, Node.js, ASP.NET and other applications.
Once the empty web site is deployed, you can open Settings and start configuring the deployment:
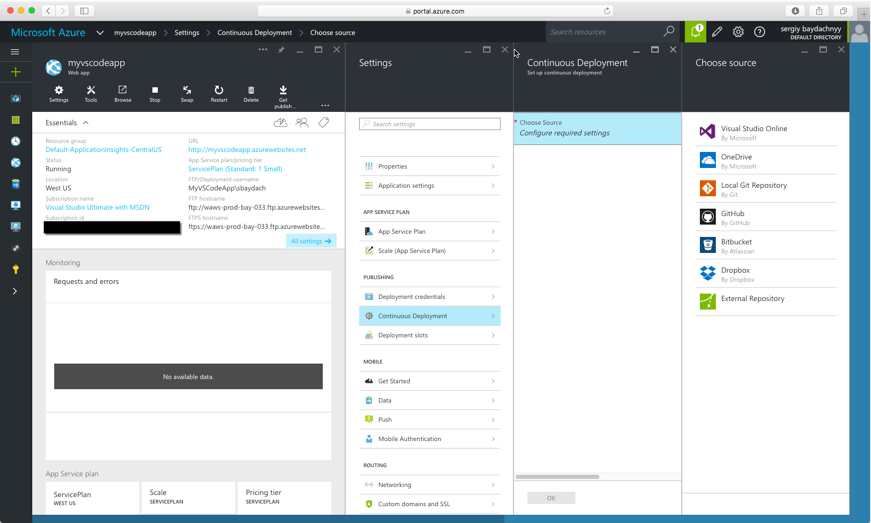
You can see that Microsoft Azure supports several different sources. You can get your source code from OneDrive or Dropbox but it also supports local Git repositories, GitHub and Visual Studio Online. Because Visual Studio Code supports the last three things you can select any of them.
For our demo, it’s better to select Local Git Repositories. So I suggest to select this option and click OK. You can see that Azure will add Git clone URI to the configuration of the site:
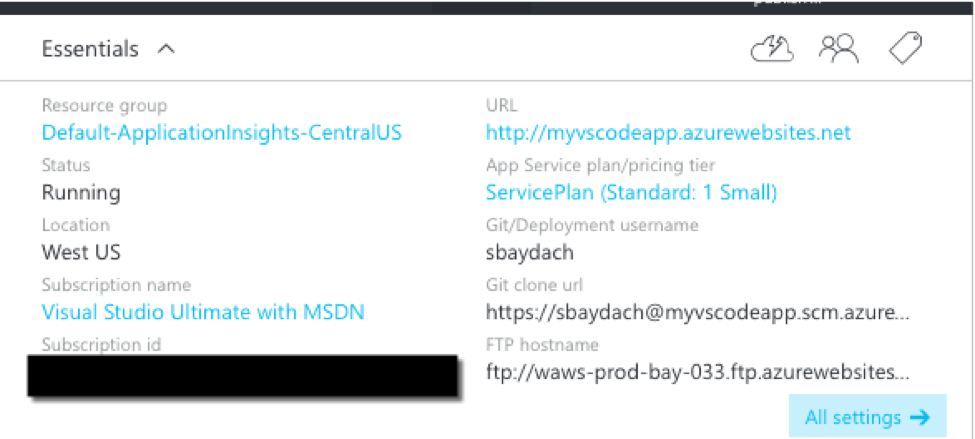
Pay special attention that in order to start working with Git you need to setup FTP deployment credentials. In my case I did it for my previous sites, so it’s there but if you didn’t setup the FTP credentials you need to visit Settings and provide credentials using Deployment credentials tab.
Once the credentials are ready you can continue Git setup on the local machine. In order to do it you need to copy Git clone url from the Azure portal and let’s open Terminal window in context of the working folder.
Because we already initialized local Git repository, we can associate it with our remote repository and push the initial commit. In order to do it you can call the following commands:
git remote add azure <url>
git push –u azure master

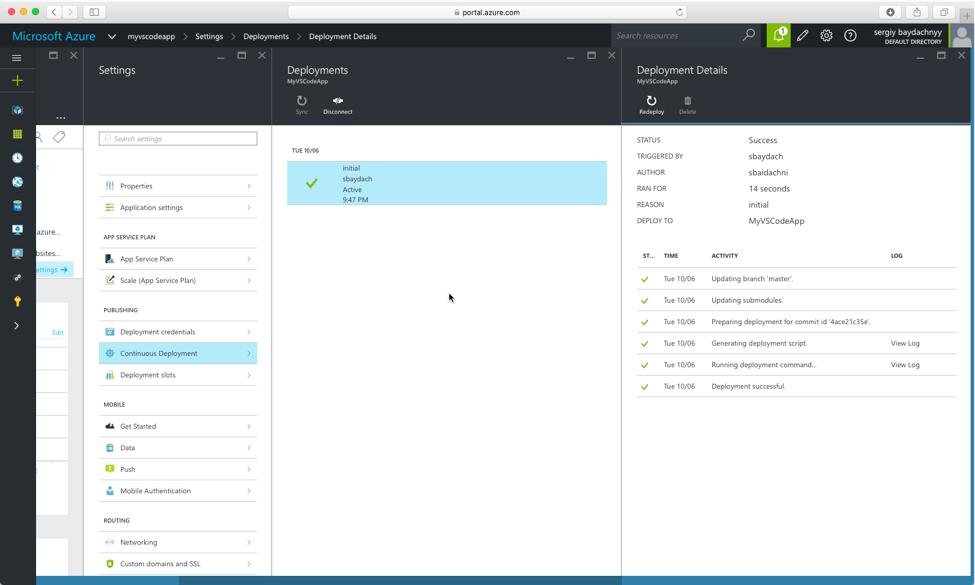
If everything is OK you can find your deployment open Continuous Deployment tab:
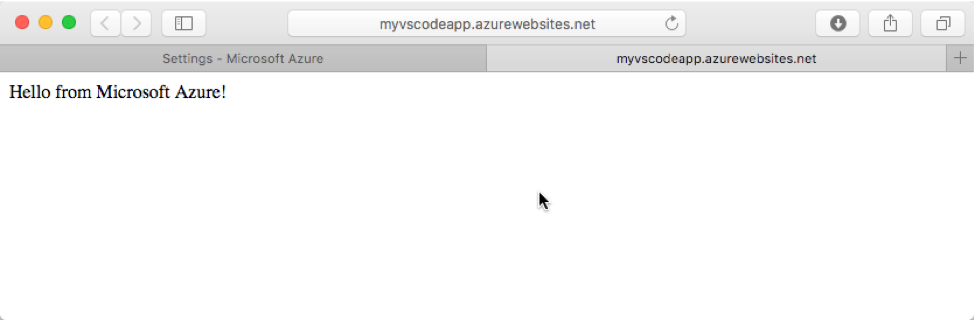
And you can use the site url to open the web site:
Right after initial commit you can close Terminal window and continue to work with Code, making all Git activities directly from there.