Visual Studio Code for Mac developers: How to install
Today I am going to start a series of posts about Visual Studio Code for Mac developers. Visual Studio Code is a new, lightweight integrated developer environment which supports more than dozen languages like TypeScript, JavaScript, C#, and supports lots of different features including debugging and integration with source control systems. Additionally, Visual Studio Code is built based on Open Source software.
We will discuss different aspects of the tool including supported languages and frameworks, and show how to integrate Code with other tools like Git, Unity3d, Visual Studio Online etc.
When writing these posts I used the cheapest version of Mac mini but you can use Code on any Mac device because it’s a very lightweight tool, which is fast, powerful and doesn’t require much resources.
Before doing something with Code, we need to install it. You can do it visiting https://visualstudio.com site where Microsoft publishes important links for software developers.
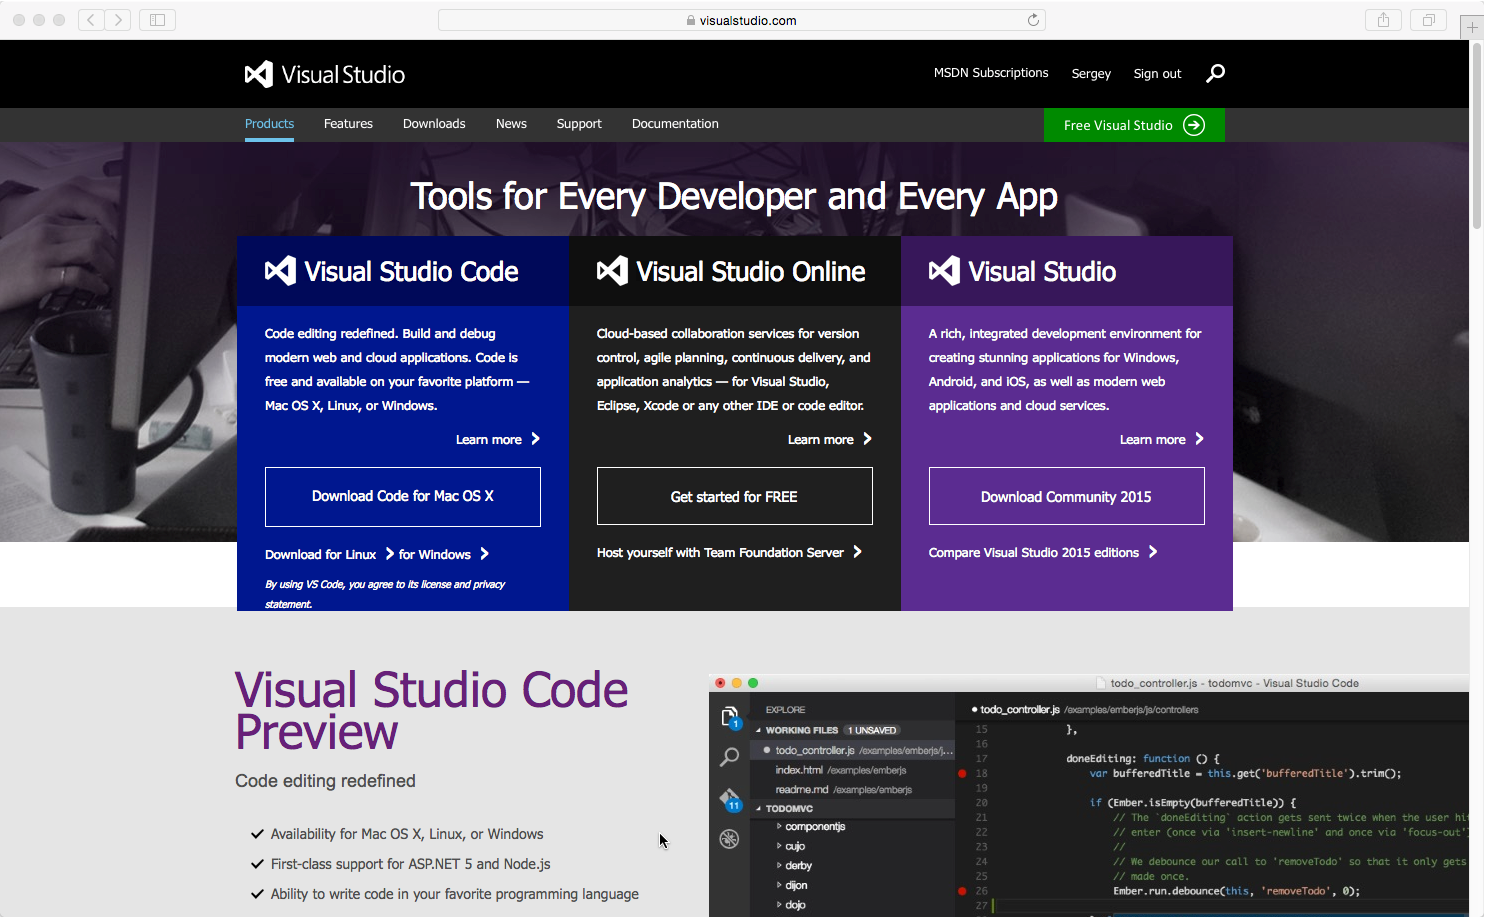
Of course, not all tools you can use on your Mac but Visual Studio Code and Visual Studio Online together allow you to work as indie developer or as a member of a great team using source control, task tracking, team dashboard and many other features.
We are going to discuss Visual Studio Online integrating in the next posts but right now you can click Download Code for Mac OS X link and wait for some time until the package is downloaded.
While the package is downloading you can check Code documentation where you can find information about editor features, supported languages and frameworks.
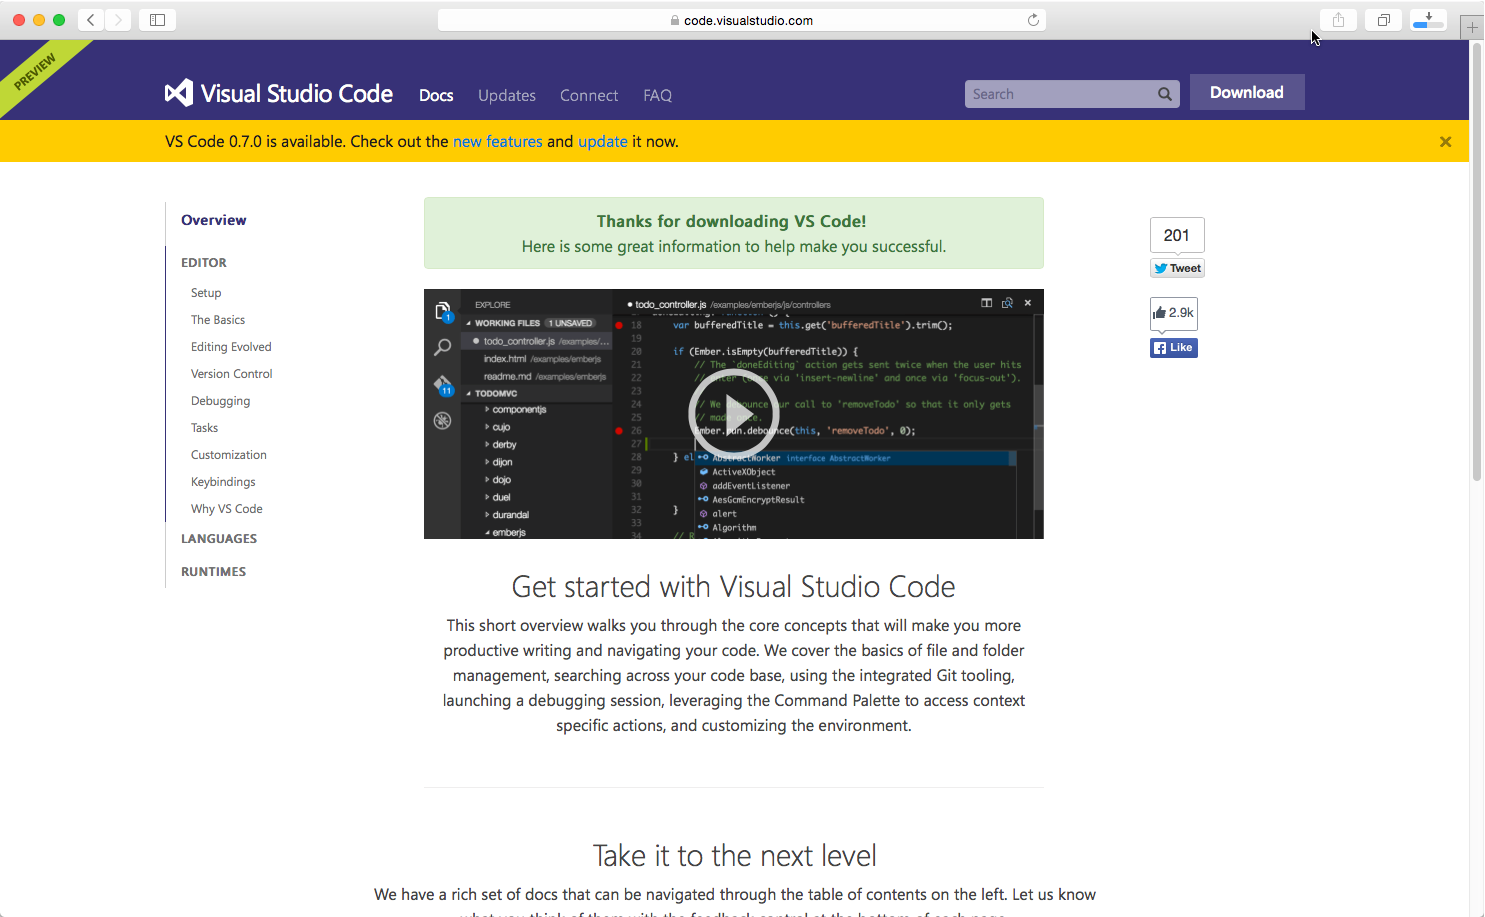
Pay special attention that right now Visual Studio Code is in preview version, and Microsoft adds lots of new features in each new version (release). For example, in version 0.8.0 you can find some features for Objective-C and Swift. Anyway, I hope that Code team will not remove already existing features, so we can discuss them, and once new version is available, I will publish some posts about new features there.
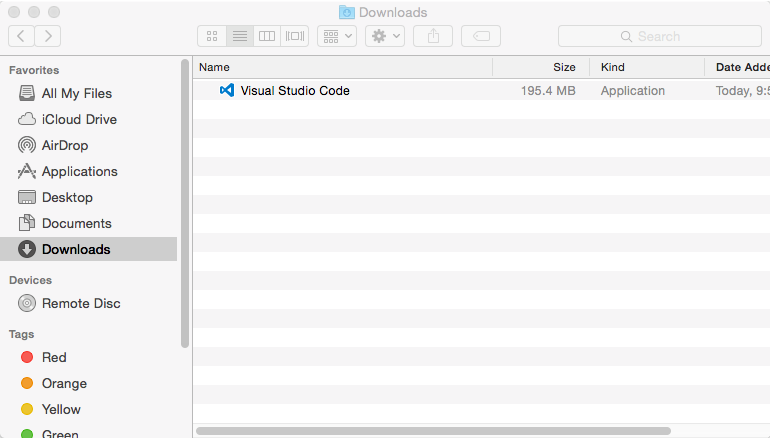
Once Visual Studio Code is downloaded, open Finder and just copy the package from Downloads to Applications folder.
That’s all and you can run Code and, if you want, place it in Dock panel. You can see that Code is a “folder base editor”, so you can open any folder on your disk and start working with any files and subfolders there.
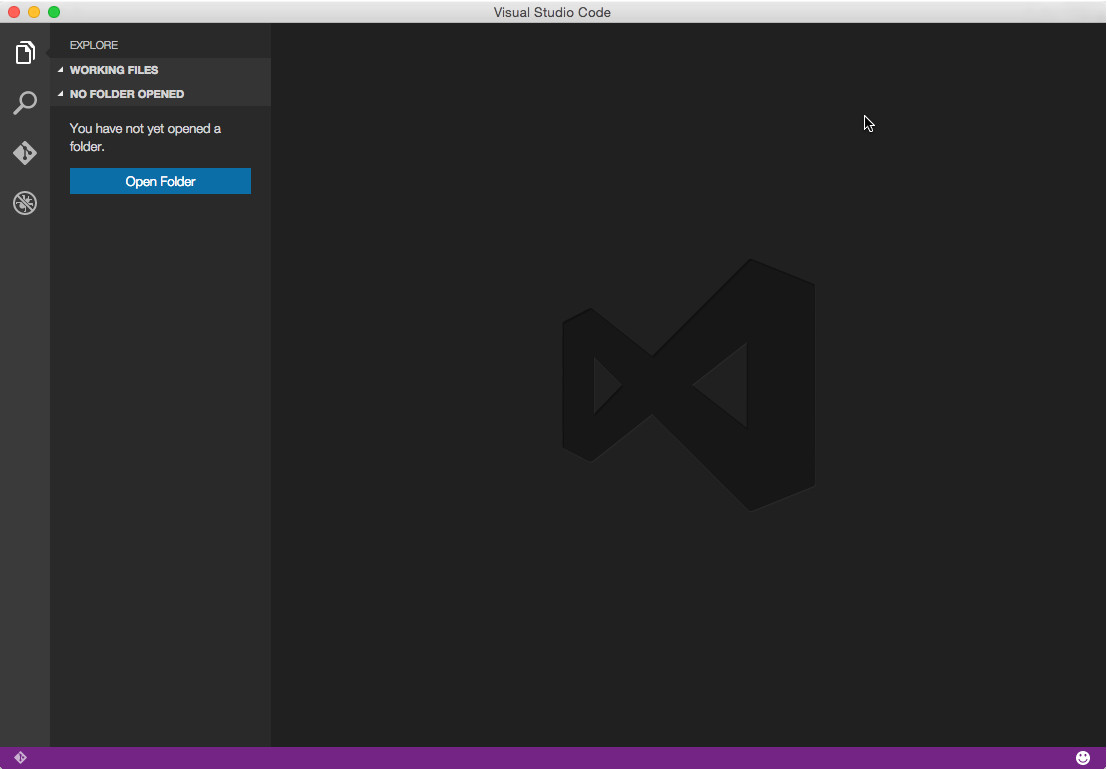
So Code is ready to work and in the next post I am going to discuss some features of Visual Studio Code interface.