UWP: 3D Transformation
If you develop applications for Windows Phone 8.1 or Windows 8.1 you can use PlaneProjection class which allows applying 3D transformations to any UI elements. But PlaneProjection is very limited and provides only a way to make rotation. If you want to apply more complex 3D transformations you need to use MatrixTransform and implement your own math algorithms.
But starting with Windows 10 you have a way to make more complex 3D transforms using new classes like PerspectiveTransform3D and CompositeTransform3D. Let’s look at the following code:
 <RelativePanel HorizontalAlignment="Center">
<RelativePanel.Transform3D>
 <PerspectiveTransform3D></PerspectiveTransform3D>
</RelativePanel.Transform3D>
<Image Source="Assets\drone.jpg" Width="400" Name="image">
 <Image.Transform3D>
 <CompositeTransform3D CenterX="200" CenterY="100" RotationX="{x:Bind sliderX.Value,Mode=OneWay}" RotationY="{x:Bind sliderY.Value,Mode=OneWay}" RotationZ="{x:Bind sliderZ.Value,Mode=OneWay}">
 </CompositeTransform3D>
 </Image.Transform3D>
</Image>
<Slider Maximum="360" RelativePanel.Below="image" Name="sliderX" Width="400" Margin="0,10,0,10"></Slider>
<Slider Maximum="360" RelativePanel.Below="sliderX" Name="sliderY" Width="400" Margin="0,10,0,10"></Slider>
<Slider Maximum="360" RelativePanel.Below="sliderY" Name="sliderZ" Width="400" Margin="0,10,0,10"></Slider>
</RelativePanel>
If you execute the code you will see the screen below where you can rotate an image using three sliders:
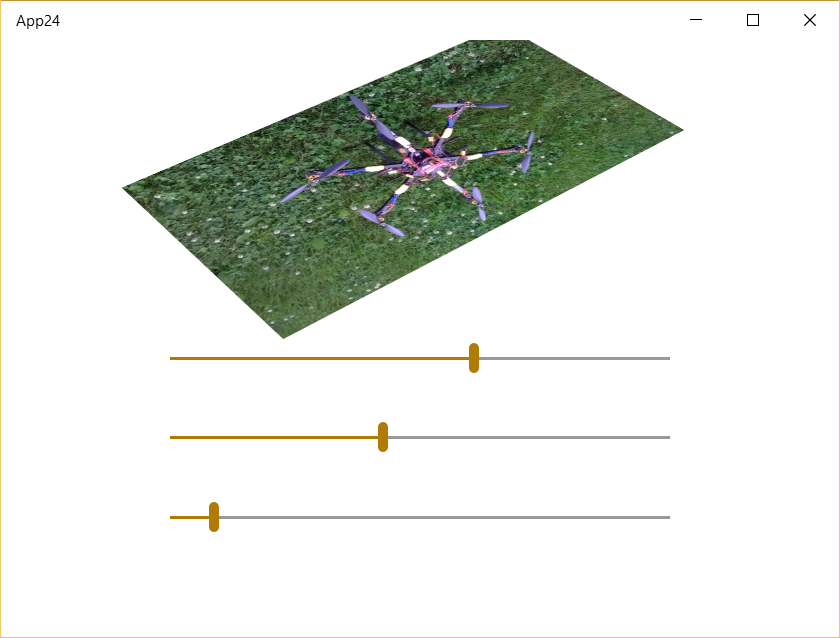
Frankly speaking you would be able to make something like it using PlaneProjection as well but with this example we can understand syntax for new elements.
First of all you need to use PerspectiveTransform3D element and assign it to Transform3D property which is available for all UI elements. PerspectiveTransform3D allows to declare a common view port for all child elements. So you should think about it as about a perspective camera. You can move the camera using OffsetX and OffsetY properties but this movement will not affect position of your control inside the container – it just affects transformations because you have the same view port and any camera movement will add an angle which will affect projection only. PerspectiveTransform3D has Depth property as well which declares distance between camera and Z=0 plane. By default Depth is 1000 but you can change it and it affects transformations only as well. Frankly speaking I found that if you change Depth you will see unpredictable effects.
Once you apply PerspectiveTransform3D to any container you can use CompositeTransform3D to apply any transformations to elements inside view port. You can scale, translate and rotate UI elements.
At the same time I discovered two disadvantages there.
First of all CompositeTransform3D allows to set the center of the transformation but it requires to use pixels. So, if I want to make transformation around the center of a control I need to calculate actual size. It’s strange because even PlaneProjection allows to set center in relative coordinates ((0.5, 0.5) – center).
The second disadvantage is a problem with correct placement of controls in the space – elements are rendered in XAML order, one by one. So, elements that are closer to each other can be placed behind elements that are not so close. MSDN recommends to use workaround (Canvas.ZIndex) but it requires to implement complex code which should change ZIndex dynamically. Additionally, there are lots of tasks when ZIndex doesn’t help. So, in the current version you cannot use these classes for more complex scenarios.
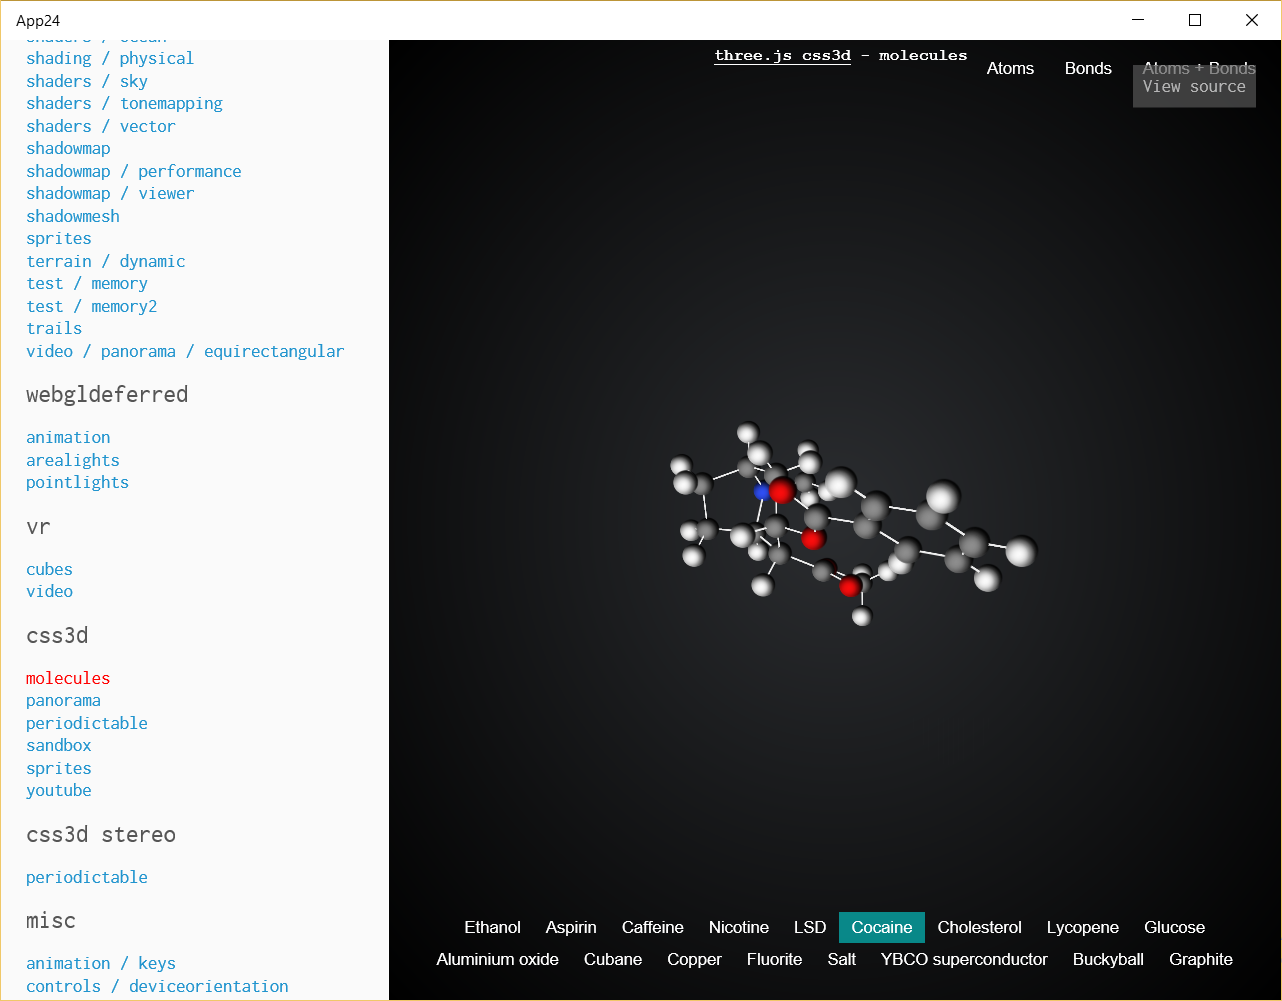
If you need to build complex 3D models I would recommend to use WebView and implement your model there using CSS 3D. Since Windows 10, WebView is based on Microsoft Edge and support preserve-3d value for 3d transformation.