How to build your own drone (part 2)
Last time we discussed the common parts which you need to buy in order to assemble your drone. This week I have received all parts and I will show how to assemble everything and make it ready to start.
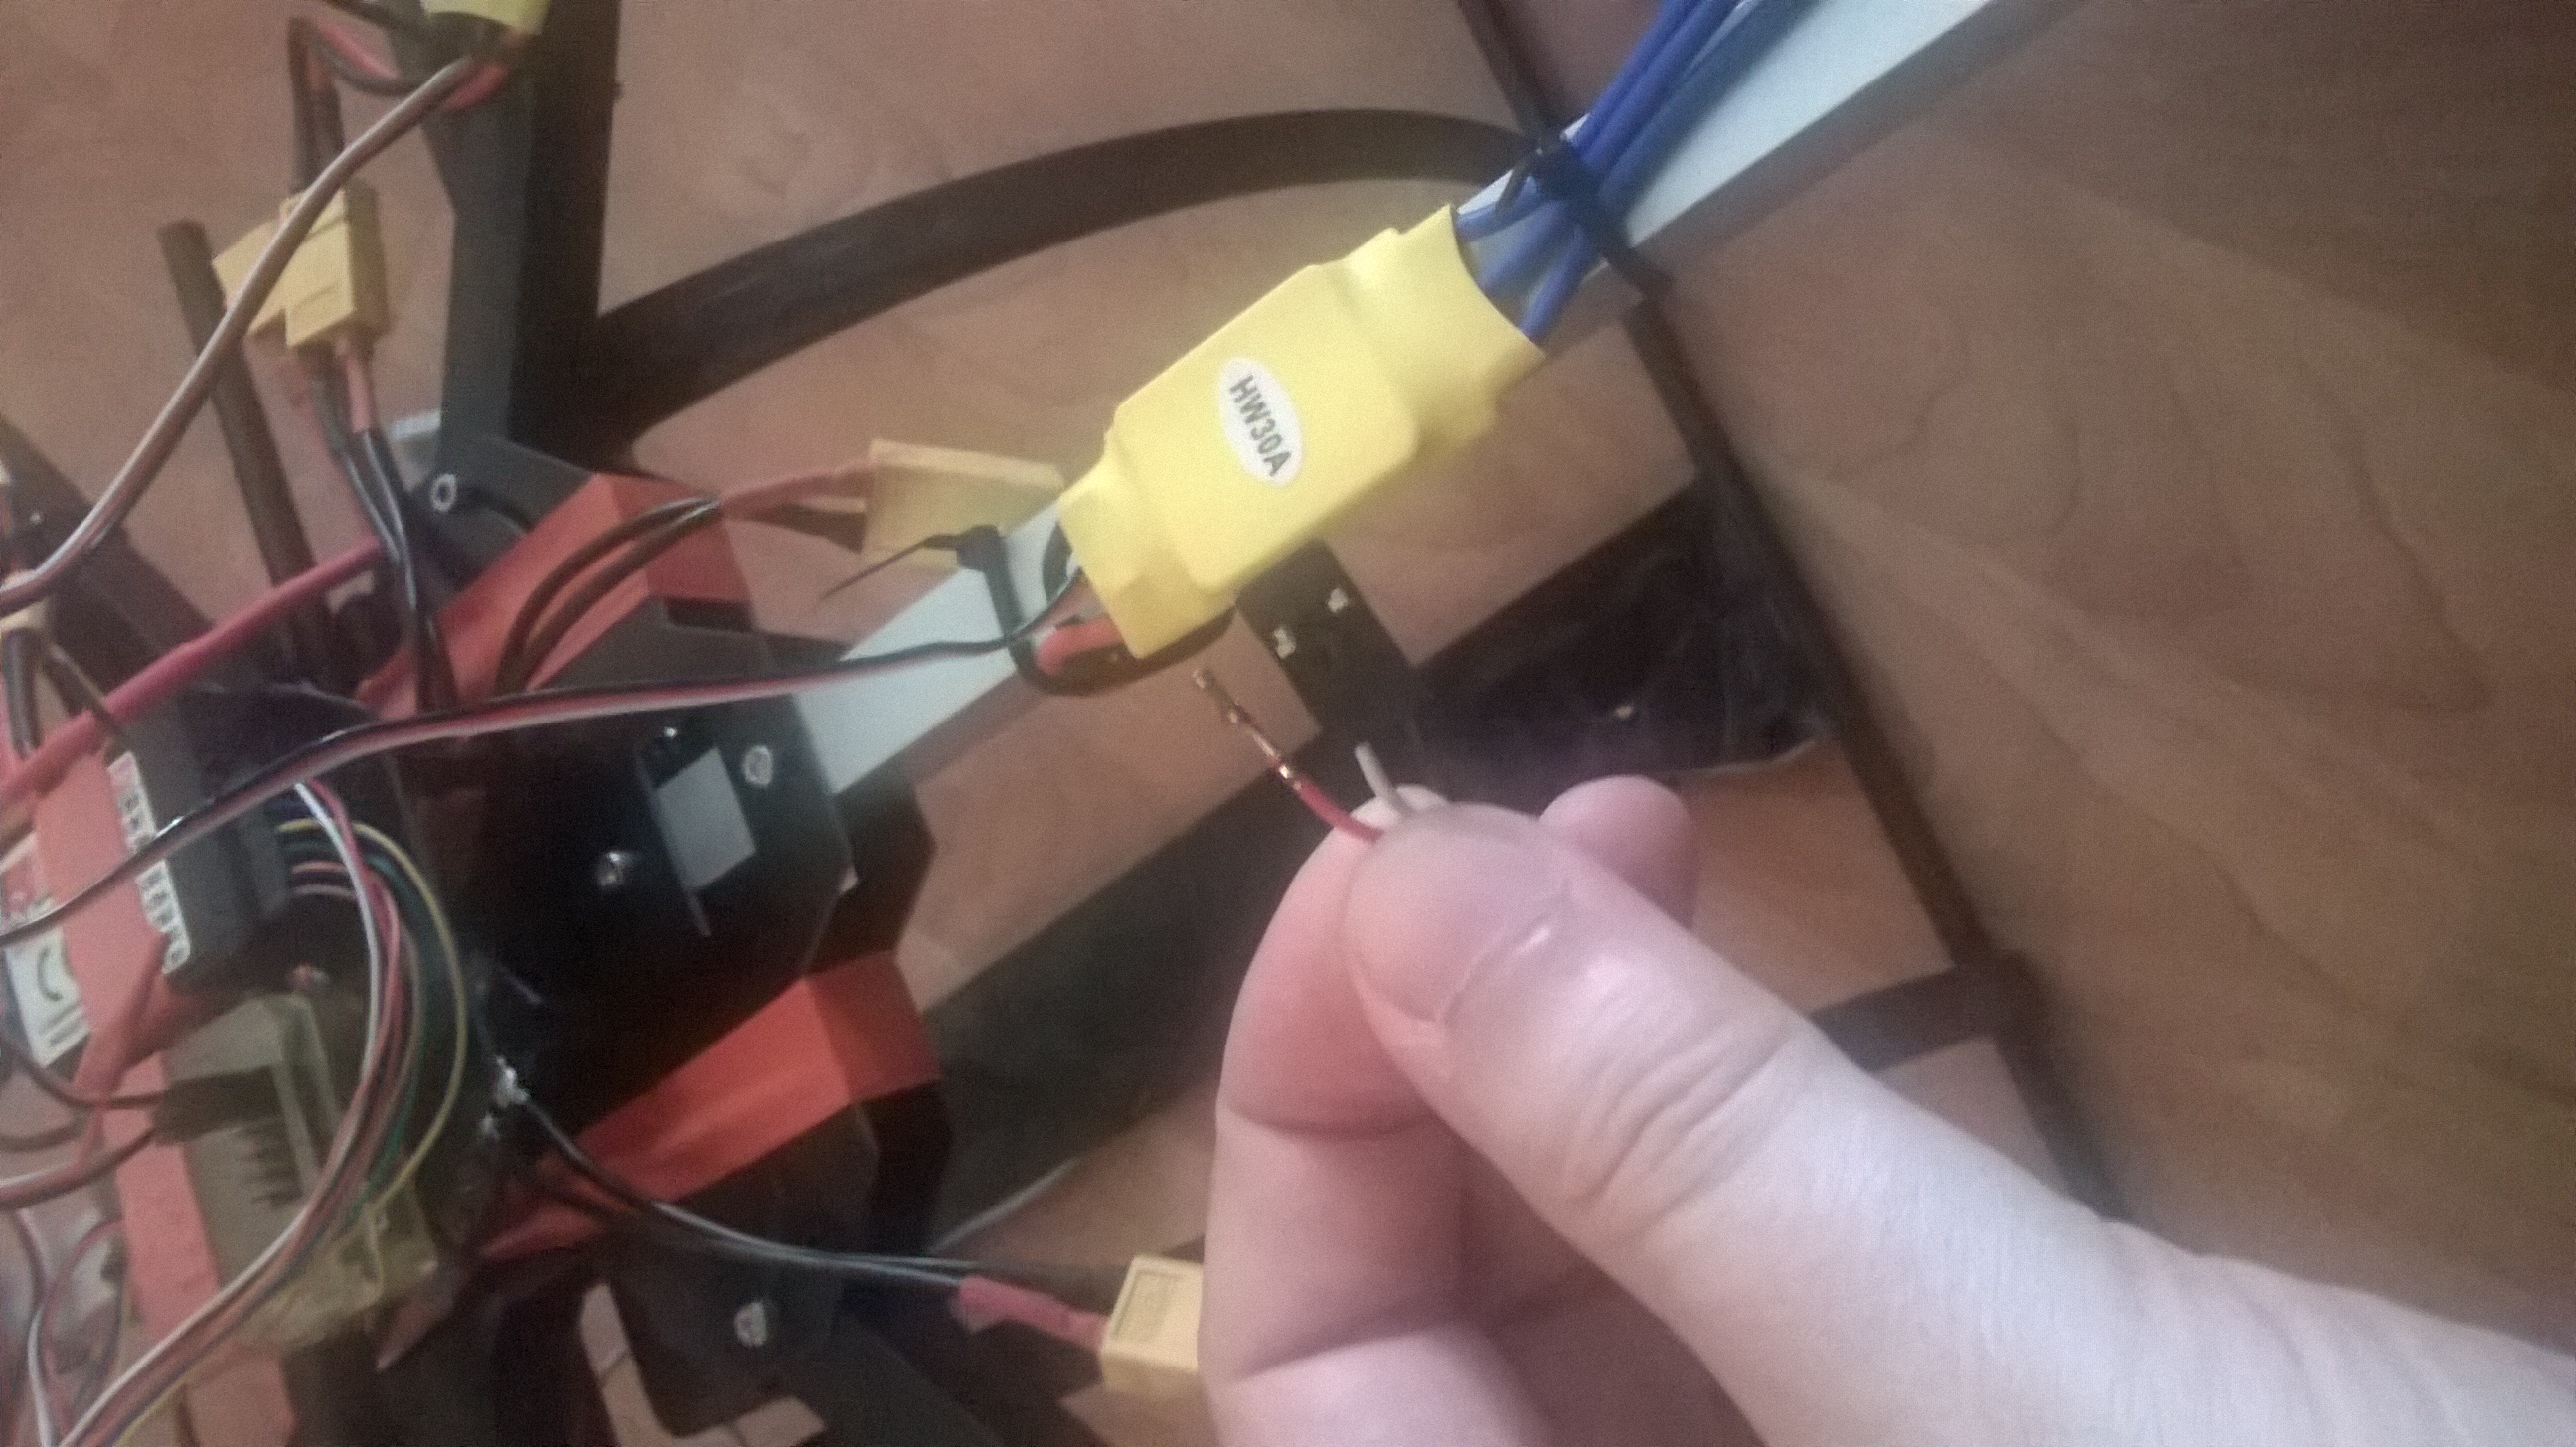
In the first step you need to assemble your frame and place some electronic components there like ESCs, motors and power distribution board. Of course, it’s easy to assemble the frame itself but in order to place all other components you need to use soldering iron before. I would not recommend to connect ESCs directly to power distribution board. In this case you will not be able to remove drone’s legs in case of transportation. Instead of that I used XT60 connectors. So, you need to solder your ESCs and connectors and use some wires to mount connectors to power distribution board as well. Don’t forget to use shrink tubes to avoid short circuit there.
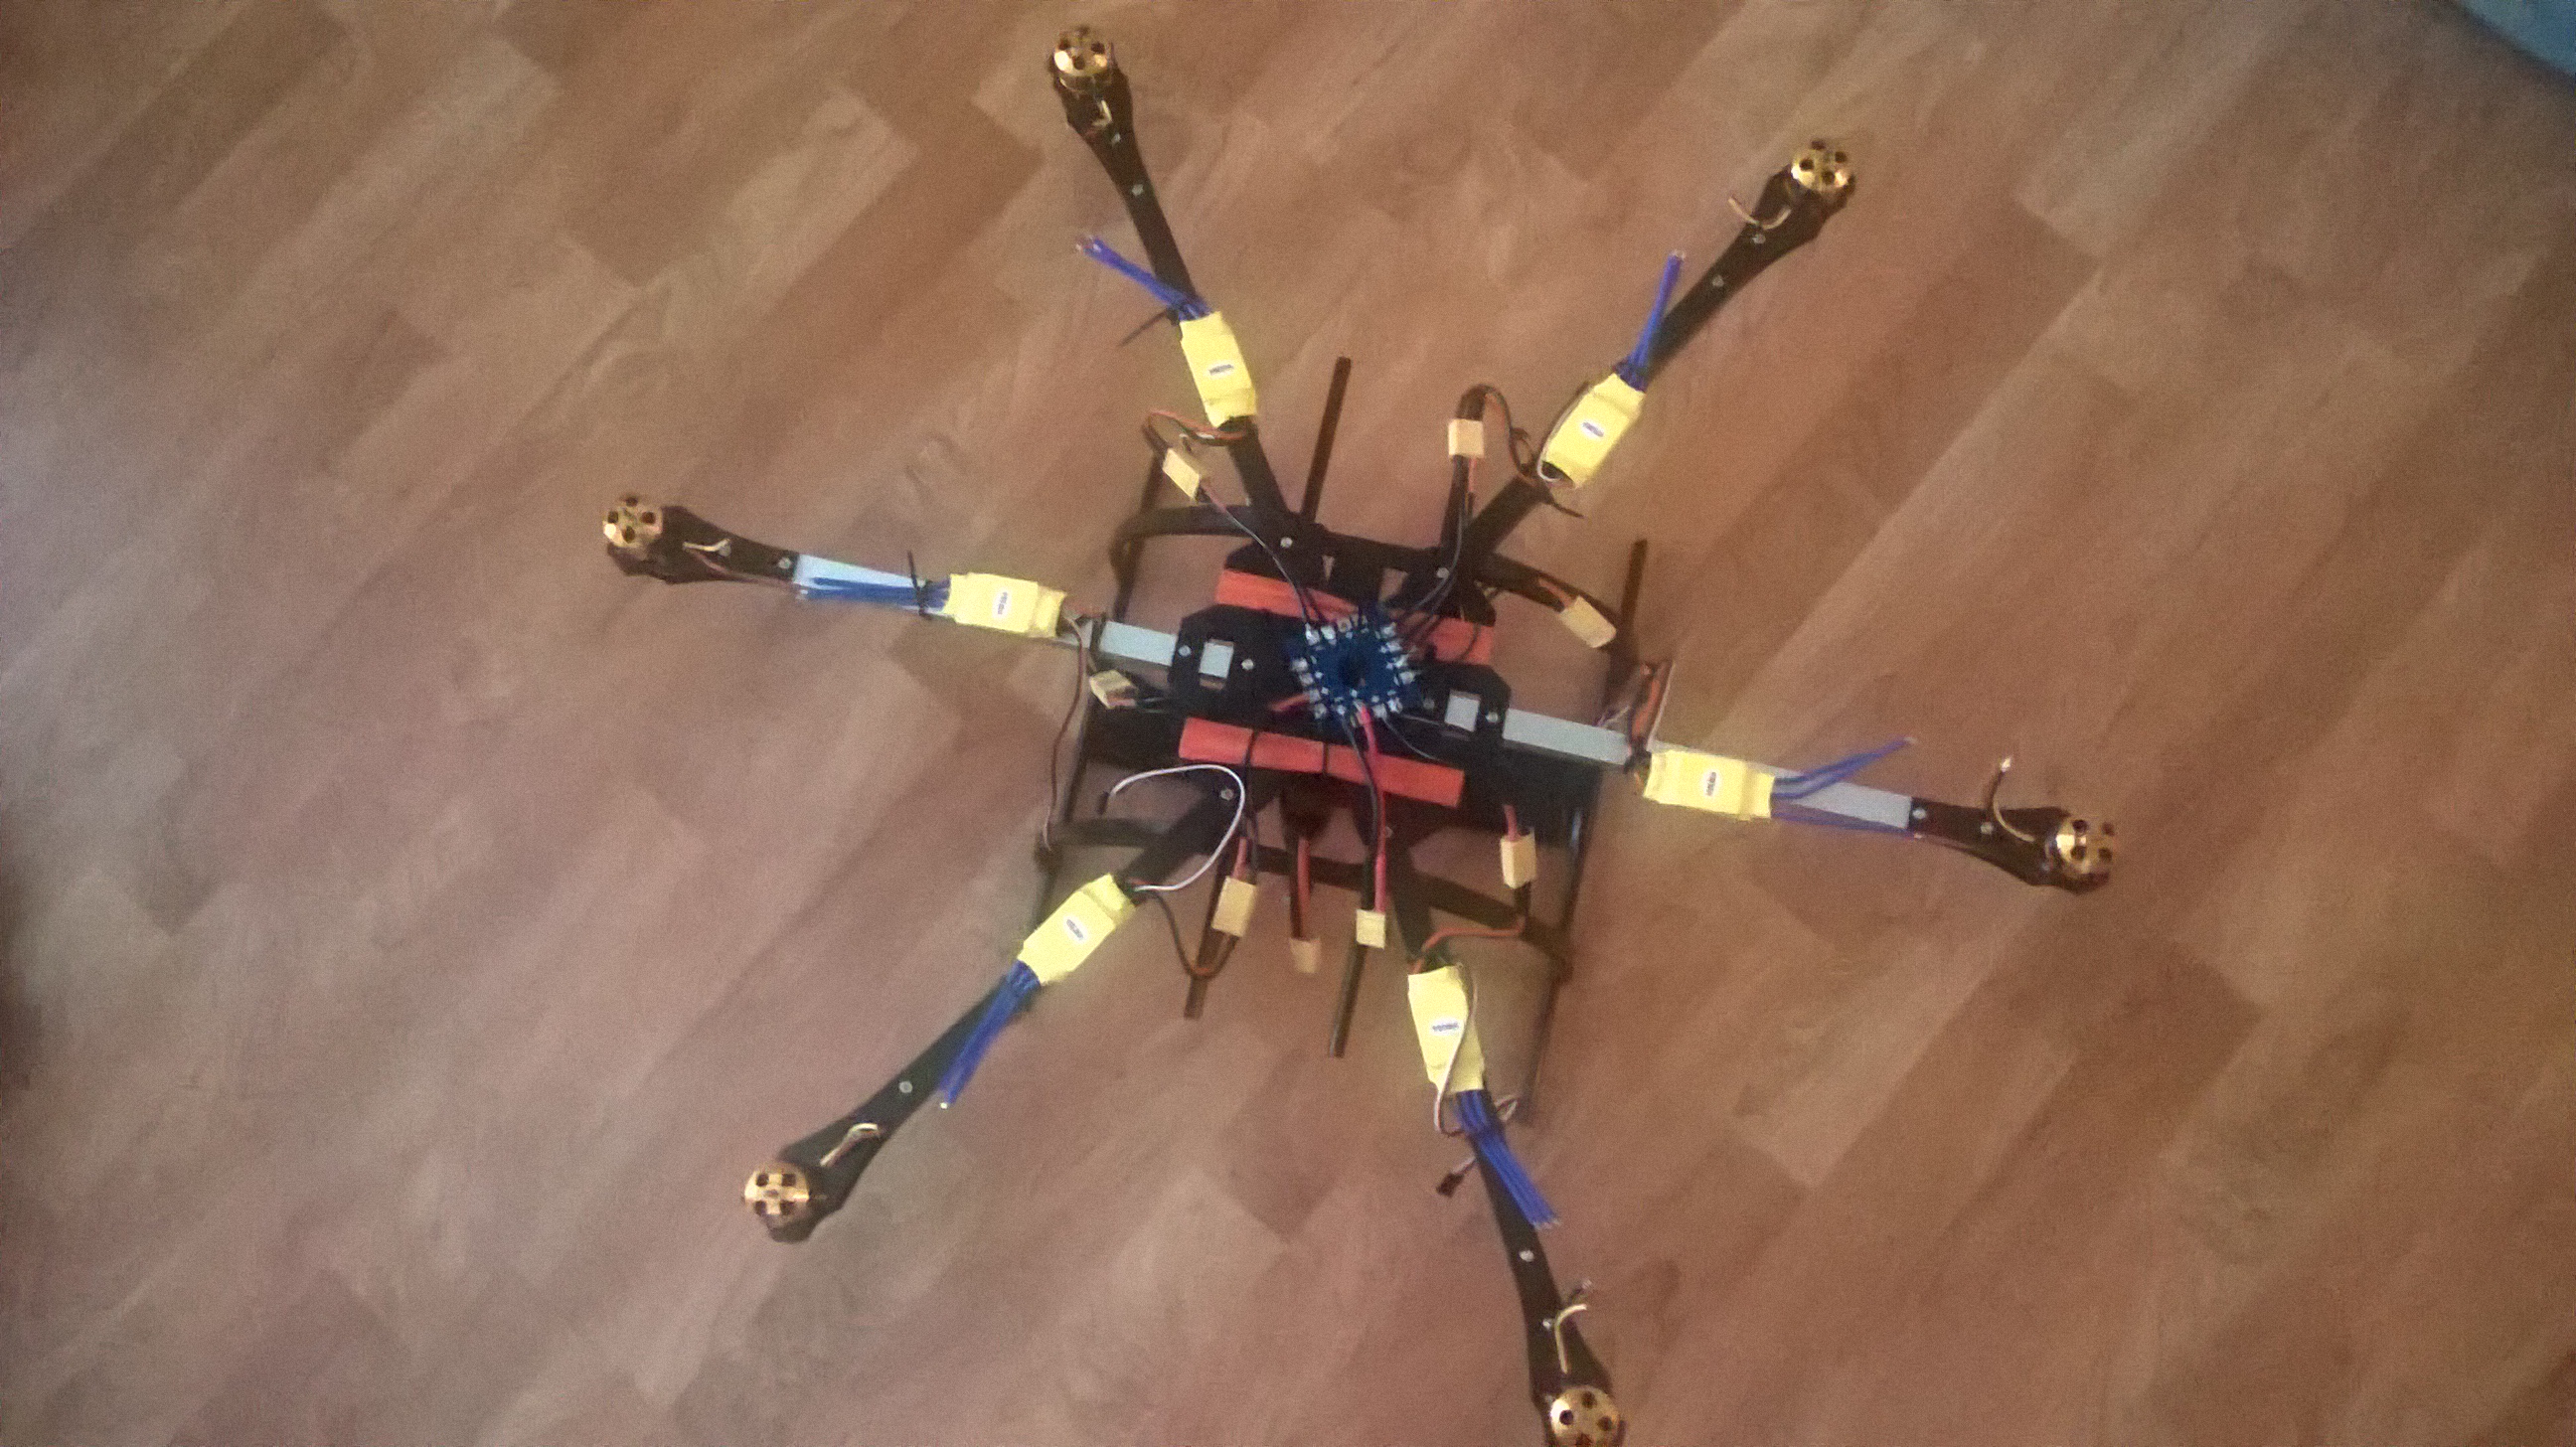
In case of motors I am using banana connectors (3.5 mm) to connect motors and ESCs because you need a way to change sequence of wires there to run motors in the right way. Additionally, you can use insulating type to mount battery. If you don’t have a 3D printer in order to print some components for your frame, insulating type might help you from time to time.
In this step I recommend to connect battery to the power distribution board in order to understand that everything is OK and everything is soldered in the right way. Use multimeter to check that all ESCs produce 5V of power through control wires.
Once you assemble your frame, you need to mount fight control board and RC transmitter. Because these boards require 5V power I used power which is generated by ESCs using control wires. But each ESC contains its own power wire, so you need to remove all power wires except one. You can use knife to do this and use insulating type in order to insulate removed wires.
In the next step you can mount flight board, RC and connect them to each other. Don’t mount propellers in this step because you need to setup you flight controller before.
In the next step you can download OpenPilot software and use wizard to setup your drone. Thanks to the wizard it’s the simplest part there.
So, in the end I spent the following amount of time for each step:
- Frame assembly – 40 mins;
- Soldering (connectors, wires, motors) – 60 mins;
- Motors, ESCs and battery placement – 40 mins;
- Flight controller and RC placement – 20 mins;
- Setup – 10 mins;
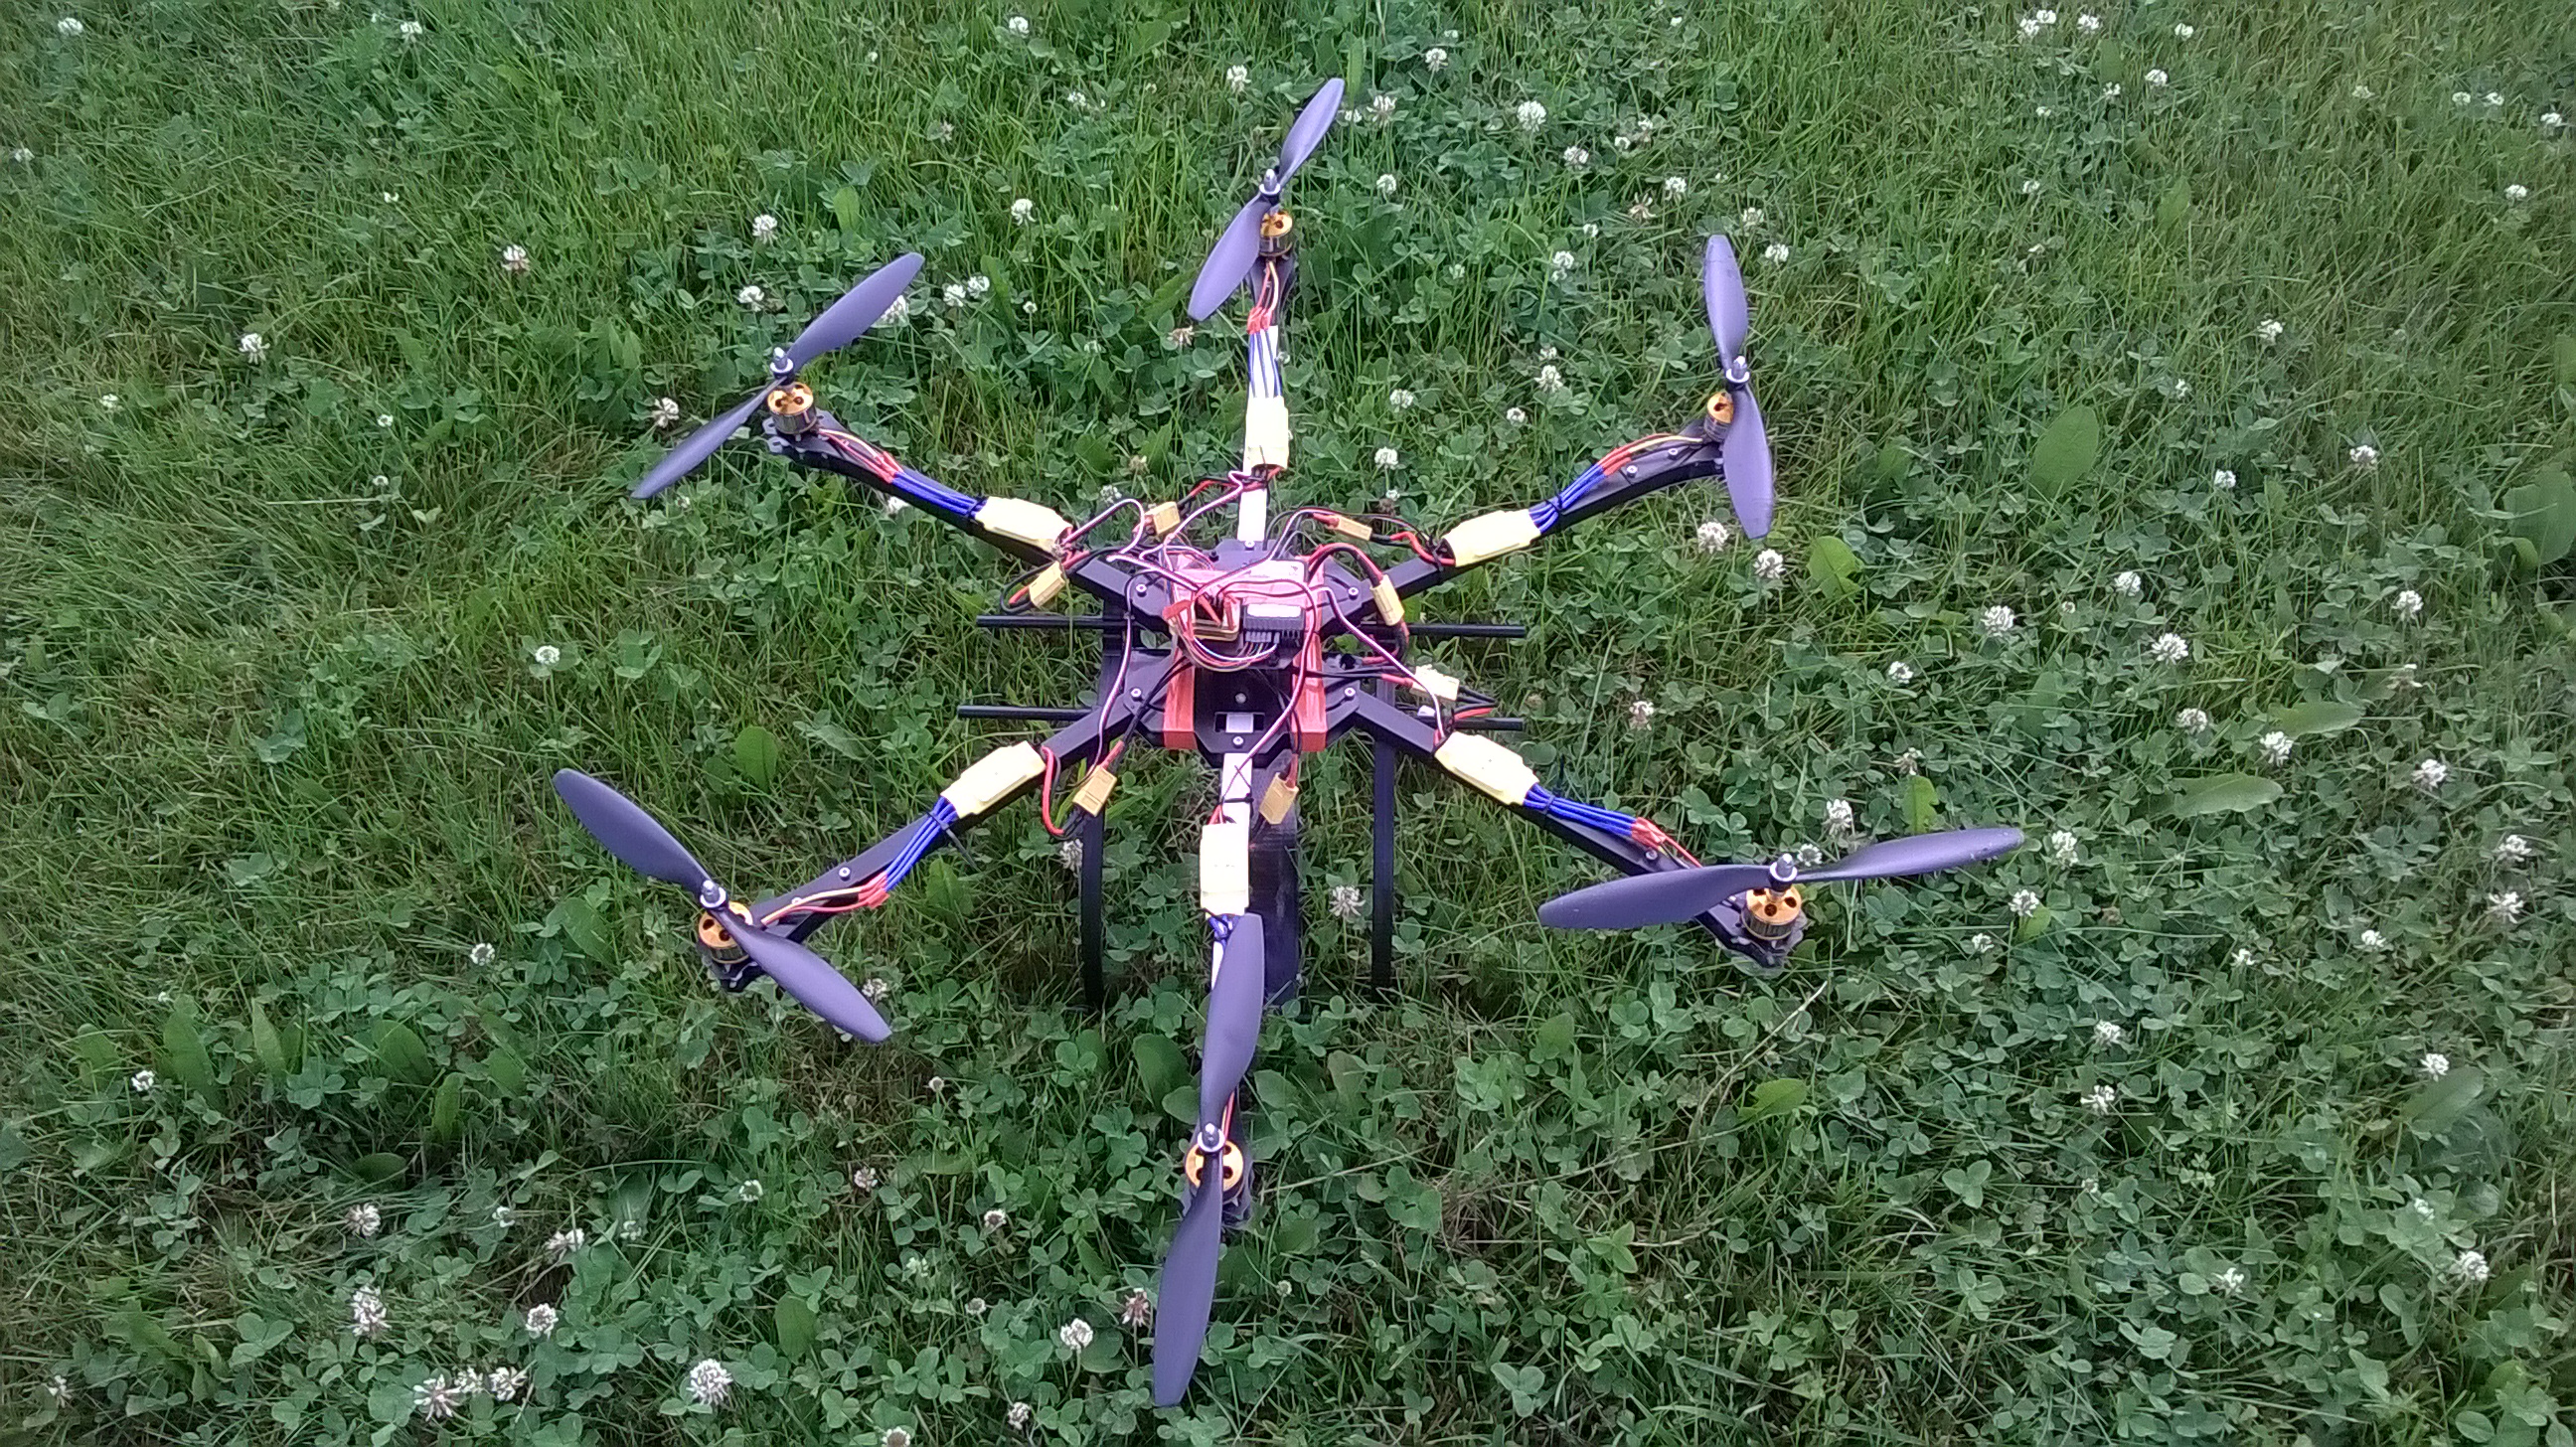
Finally, my drone is ready to fly.