Universal Windows Platform: Speech recognition (part 2)
So, we already know how to transform text to speech and it’s time to talk about the opposite task.
Universal Application Platform supports Windows.Media.SpeechRecognition namespace and several ways to recognize your speech. You can predefine your own grammar, use existing one or use grammar for web search. In any case you will use the SpeechRecognizer class. Let’s see how to use this class in different scenarios.
Like the SpeechSynthesizer class, SpeechRecognizer has some static properties which allow to understand available languages for recognition. The first property is SystemSpeechLanguage which shows system language and it should be the default language as well. The next properties SupportedTopicLanguages and SupportedGrammarLanguages are not very clear because in case of Text to Speech classes we have just one property for all supported languages. But SpeechRecognizer allows to recognize your speech locally or use several dictionaries online. That’s why SpeechRecognizer has two properties: SupportedGrammarLanguages – for general offline tasks and SupportedTopicLanguages – for online grammars.
Let’s start with showing how to use SpeechRecognizer objects in several ways but first of all you need to declare capability in manifest of your application which will allow you to use recognizer. UAP doesn’t have any special capabilities there like Windows Phone 8.1, so you need just to declare microphone capability. So, usually, you manifest will look like this:
 <Capabilities>
 <Capability Name="internetClient" />
 <DeviceCapability Name="microphone" />
 /Capabilities>
Of course it’s not enough and you need to implement additional actions to make sure that user grants permissions to you application. In order to do it you can implement the following code:
 bool permissionGained = await AudioCapturePermissions.RequestMicrophonePermission();
if (!permissionGained)
{
 //ask user to modify settings
}
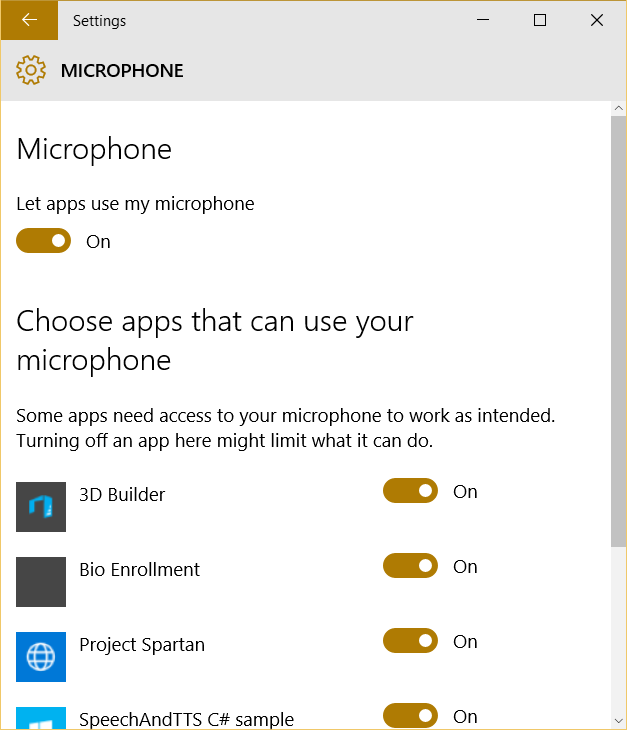
In Windows 10 user can disable microphone permissions for selected applications or for all applications at once. You can easily find the window which allows to do it (Settings->Privacy->Microphone).
If everything is OK with permissions you can start executing some methods which implement speech recognition logic.
Based on your scenario you can implement the following approaches for speech recognition:
- Predefined grammars – in this case recognizer uses online grammars. So, you should not create your own and there are two opportunities: you can use general grammar or grammar which is based on the most popular web search queries. Therefore, using the first grammar you will able to recognize any text but the second one is optimized for search;
- Programmatic list constrains – this approach allows to create list of strings with particular words or phrases which user can use when speaking. It’s better to use this approach then your application has predefined list of commands. Additionally, you can manage the list in runtime depends on context in your application;
- SRGS grammar – thanks to SRGS language you can create XML document with grammar inside. It allows to create more flexible applications without hardcoded grammar inside;
Despite of selected approach you need to implement the following steps:
- Create an object of SpeechRecognizer class. It’s the simplest step and doesn’t require any special knowledge;
- Prepare your dictionary. In order to do it you need to create an object of a class which implements ISpeechRecognitionConstraint. There are for constraint classes but in this post I am going to talk about three of them: SpeechRecognitionGrammarFileConstraint, SpeechRecognitionListConstraint and SpeechRecognitionTopicConstraint. The first one allows to create grammar based on file. You can just create StorageFile object and pass it as the parameter. The second one allows to use programmatic list like your grammar and the last one supports predefined grammars;
- Once you create a constraint (or constraints) you can add it to Constrains collection of SpeechRecognizer object and call CompileConstraintsAsync method in order to finish all preparations. If you don’t make any errors in your constraints, the method will return Success status and you can go ahead;
- In the next step you can start recognition and there are several options as well: you can start recognition of your commands using RecognizeAsync method of SpeechRecognizer objector you can use ContinuousRecognitionSession property there and call StartAsync method. The first one method allows to recognize short commands and using predefined settings but the second one is adopted for continues recognition of free dictation text. Of course, using RecognizeAsync you can get results in place but using StartAsync method you need to use event handlers for ContinuousRecognitionSession.Completed and ContinuousRecognitionSession.ResultGenerated events;
Additionally, you can use the set of methods which allows to utilize built-in dialog panels for speech recognition – just use RecognizeWithUIAsync method.
If you want to find some examples of speech recognition I would recommend to use the following link. You can find speechandtts example there. Next time I am going to cover more interesting topics related to Cortana.