My first experience with 3D printer
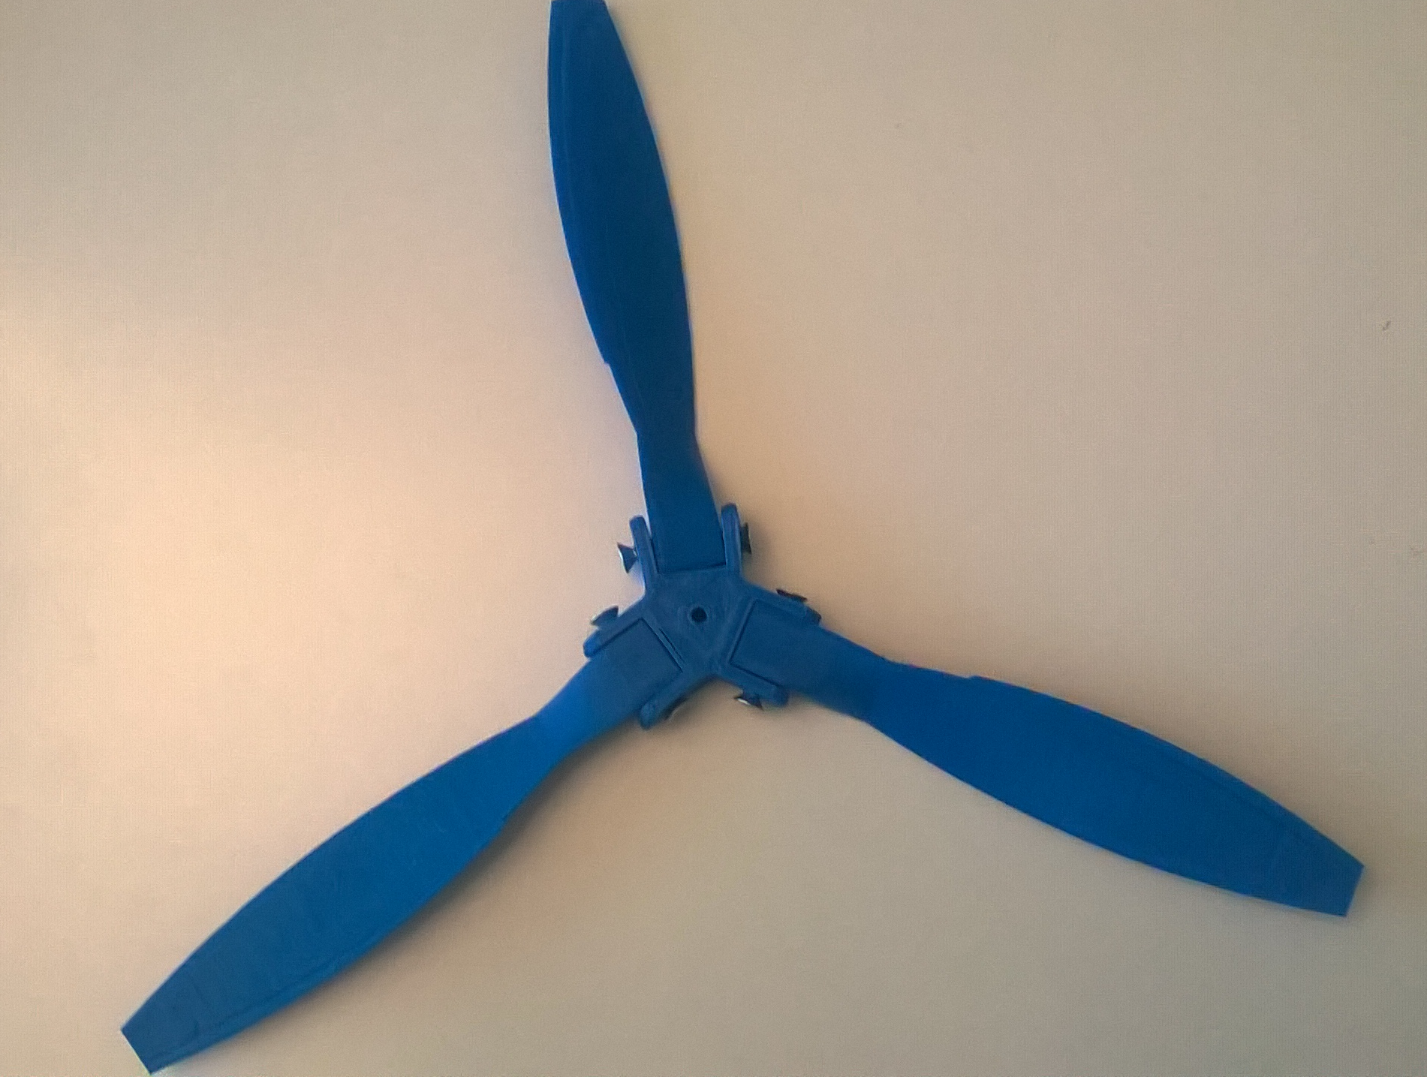
Last week, thanks to BizSpark program, finally, we got a 3D printer for the Launch Academy. Since I am a Technical Evangelist in Vancouver I got an exclusive offer to understand what is it and how can we use it for different projects. Frankly speaking we had a 3D printer in Ukrainian office but I have never touched it because in Ukraine I never had a chance to buy something, like motors and controllers at https://robotshop.ca/, Amazon or Fry’s Electronic and that printer wasn’t very valuable for me at that time. But today I need much stuff like propellers for my drone, wheels for micro robots, boxes for microcontrollers and sensors etc.
So, last Tuesday, I got a package and started my way in 3D experience. In this post I am going to share several learnings, which I got during my first steps.

It’s not very complex thing
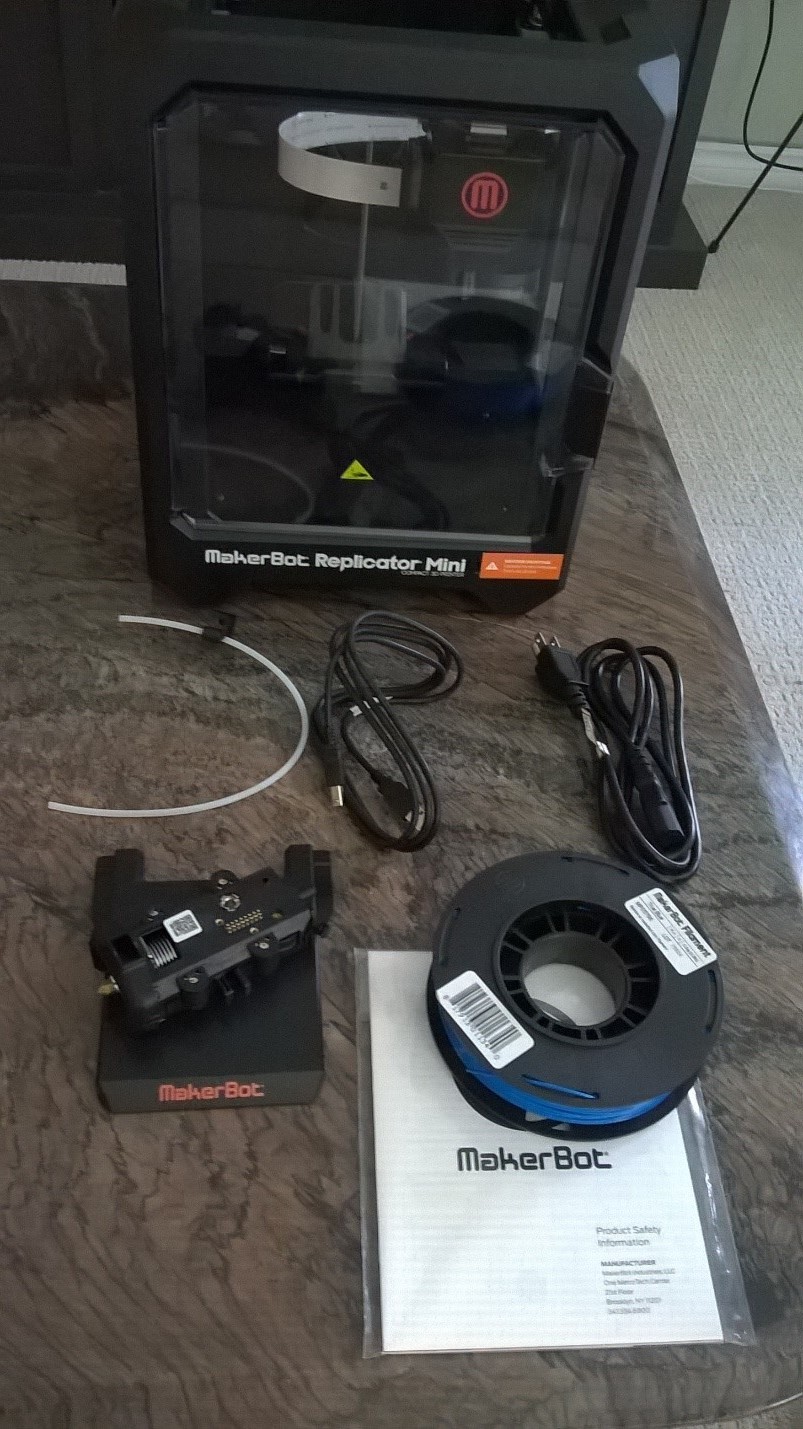
There are several technologies, which are used in 3D printers today. For example in medicine area you can find some printers, which use powder or photopolymers and are based on Selective Laser Sintering or Stereo Lithography technologies. But today, the most common technology for innovators and hobbyists is Fused Deposition Modeling or Fused Filament Fabrication. This technology works by laying down material in layers. It can use plastic or metal to create a thing, layer by layer In my case I have a Makerbot Mini 3D printer, which looks like a small box without any complex things inside. Because it was a new one, it required 6-9 steps in order to assemble it but I was not required to use any instruments.
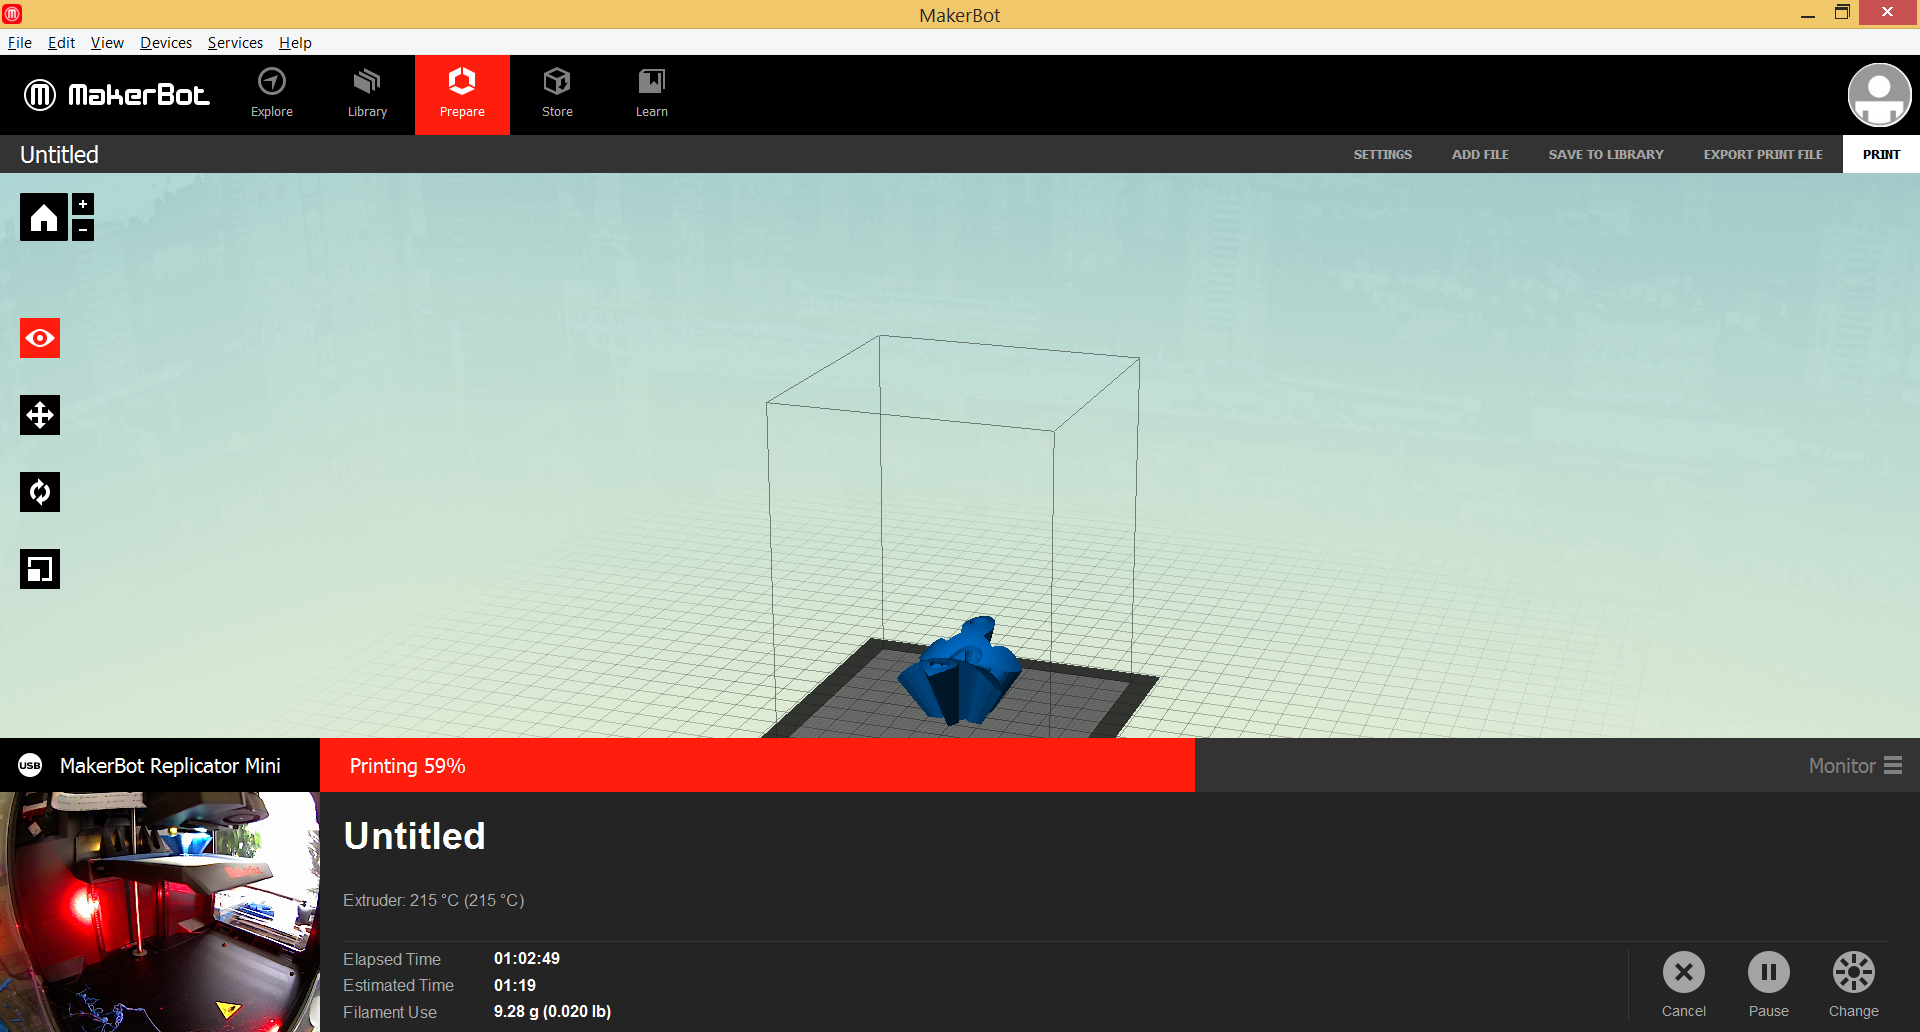
3D printer is not a very complex thing in sense of software as well. It contains software, which allows to use G-Code to print your things layer by layer. In any case, before printing something, you need to update your printer. In case of Makerbot I used Makerbot Desktop tool. This tool is not just updated my printer but it’s required to load and unload filament there.
Windows 8.1 drivers
It’s very important to buy a printer, which supports drivers for Windows. Makerbot is such a printer, so it supports Plug and Play experience.
If your printer doesn’t support Windows 8.1 drivers, you will have much more steps to print your things. Usually you should convert your 3D model to STL format and use some slicer tools in order to set some settings and slice your model. Additionally, the tools should generate G-Code for the printer. But in case of Windows 8.1 compatible printers, driver can do many things for you. It allows you to use common tools for printing and you even can implement printing experience in your application. If you want to create an application, which will print something, you can download 3D printing SDK and find several examples there. You can use the following link in order to download the sdk.
Additionally, SDK contains some documents, which describe how to create your own driver. So, if you assembled your own printer or want to help the community, you can use 3D printing SDK in order to build a driver as well.
Tools
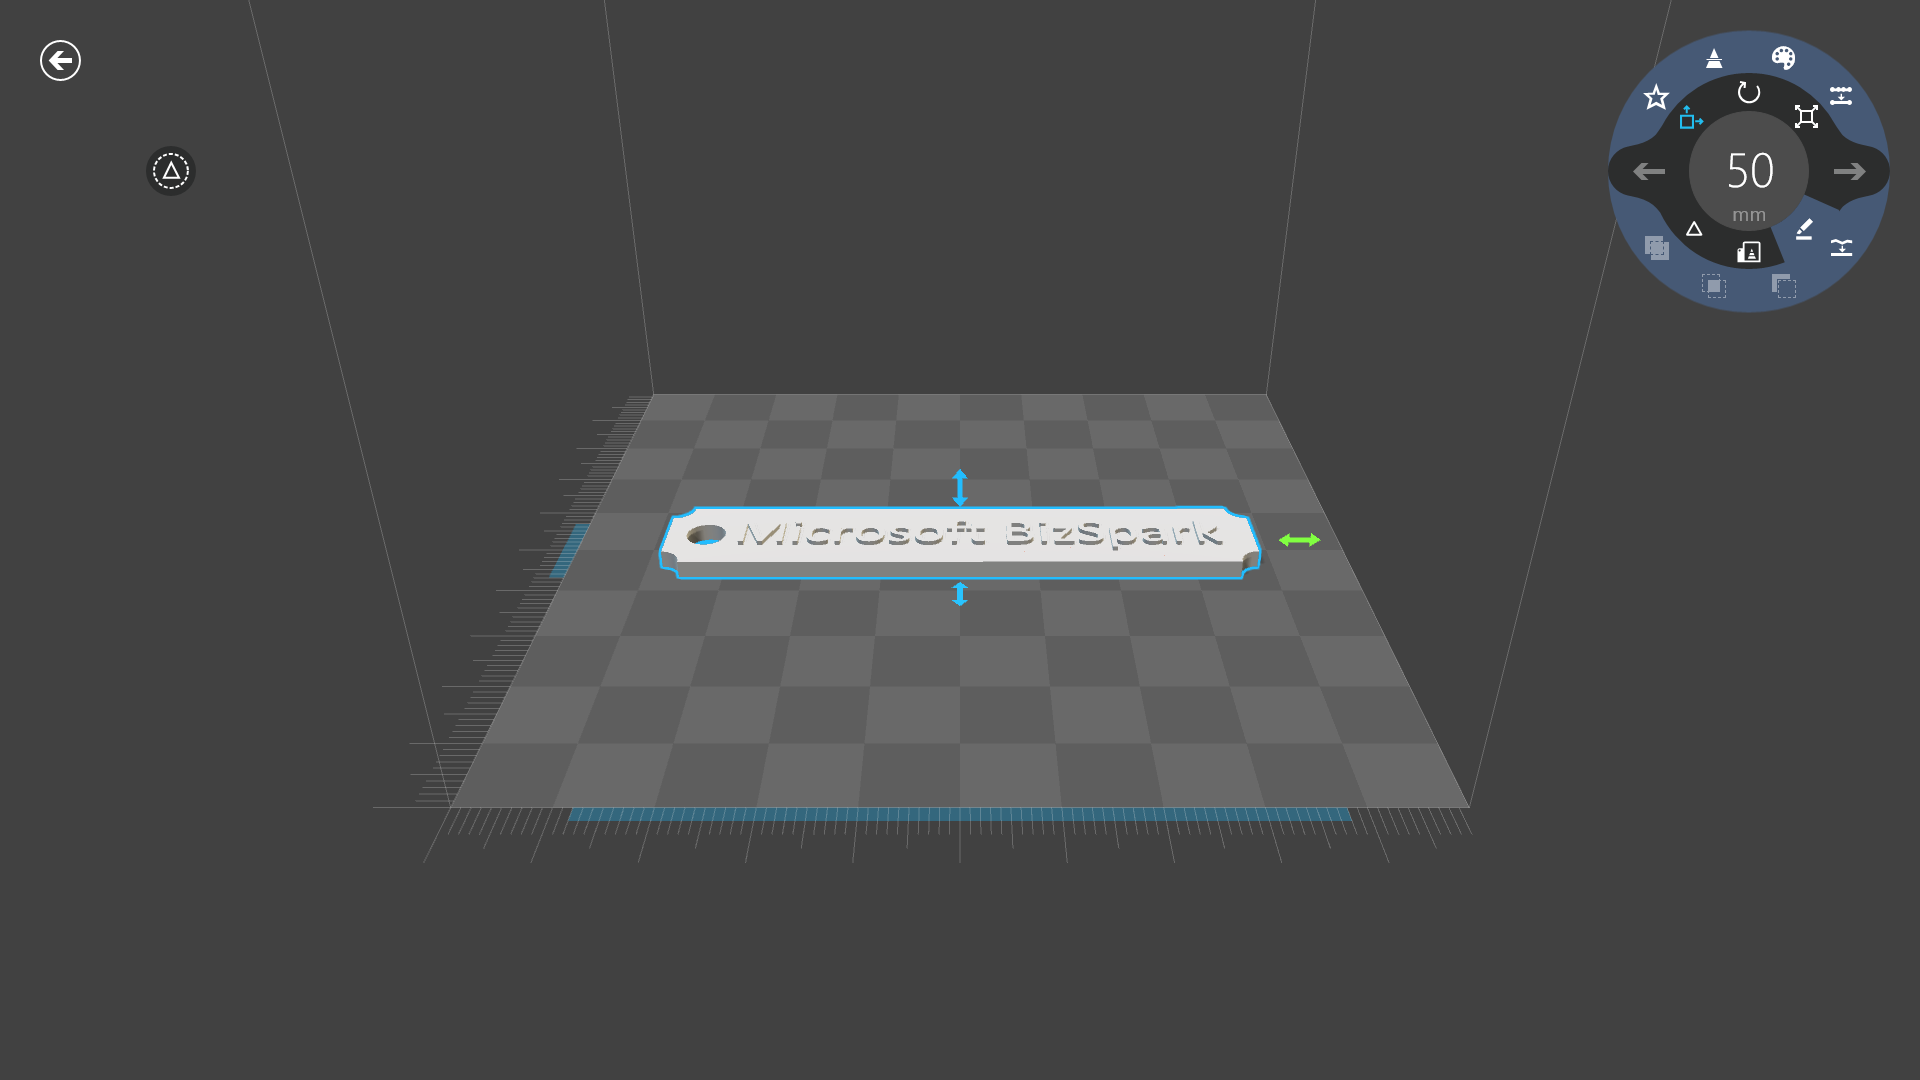
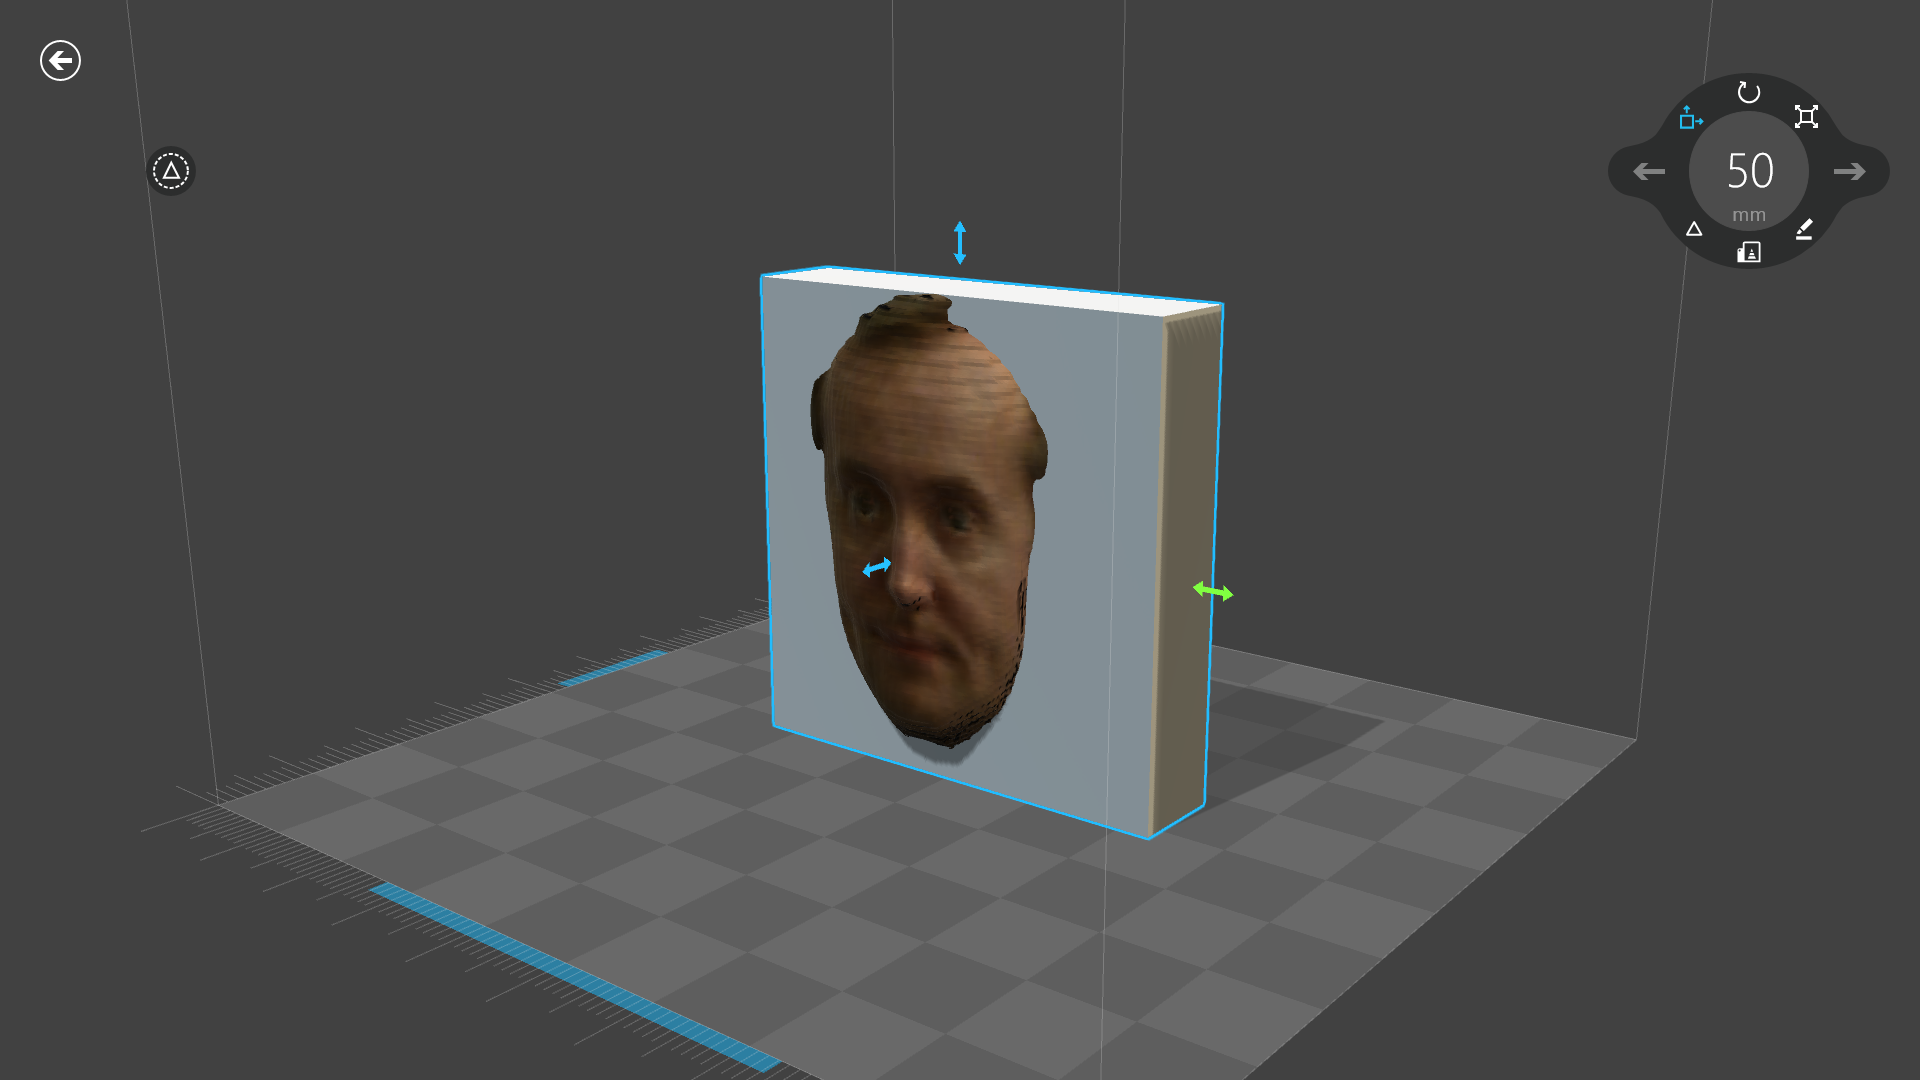
As I mentioned earlier, 3D printing SDK for Windows contains some samples about how to implement 3D printing experience in your applications. But if you are going to start printing right now you can install already prepared application for your – 3D Builder. You can find this application in the Window Store and it allows to create, modify, fix and print your models. Of course, you can use Maya or 3D Max in order to create a new model but I don’t have experience with it. So, I decided to use 3D builder.
Additionally, 3D Builder allows to use Kinect to scan real objects.
If you downloaded Makerbot desktop tool, you will find it valuable as well. Of course, it doesn’t support any features which help to modify your model but it allows to understand your printer status and estimate printing time.
Where to find some stuff
No matter what printer model you have I would like to recommend to visit site https://www.thingiverse.com/. It contains a lot of free models, which you can use for your experiments.

Usually you can find STL file there. So, you can print it directly or use them to create new models in 3D Builder.
Some tips
I found that my printer is too noisy. So, if you are going to print something at home – find a good place for it. Additionally, it requires much time to print things. For example, in order to print a trinket, it will spend more than hour but for a drone propeller it spent 3 hours.
Before starting printing, remove all garbage from the printing area. Usually you can find some filament there because it accumulated there during heating process etc. If it happened right before printing, you can use Makerbot desktop in order to pause the process. Usually, it’s not very dangerous to put your hands inside:)
Use 3D builder to change orientation of your things. Sometimes your things are not stable during printing process due to wrong orientation. Think some time before starting the process.
Use raft and support features. It requires additional printing time but it’s easy to remove raft and it really helps.
Summary
3D printers are very popular today and they allow to bring your ideas to real world with less cost. Today, you can find many utilities, APIs and models, which are ready for 3D printers. At the same time, 3D printers are not very expensive like several years ago. In any case, if you still don’t have your own 3D printer, you can visit one of the place for innovators and startups – in many cases you will find many 3D printers there. And today I would like to announce 3D printer availability at Launch Academy in Vancouver.