Get Your Game On (with Unity, Windows 8, and Windows Phone)
Unity is a free game engine – software you can use to make your own games (and interactive apps). Unity has been chosen by over 2 million developers because it provides all the core functionality needed, right out of the box, to develop great games (and interactive apps).
The following are sessions recorded live during the Developer Movement Developer Dojo last week with Code Sensei Mickey MacDonald. Mickey shows you to turn your game ideas into reality by creating games for Windows 8 and Windows Phone.
Part 1: A Close Look at Unity for Windows 8 and Windows Phone (with an introduction to this year’s Developer Movement – Code Kwondo)
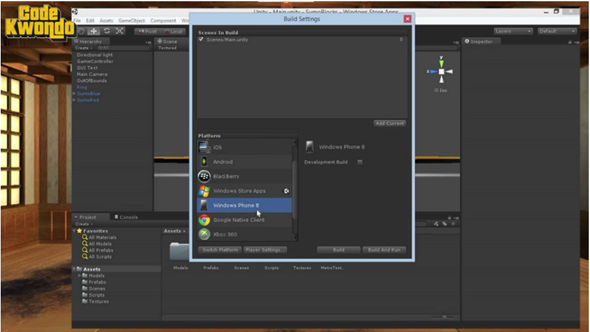
Code Sensei Mickey MacDonald takes you on a close look at Unity and how you can bring in your Unity assets into Visual Studio 2013 to create Windows 8 and Windows Phone versions of your games/apps.
Pre-Coding Check list
- Install/Update the tools – Make sure any programs you will need to create your game/app are installed and working. Check for updates of any programs that have been installed and may require an update
- Sketch out the game – Do a basic sketch of what your game is going to look like. Figure out where user interface elements will be placed. Maybe draw out the levels with the game objects and players. This will help you visualize your idea before you actually start placing the game or UI objects
- Decide on the platform and hardware you are targeting – This is an important step because it will help you to know things like screen resolution, memory, and input styles you have to consider.
Part 2: Unity to Visual Studio to the Windows and Windows Phone Store
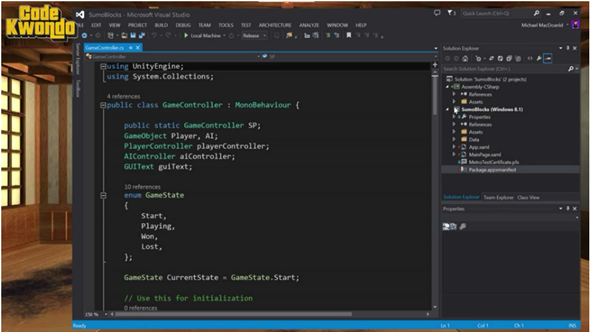
Code Sensei Mickey MacDonald shows just how easy it is to go from Unity to Visual Studio to the Windows and Windows Phone Stores.
Store Submission Check List – Required steps to pass certification
- Change the logo and tile images – This is the first thing your users will see so make it count!
- Add a custom splash screen – Again this will be part of the first impression your players get of your game, so make sure it stands out
- Handle the back button press (Windows Phone) – Make sure you write some code to handle when the user presses the back button. Some suggestions you might want to consider are; If you have implemented navigation within your app, pressing the back button should go back to the previous step in your navigation. If you are inside a modal dialog (e.g. settings or achievements, etc.) pressing back button should dismiss the dialog. If you are not in a dialog and you are at the root of the navigation game (or you do not have navigation in your game), pressing the back button should exit the game.
- Handle the screen size change event (Windows Store Apps) – When the user decides to “snap” your game you must have a way to handle this in your game. The way I handled this in the demo was to simply pause the game. Some other ideas you could implement would be to have it change to a mini game or show a message dialog. Of course you could simply adjust the scale if that works for your game.
- Run the WACK test – This is a very important step and is a must before you submit your game. The Windows Application Certification Test will catch a lot of the major issues that will cause your game to not pass certification.
Source Code

