Windows Azure™ and X509 Certificates
Quite often I meet with new Windows Azure™ developers around how to setup X509 certificates for their development environment. Setting up the certificates for your first time can be a bit confusing so I decided to create this how to post. The remainder of this post will specifically target development environments that leverage a self-signed certificate for Windows Azure™ management APIs, RDP and SSL.
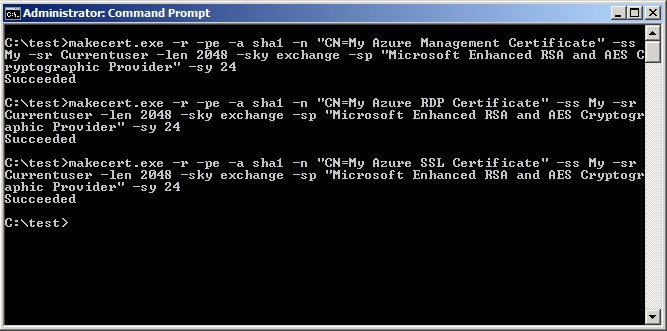
The first step is to create the appropriate self-signed certificates, one for each of the activities listed above. We will use makecert.exe distributed as part of the in the Windows 7 SDK. The following commands will create the required certificates and insert them into the current user’s personal store.
makecert.exe -r -pe -a sha1 -n "CN=My Azure Management Certificate"
-ss My -sr CurrentUser -len 2048 -sky exchange -sp "Microsoft Enhanced RSA
and AES Cryptographic Provider" -sy 24
makecert.exe -r -pe -a
sha1 -n "CN=My Azure RDP Certificate" -ss My -sr CurrentUser -len
2048 -sky exchange -sp "Microsoft Enhanced RSA and AES Cryptographic
Provider" -sy 24
makecert.exe -r -pe -a
sha1 -n "CN=My Azure SSL Certificate" -ss My -sr CurrentUser -len
2048 -sky exchange -sp "Microsoft Enhanced RSA and AES Cryptographic
Provider" -sy 24
In order to use these certificates in our Windows Azure™ subscription and deployments we will need to upload them from a file. The management certificate requires a .CER format without the private key while the SSL and RDP certificates will be in the .PFX format with the private key. In order to get these certificates into Windows Azure™ we will first export them from the current user’s personal certificate store.
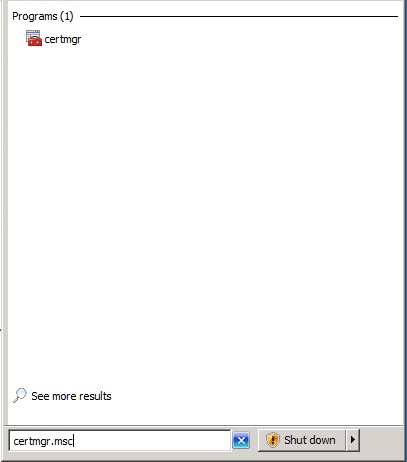
Open the certificate manager by running certmgr.msc.
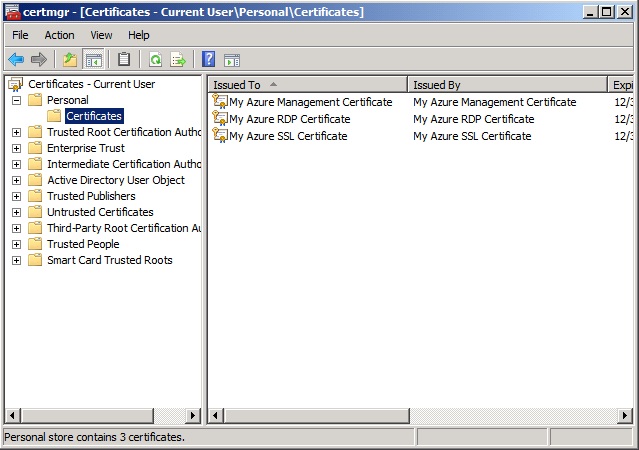
In the left hand tree view select the Personal / Certificates node. It may take a moment depending on the number of certificates that you have in the store but the three certificates should be displayed. The name of each certificate can be found by looking in the “Issued By” column.
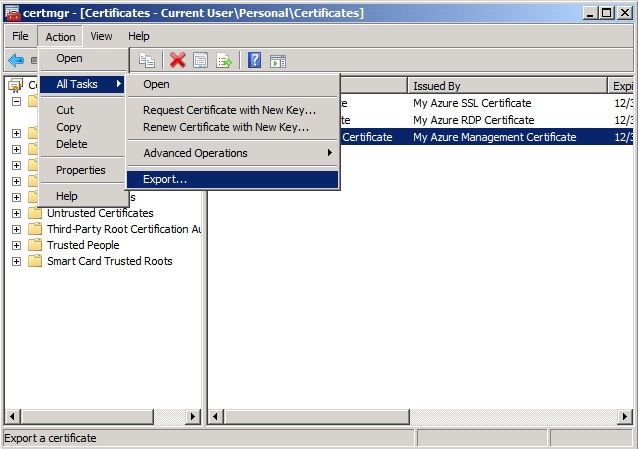
Select the certificate with an “Issued By” value of “My Azure Management Certificate”. On the Action menu select All Tasks / Export to launch the certificate export wizard.
Click the “Next” button to move to the first screen of the export process.
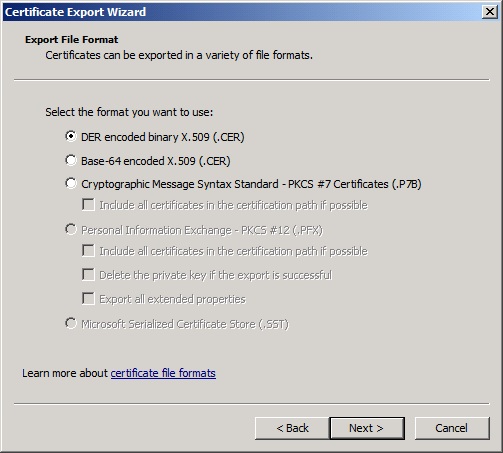
For the management certificate we will not export private keys.

The DER encoded binary X.509 (.CER) format will be used seeing there is no private key to be exported.
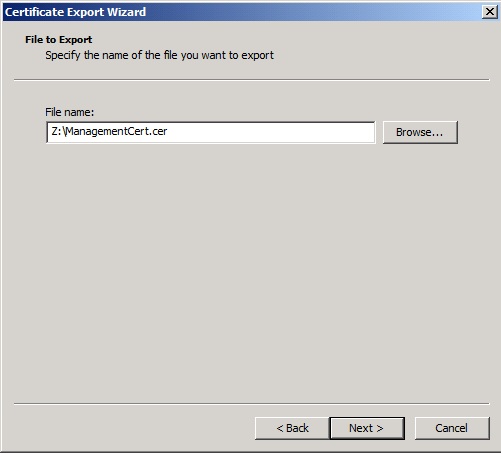
Enter or browse to the file where this certificate will be located ensuring it has a .CER extension. Please remember that certificates are used for security and must be stored and treated with the appropriate care.
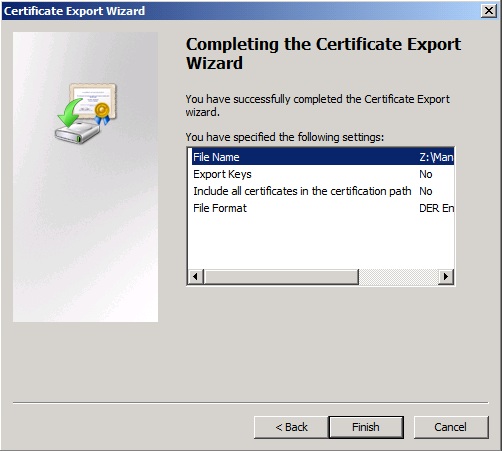
Click the “Finish” button to complete the export.
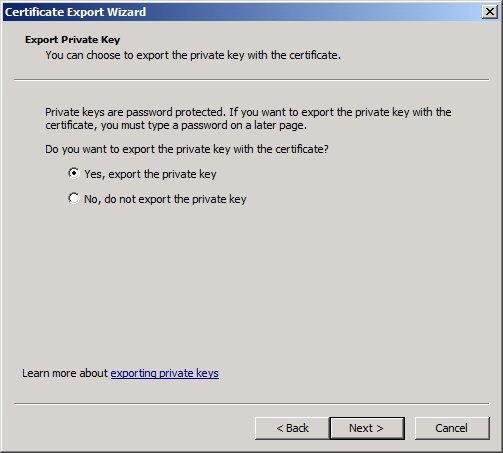
We will now export SSL and RDP certificates based on the following wizard sequence. Remember that these certificates will require the private key. Select the desired certificate in the Certificate Manager interface and initiate the export process as we did above. On the first screen of the wizard click the “Next” button.
For these certificates we will export the private key.
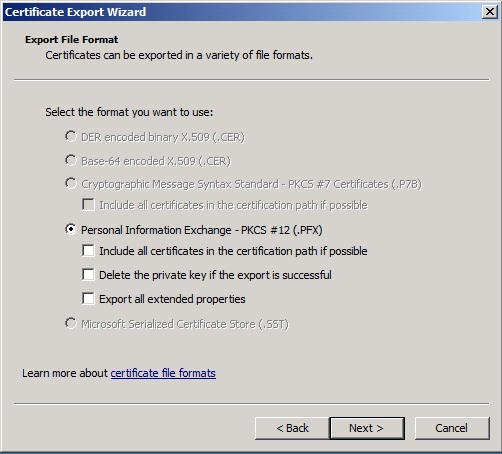
Use the PKCS #12 (.PFX) format.
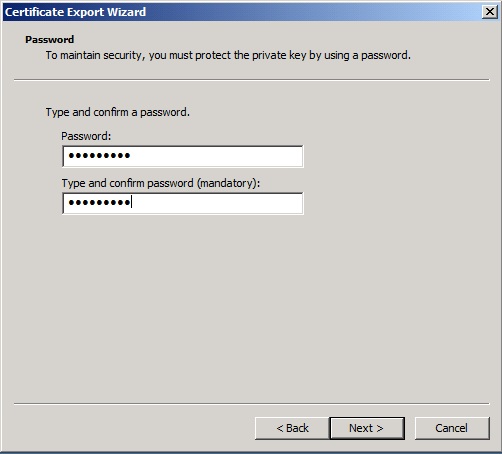
Enter a password for the certificates that you will remember for a future imports and uploads.
Enter or browse to the path where the certificate file will be stored ensuring it ends with a PFX extension.
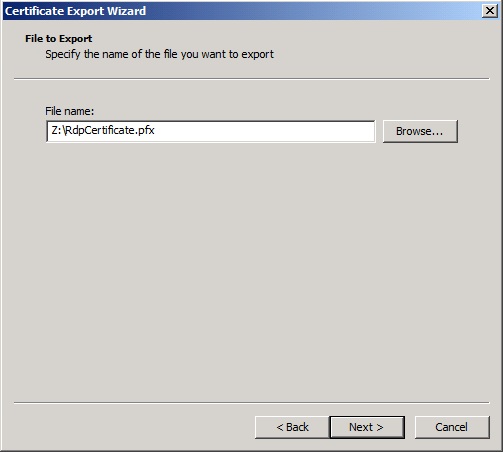
Click the “Finish” button to complete the export.

Remember to complete this export sequence for the remaining certificate.
Once all of the certificates have been exported it is time to start the import. The first certificate we will import is the management certificate, this certificate is used for accessing the management API’s and deploying your solution.
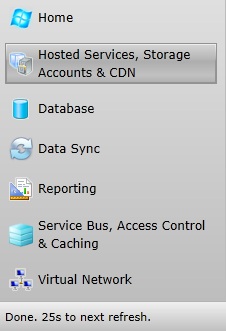
Open your web browser and navigate to the Windows Azure™ developer portal https://windows.azure.com. Enter your credentials when prompted. Once the screen fully populates click on the “Hosted Services, Storage Accounts & CDN” toolbar item in the bottom left corner.
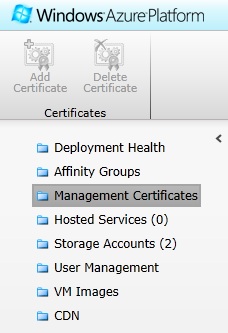
Select the “Management Certificates” option in the upper portion of the tool bar. It is possible to have more than 1 management certificate if desired.
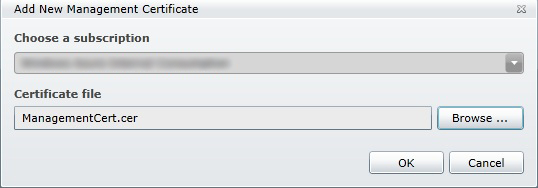
Select the subscription that you want to add the management certificate to in the content pane and then click the “Add Certificate” toolbar item.
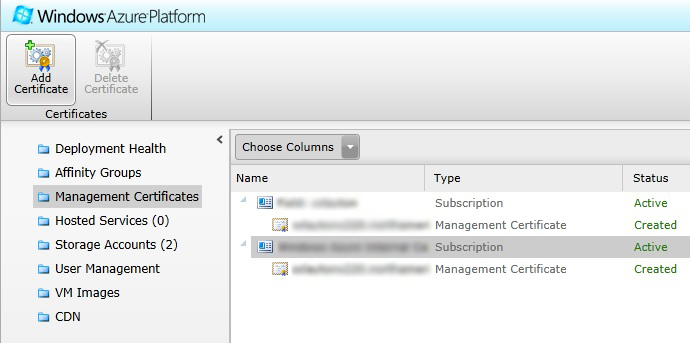
When prompted to provide the certificate, first check to make sure the subscription you want to add the certificate to is selected in the “Choose a subscription” drop down list. Browse to the CER file of the management certificate that we exported previously.
Your certificate for deploying applications and accessing the Windows Azure™ management API is now fully configured in Windows Azure.
For the next portion we will add the Remote Desktop (RDP) and Secure Socket Layer (SSL) certificates to the appropriate hosted service. Where the management certificate is tied to your account at the subscription level these certificates will be attached at the Hosted Service level. In the event that you remove your deployments these will still remain for use when you eventually redeploy, but if you remove the entire hosted service they will disappear. Also remember that these same certificates will be exposed to both the production and the staging slots.
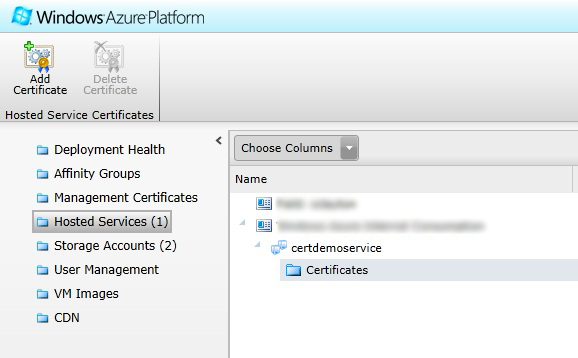
Select the “Hosted Services” toolbar item in the upper left menu. If you have not already created the hosted service you want to add these certificates to create it now, you can create it without a deployment if you would like.
Select the Certificates folder located under the hosted service that you would like to add them to. Once selected click the “Add Certificate” button from the upper toolbar.
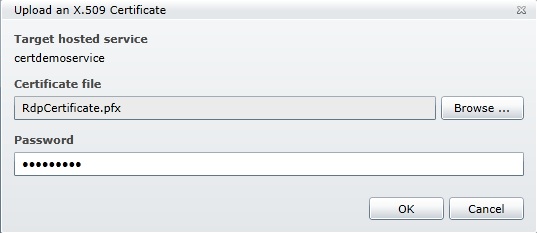
When prompted to upload the certificate browse to the PFX file we exported previously and enter the password of the exported certificate file.
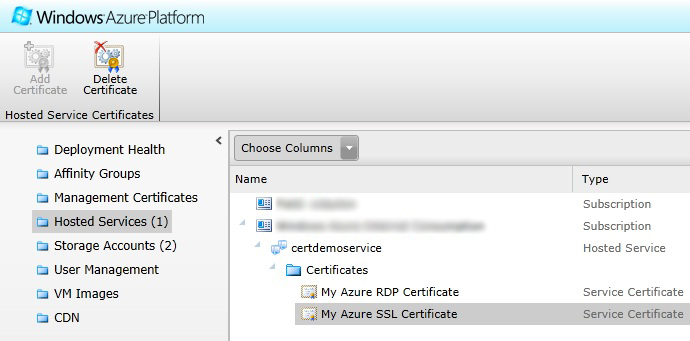
The certificate is now uploaded and fully configured inside of your hosted service follow the same procedure to upload the remaining certificate. Once the certificates are uploaded you should see them displayed under the Certificates folder in your hosted service.
Now that the certificates are uploaded successfully into our Windows Azure™ subscription and hosted service we will look at how to use them to deploy directly from Visual Studio 2010. The assumption of the post at this point is that you have already configured your development environment with the appropriate SDKs and tools.
Open the solution that you would like to publish to Windows Azure™ and select the cloud project.
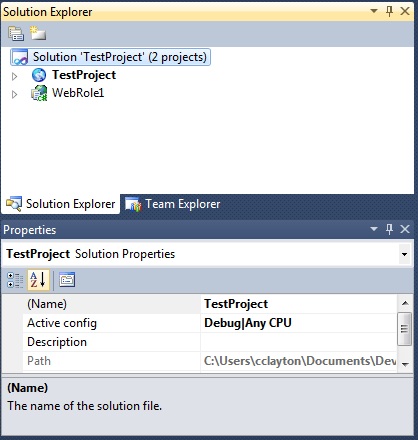
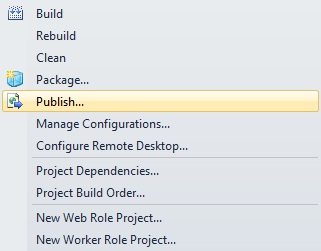
Right click on the cloud project and select the “Publish…” option from the context menu.
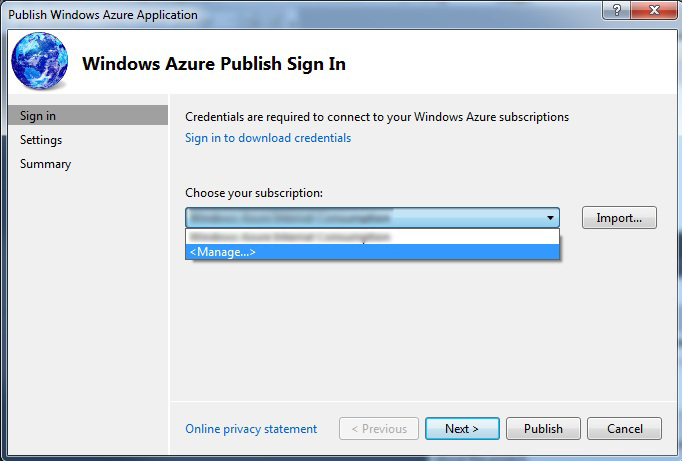
From the “Choose your subscription” drop down list select the <Manage…> option and click the “Next” button.
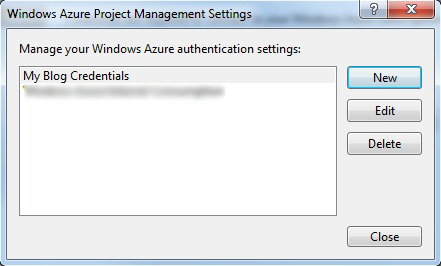
When presented with the list of Windows Azure™ settings click the “New” button.
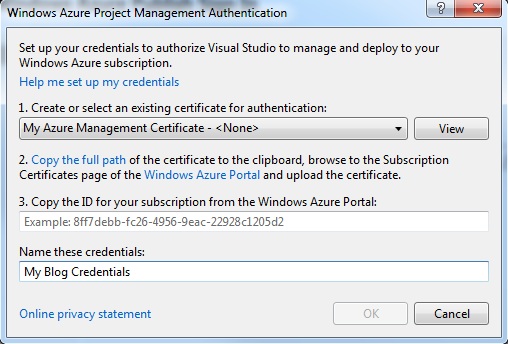
Select the management certificate we previously uploaded and enter the subscription id. The subscription id can be found in the developer portal. Enter a friendly name for these credentials so you will remember the subscription they are for in the future.
The list of settings will be displayed again and you should see the newly created one. Highlight your new credentials and click the “Close” button.
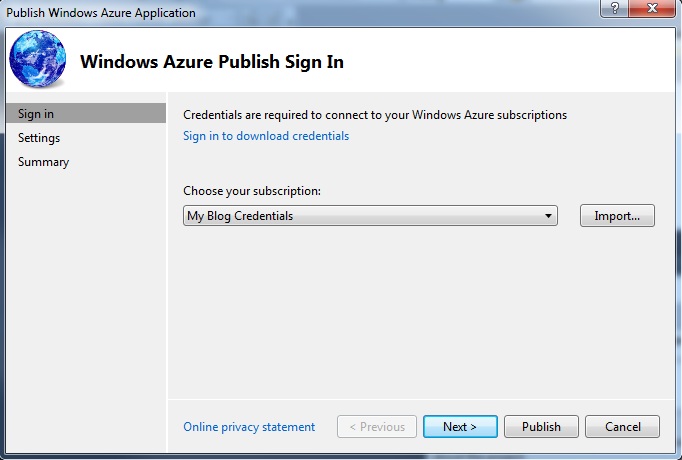
If the new credentials are not already selected in the “Choose your subscription” dropdown list select them now and click the “Next” button.
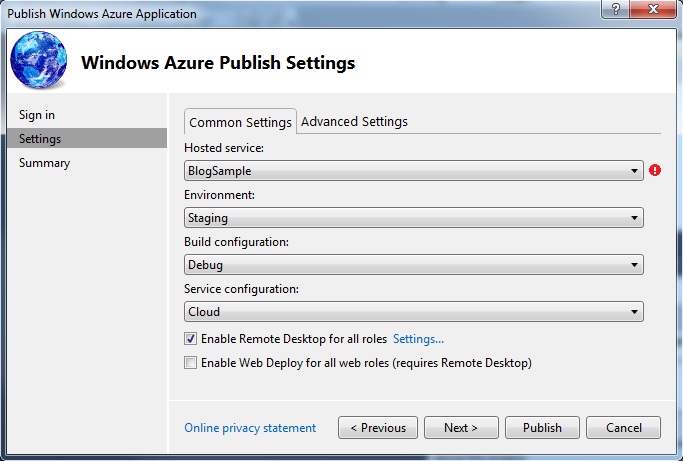
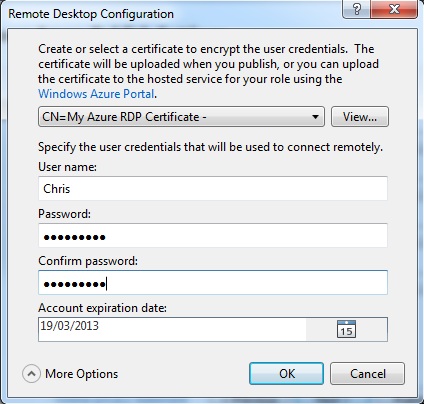
On the settings screen you can choose the hosted service you previously created as well as the slot of interest, staging or development. Seeing we are enabling RDP in this post check the box beside Enable Remote Desktop for all roles then click the “Settings…” hyperlink located to the right of it.
In the RDP settings ensure that all of the options are showing, this may require you pressing the “More Options” button to expose the certificate selection. Select the RDP certificate that we previously uploaded to the hosted service. Enter a user name and password to use for Remote Desktop access and click the “OK” button.
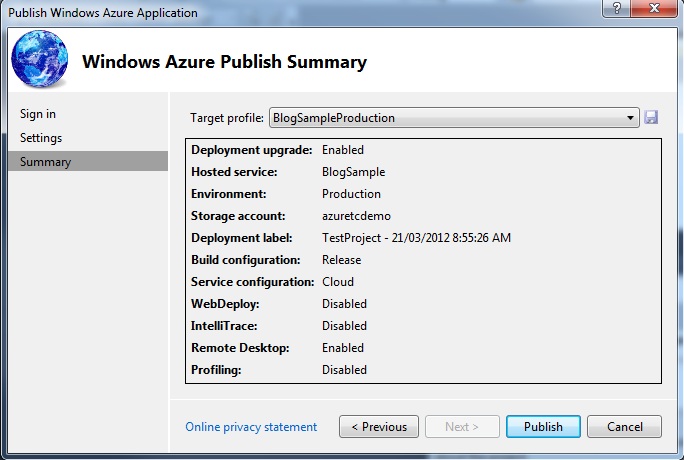
Clicking the “Publish” button will complete the publishing process.
Now we have shown how to use the certificates for publishing a solution, exposing the instances via Remote Desktop, the final thing to show is how to setup SSL in a Web Role.
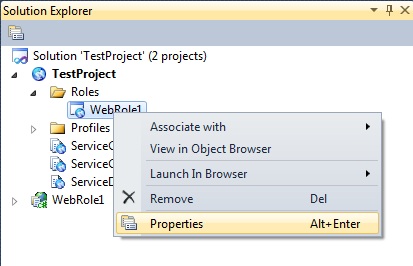
In the Cloud Project expand the “Roles” folder to expose the web role that will be exposed with SSL. Right click on the Web Role and select “Properties” from the context menu.
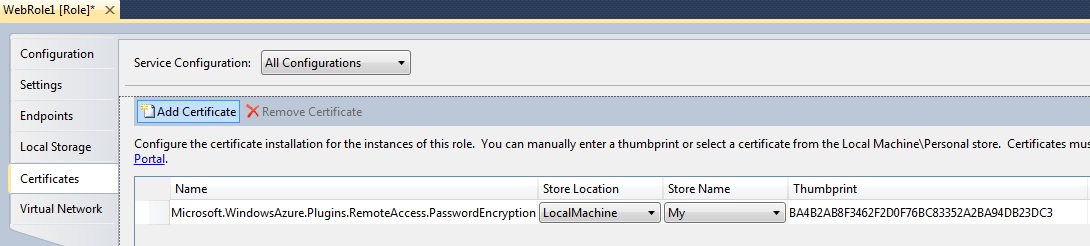
Selecting the Certificates tab will expose the Remote Desktop certificate that was previously setup. Click the “Add Certificate” button on the toolbar.
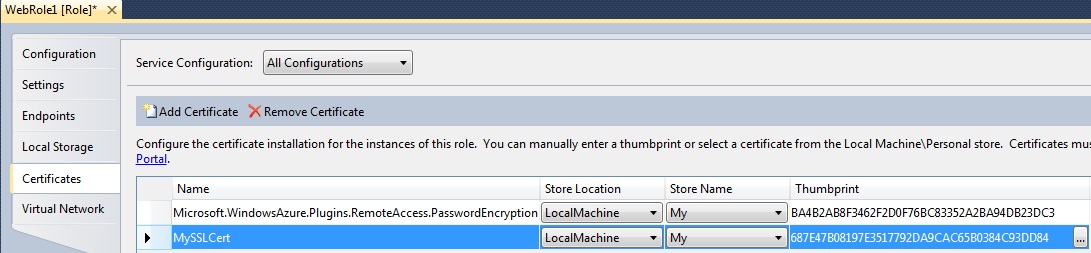
Enter a user friendly name for the SSL Certificate you want to use and select it from the list ensuring to set the store location and store name appropriately. In some cases I have found that the certificate I created does not show up in this list, if not it usually will work after you export it again and import it back into your LocalMachine/My store instead of the CurrentUser/My store.
Save the properties page and click the Endpoints tab.
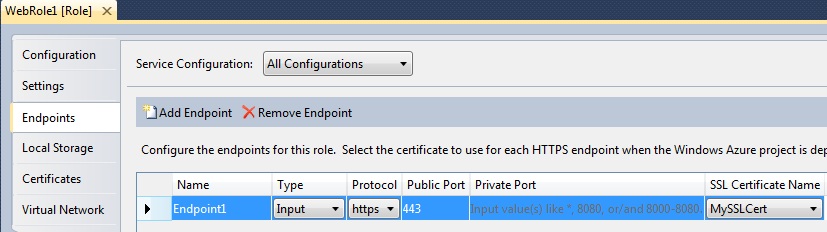
On the Web Role’s endpoint change it to https if it is not already and set the port to 443 (assuming you want the standard port). Selecting the recently configured SSL certificate from the “SSL Certificate Name” drop down will complete the SSL configuration.