Visual Studio Agents
I immensely enjoy working with the “latest and greatest” software but as is always the case, being on the cutting edge does mean that there are certain nuisances that are to be expected. Having said that I fully expected a knockdown, drag out fight to ensue when I wanted to configure the Lab Center portion contained within the latest version of Microsoft Test Manager (MTM). Thankfully though my magic eight ball was wrong which meant installing and configuring a Test Controller/Agent wasn’t too complicated.
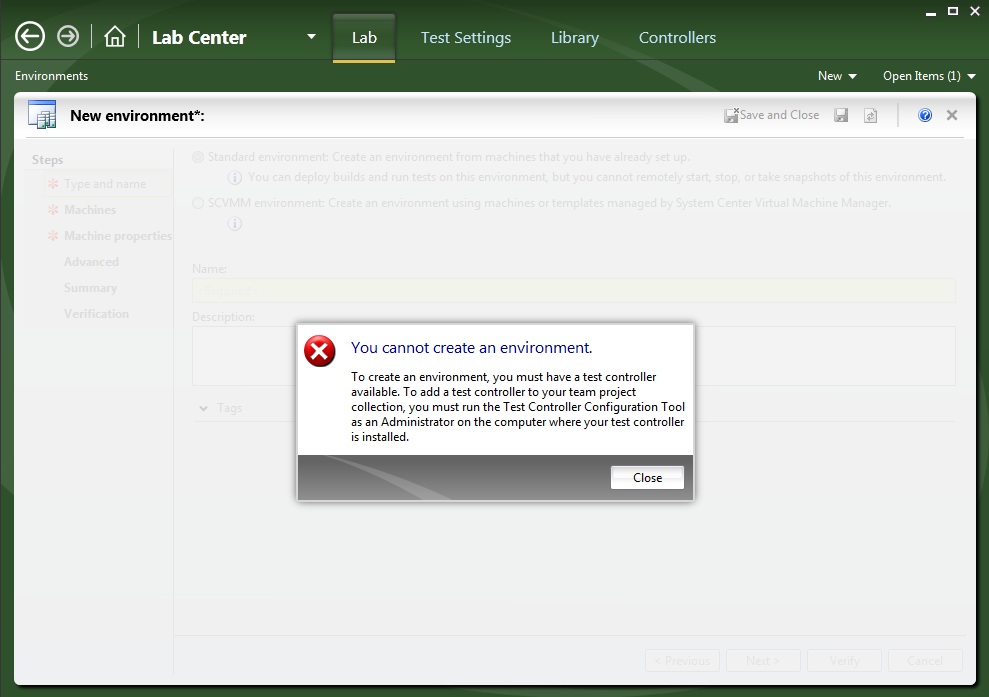
Let’s start with the error of you not being able to create an environment. The good news is that with VS11 (now officially named Visual Studio 2012) you don’t necessarily need SCVMM. That’s a good thing as now you can provision a physical machine although some functionality using this standard configuration won’t be available (e.g. remote start/stop, snapshots, etc.).
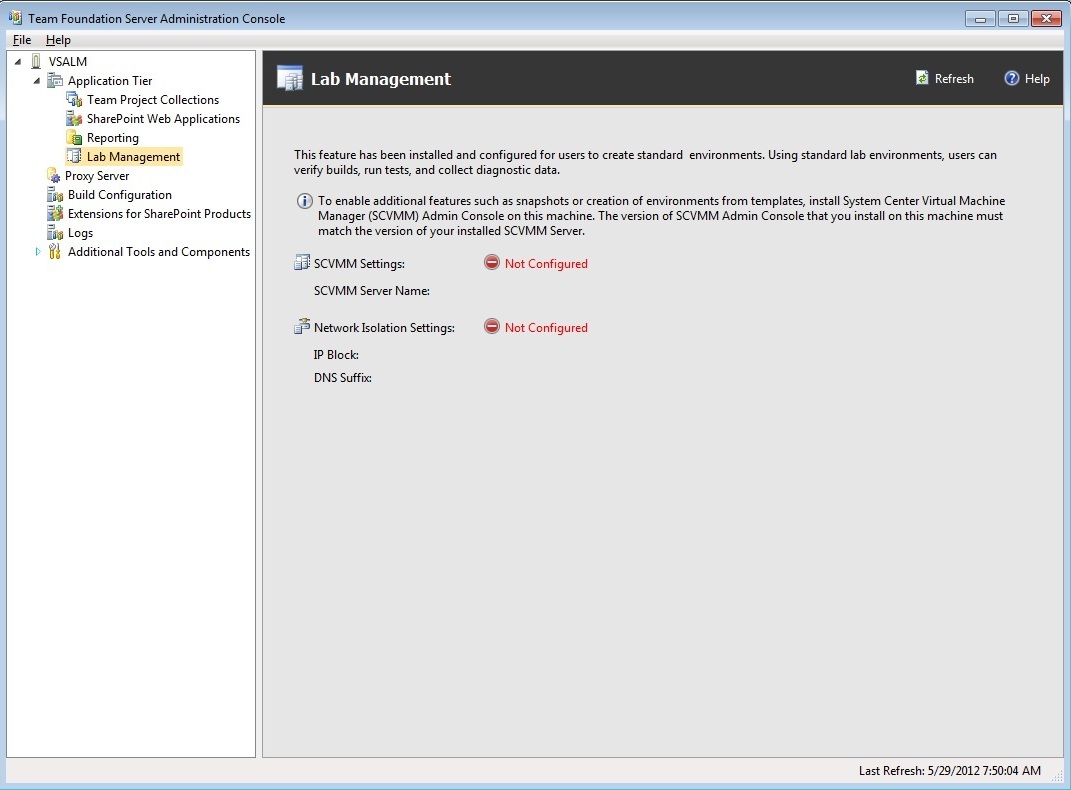
Generally once you see this error you’d think to go to the Team Foundation Server Administration Console and visit the Lab Management tab. You’d be correct if using SCVMM but since we’re not, promptly close this console and forget you ever saw the “Not Configured” messages.
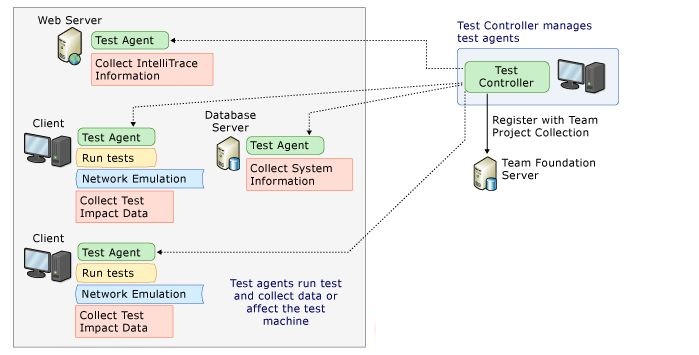
A quick refresher is in order to understand exactly why you want to have the Lab Center up and running via MTM. The main purpose is so that you can use test controllers with your virtual environment to run automated tests on your virtual environment, collect data and diagnostics when you run manual or automated tests, or to run tests using the workflow capability to build, deploy and test your application.
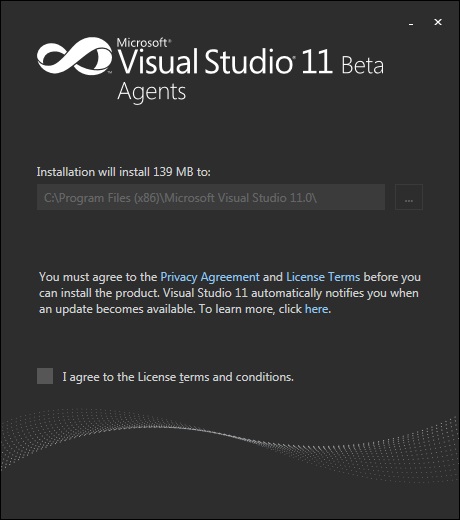
Now to get all this heady goodness, all you need to do is to install the test controller and agents accordingly. There is an ISO image available (versions: 2010, VS11, 2012) which is perfect to attach to a virtual machine (VM) or to burn a DVD.
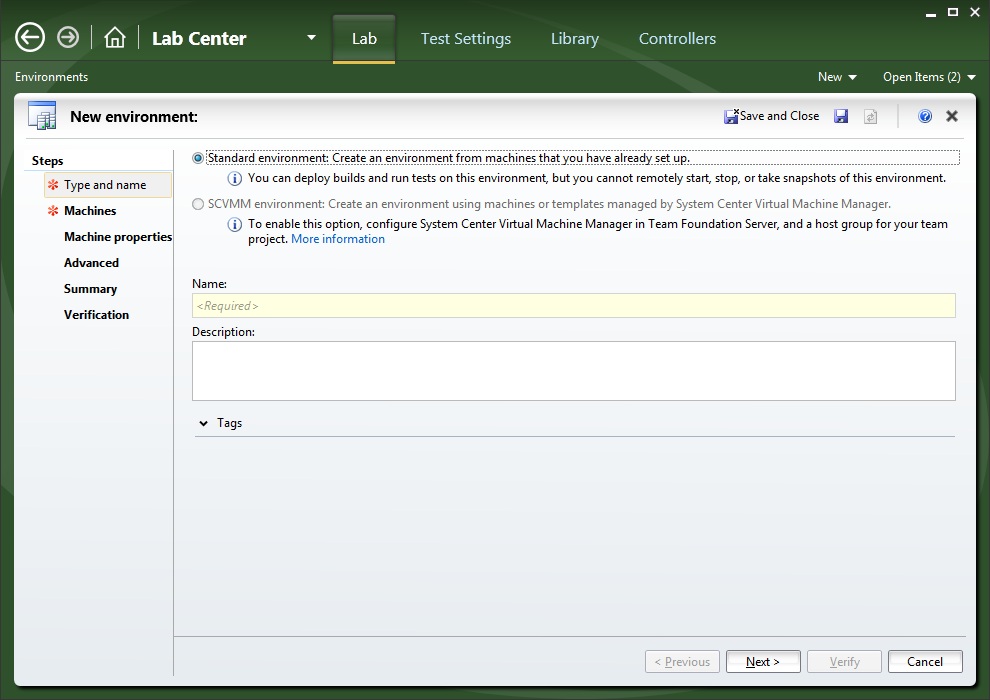
After the installation is complete you’ll now have the option to create a standard or SCVMM environment. Whichever is chosen, once created it will afford you the luxury of testing your application in multiple environments. Combine that with the associated test automation and you’ll soon realize that you can no longer live without MTM.
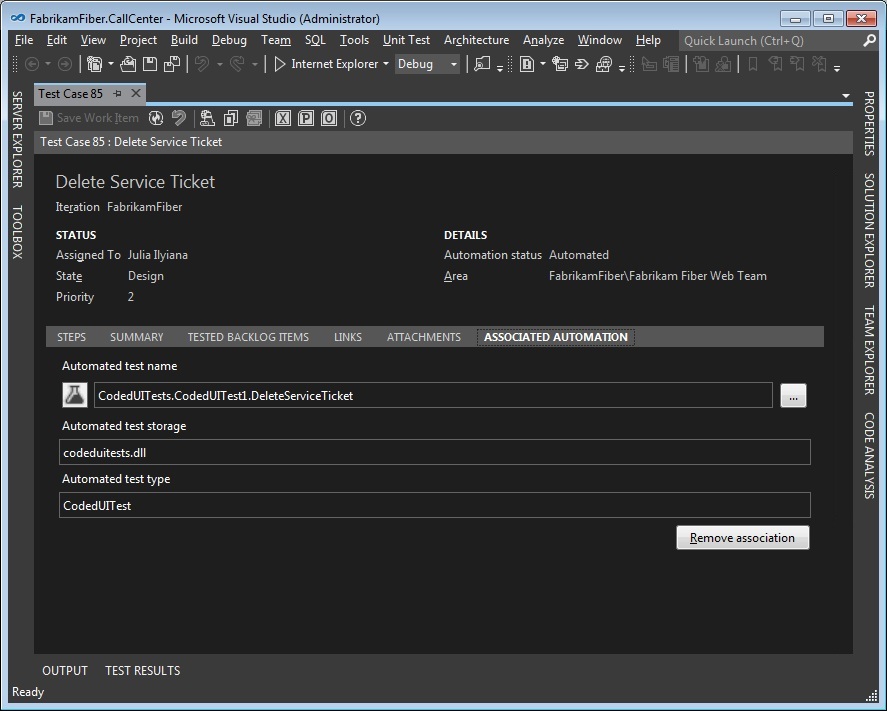
Speaking of test automation, you will need Visual Studio Ultimate or Visual Studio Premium in order to create a coded UI test that can test that the user interface for an application functions correctly. The coded UI test then performs actions on the user interface controls for your application and verifies that the correct controls are displayed with the correct values. The association can use any test created from either an existing action recording or from a new one created by using the Coded UI Test Builder.

Now the icing on the cake is to create a build definition using the LabDefaultTemplate which in turn uses the new environment and any test associated to the build. This workflow will serve as the basis for not only the environment, build and tests but also for the deployment as well.
In the past adding test automation brought with it complexity but with the tools accessible today, this barrier for inclusion has been dramatically reduced. While it’s not trivial to include automated testing for your application, with careful planning and environment configuration you can reap the all the benefits it has to offer. Additional information on Application Lifecycle Management with Visual Studio and Team Foundation Server can be found here.