Windows Azure VM Development: Part 1
With the release of the new Windows RT devices I'm interested to see how much of my development work I can do from these new devices. I'm using Windows Azure to host my virtual machine and have run into a few pitfalls along the way. Hopefully this post will help some of you to avoid these pitfalls. I have enclosed links to additional resources at the end of this blog post.
Create and Upload a Management Certificate
The first step in this process is to create a management certificate. You need this certificate to authenticate some of the tasks you perform with Windows Azure. One of these tasks is uploading a VHD. For the purposes of this blog post I won’t go into detail here on the steps to take to create the management certificate. Please review the Additional Resources section at the end of this blog post and you will find a link to an MSDN article on creating Certificates. Once you have created the certificate you’ll have to create an account with Windows Azure. Some MSDN subscription levels allow you to have a free Windows Azure account. Please check your MSDN subscription to see what benefits you have.
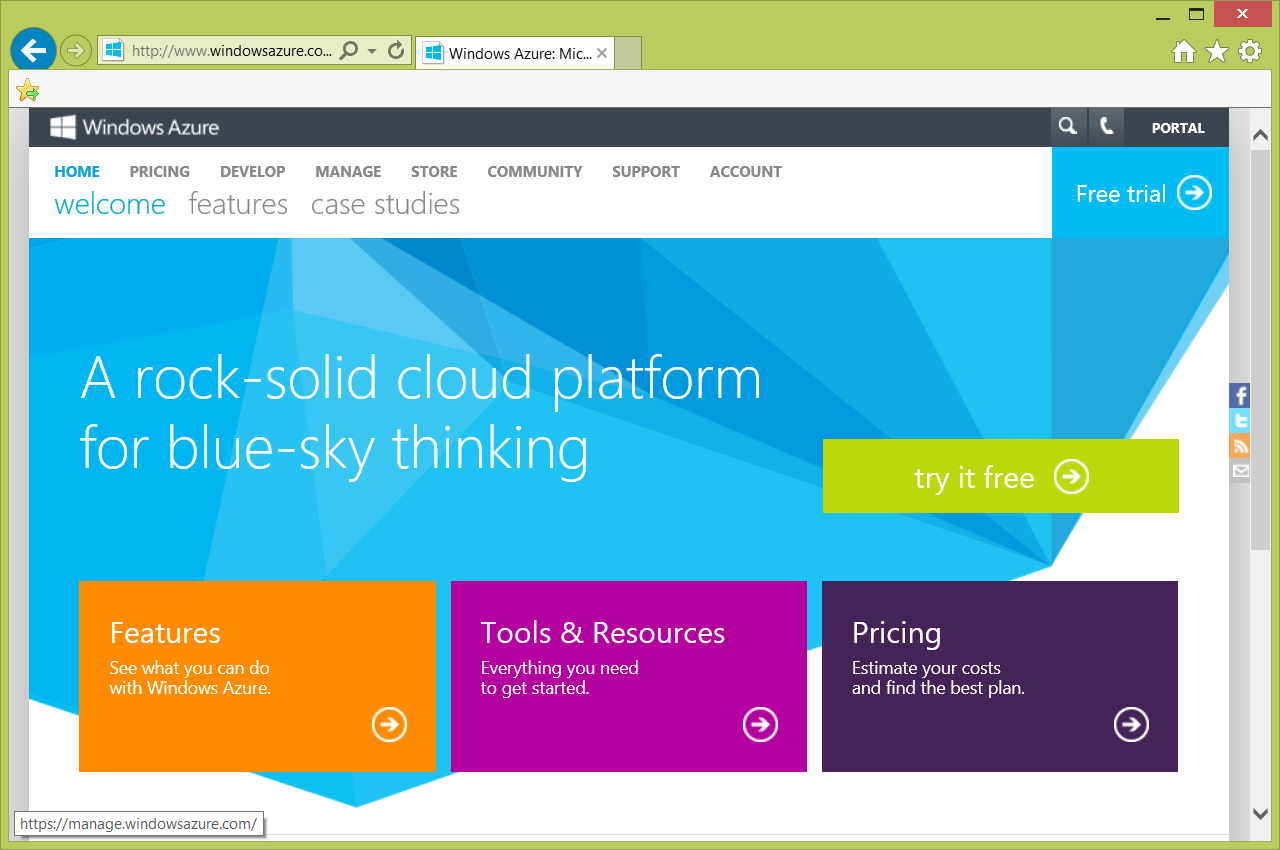
Figure 1: Windows Azure
Once your Azure account has been created login to your account and click the Portal link at the top right of your browser window. Once you are in your management portal click the New button at the bottom left to create your storage account.
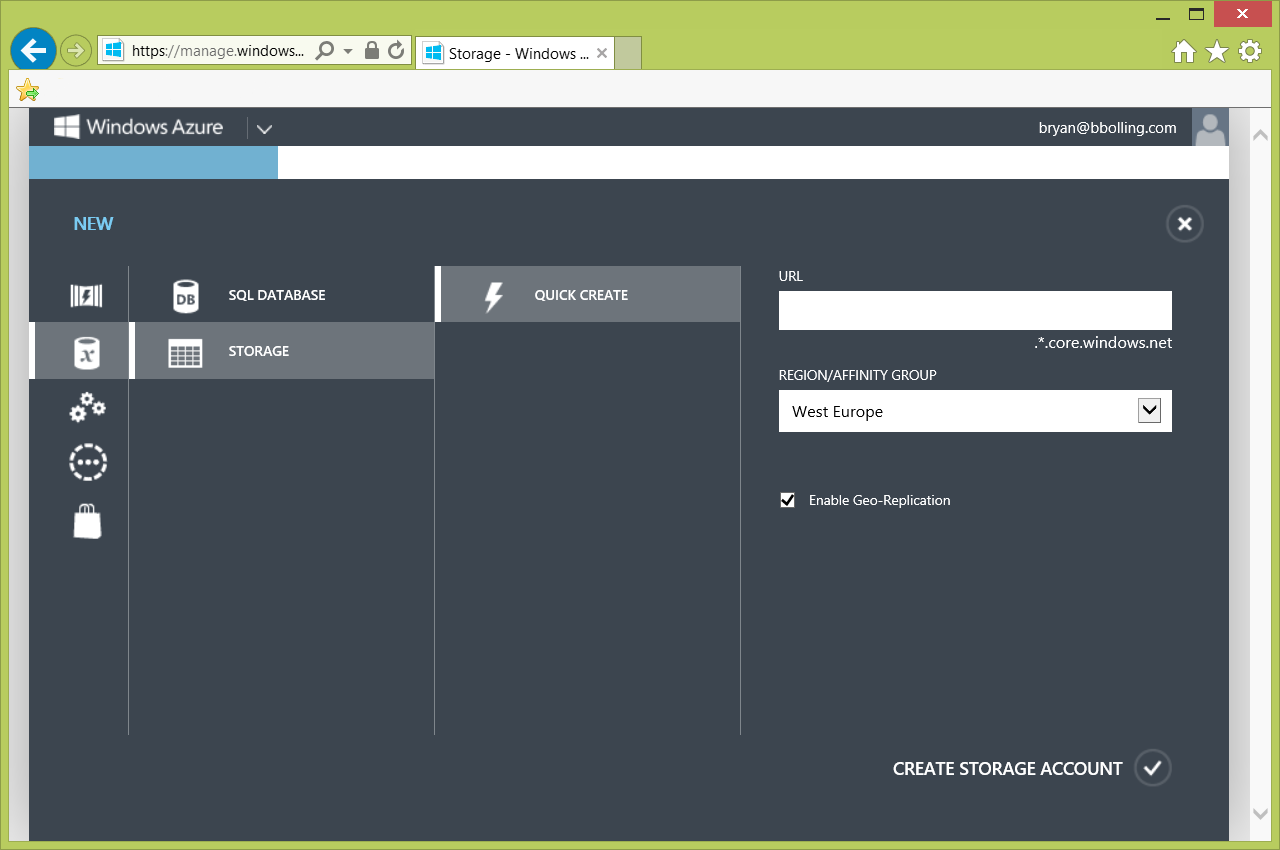
Figure 2: Create storage account
Enter the URL of your storage account and the region where your storage account will be stored. The Geo-Replication checkbox is checked by default. You can leave this option on and your data will be replicated to a secondary location. In the case of a failure your data will fail over to this secondary location. If you wait until later to enable Geo-Replication there will be a data transfer charge fee.
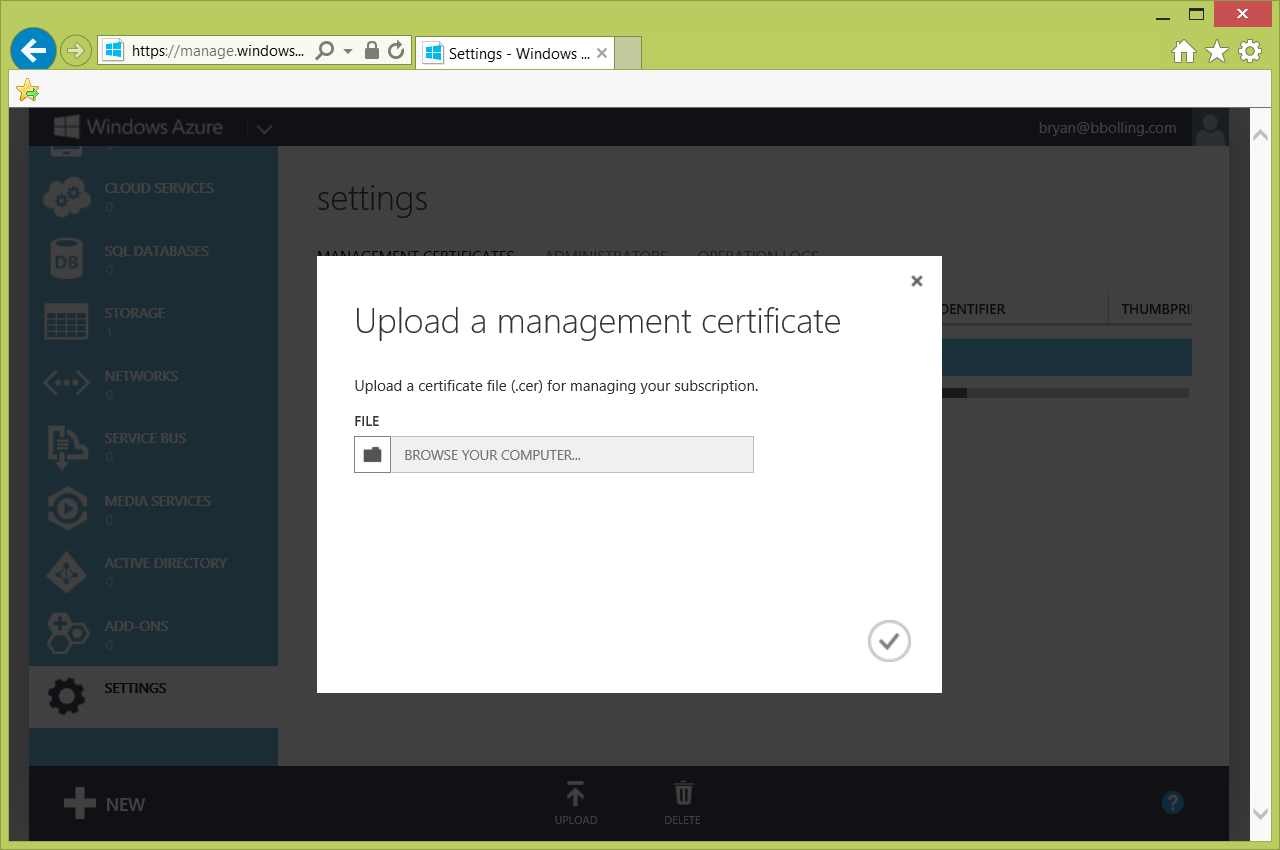
Figure 3: Upload a management certificate
Once your storage account is created you’ll need to upload the management certificate. In the Windows Azure Management Portal click the Settings link which is the last option at the bottom of the left side menu. Once on the Settings page click the Upload menu option which is in the black bar at the bottom of the window. You will see the Upload a management certificate window as shown above. Browse to the certificate and click the check mark button to upload it to Windows Azure. Once the certificate is uploaded you’ll see it displayed under the Management Certificates section of the Settings page. I recommend you open Notepad or other utility and copy the Subscription Identifier and Thumbprint. You will need one or both of these later to create the connection to your storage account (depending on which tool you choose to upload your VHD).
Prepare your VHD
I've been using Hyper-V on my Windows 8 laptop to run the VM locally. Hyper-V creates VMs that have a ".vhdx" file extension. These VHDX files aren't compatible with Windows Azure. You'll have to first convert the VHDX to a VHD.
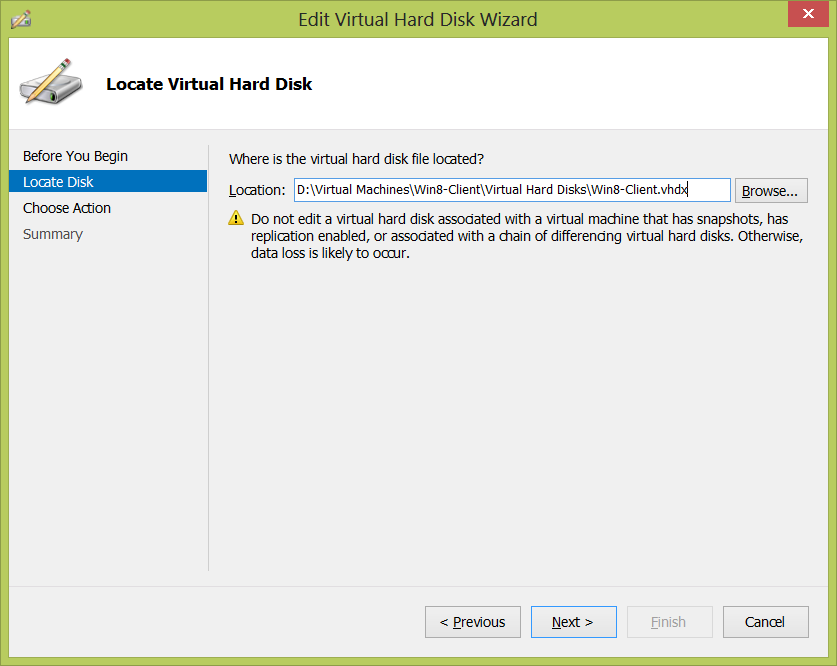
Figure 4: Locate Virtual Hard Disk
Launch the Hyper-V Manager, select the virtual machine you want to upload in Windows Azure, and select the Edit Disk action from the Actions pane. Select the Next button from the first screen and you will see the “Locate Virtual Hard Disk” window as shown above. Click the Browse button, navigate to the VHDX file in your file system and click the Open button. Once back on this screen click the Next button.
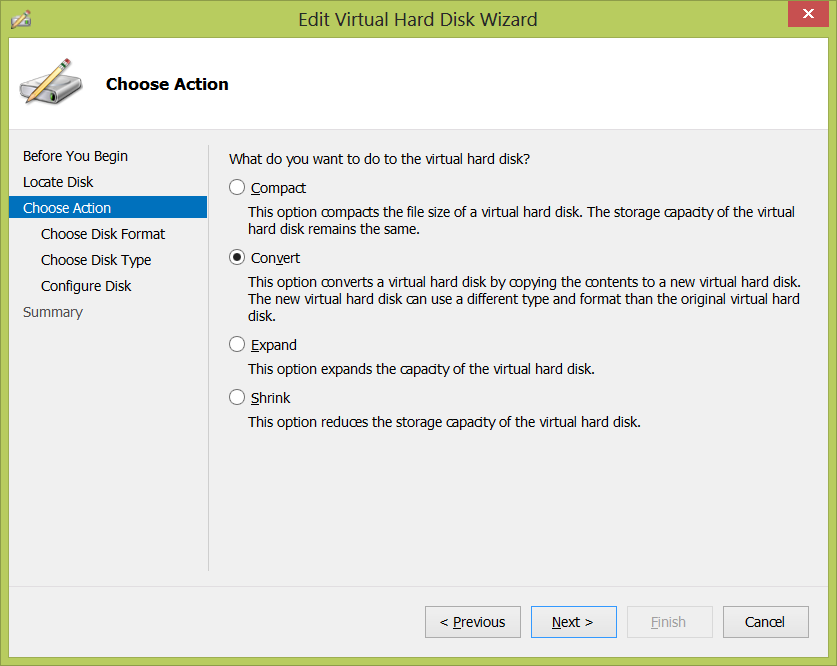
Figure 5: Choose Action
Select the Convert radio button and click the Next button.

Figure 6: Convert Virtual Hard Disk
Select the VHD radio button and click the Next button.
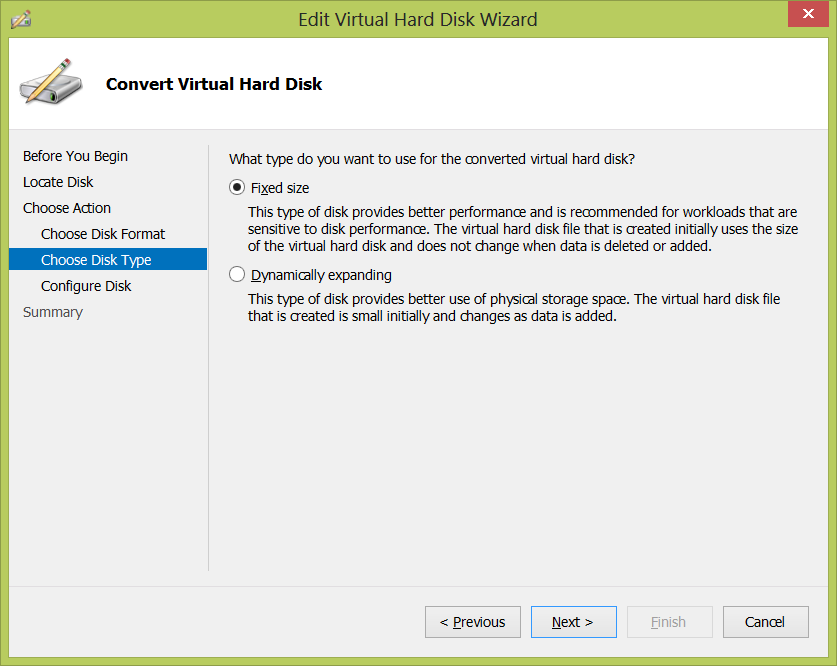
Figure 7: Virtual Hard Disk Type
Select the Fixed Size radio button and click the Next button.
Note: It is technically possible to choose the dynamically expanding disk type and upload it successfully to Windows Azure. You will NOT be able to create a disk image in Windows Azure if the VHD you uploaded is dynamically expending. You must choose the fixed size disk type. |
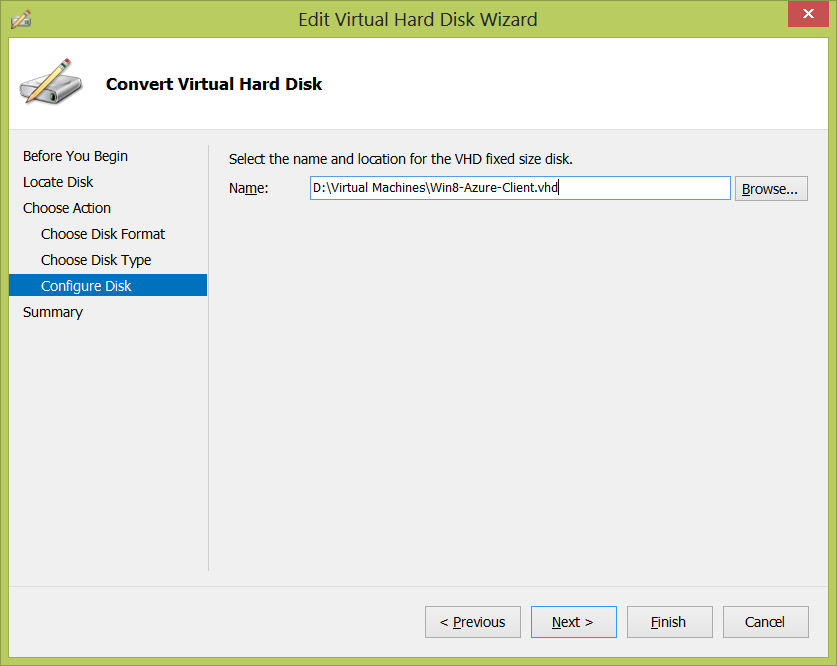
Figure 8: Select VHD Name and Location
Click the Browse button to select the name and location of the desired VHD that will result from this operation. Click the Next button to continue.
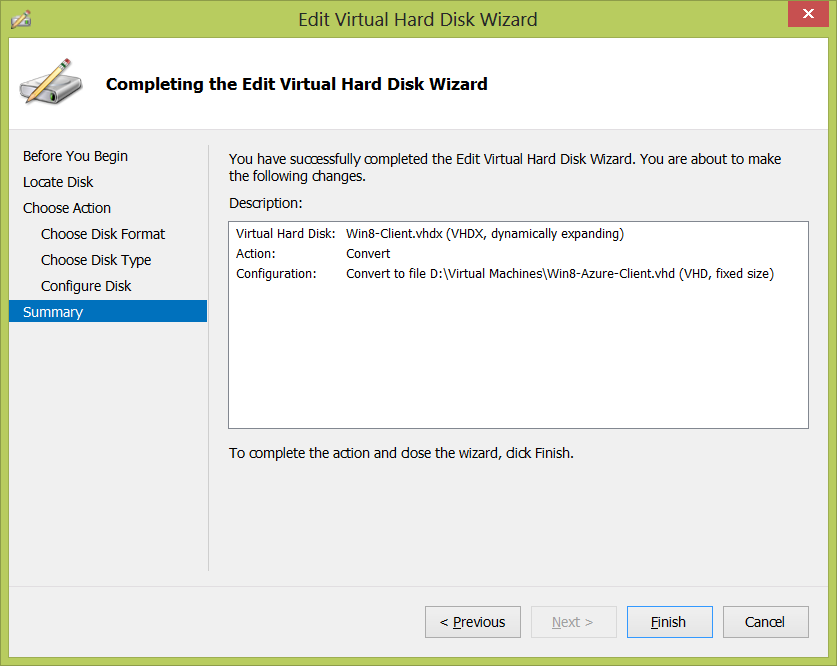
Figure 9: Completing the Edit Virtual Hard Disk Wizard
Review the information in the description and click Finish.
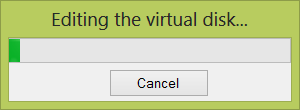
Figure 10: Editing the virtual disk
The virtual hard disk conversion process is underway. Once this is complete you will have a VHD that can be uploaded to Windows Azure.
Upload the VHD
There are several tools that can be used to upload your VHD to Windows Azure. The tool you will hear the most about is the CSUpload tool. There are other GUI tools that can be used to view your Windows Azure Storage. A comprehensive list has been posted in a blog by the Windows Azure Storage Team. For this example I am using the ClumsyLeaf CloudXplorer v1. Here I’ll open up CloudXplorer and setup my Windows Azure Storage account.

Figure 11: CloudXplorer
From the CloudXplorer main window click File --> Accounts to open the Manage Accounts window.
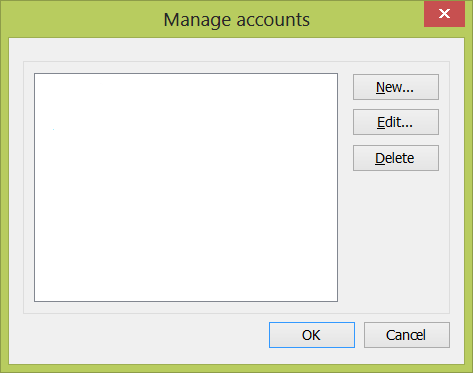
Figure 12: Manage Accounts
By default you should see a blank window in the Manage Accounts window. In the Manage Accounts window click the New button. A menu will drop down from the new button with two options: Windows Azure Account, and Local DevStorage Account. Here we’ll choose the new Windows Azure Account option.
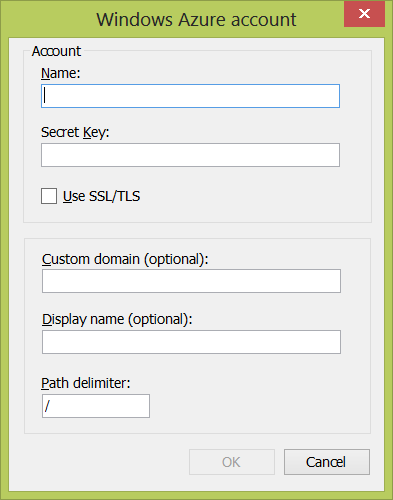
Figure 13: Windows Azure Account
Next you’ll have to enter your account details for your Windows Azure account. Once your information is entered correctly click the OK button. You should be taken back to the Manage Accounts window where you should see your new Windows Azure storage account added. Click the OK button to close the Manage Accounts button.
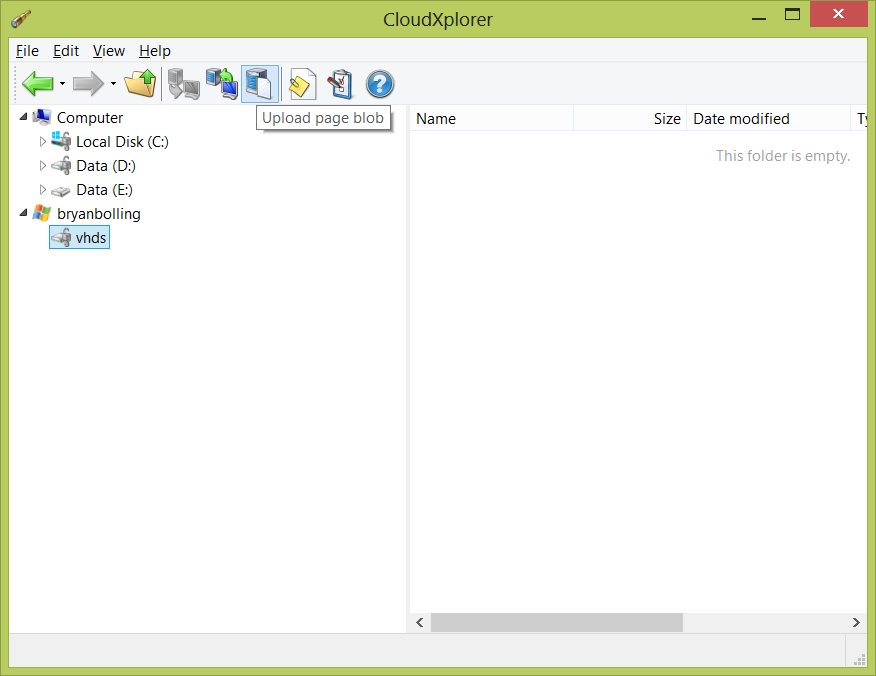
Figure 14: CloudXplorer
Once you’re back at the main CloudXplorer window, click the Upload page blob button on the toolbar as seen above.
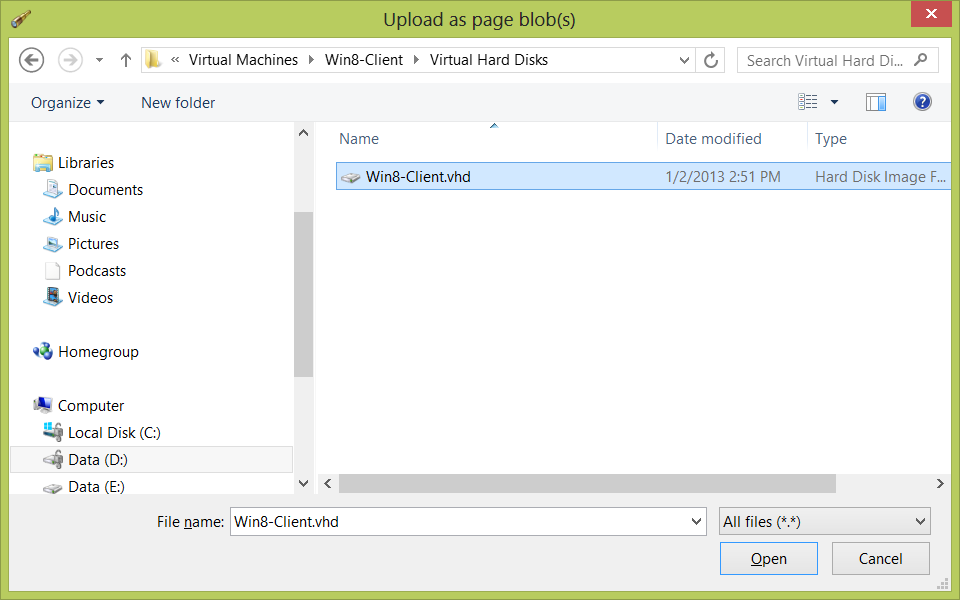
Figure 15: Upload as Page BLOB
In the Upload as page blob window browse and select the VHD you want to upload and click the Open button.
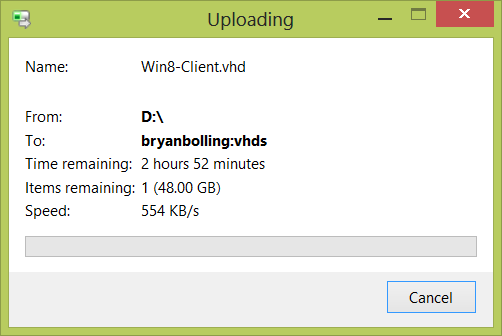
Figure 16: Uploading
Your VHD is now uploading and will be ready to use once the upload is complete. In my next blog post I’ll cover provisioning a disk image and a virtual machine in Windows Azure.
Additional Resources
As promised here are links that can provide more information on what I covered above. Please leave a comment with any links you feel should be added to this list.
Management Certificates
- How to Create a Certificate for a Role: https://msdn.microsoft.com/en-us/library/gg432987.aspx
Preparing (converting) VHDs
- Convert VHDX to VHD: https://www.windowsitpro.com/article/virtualization2/convert-vhdx-vhd-windows-server-2012-143172
Uploading VHDs
- CSUpload command-line tool: https://msdn.microsoft.com/en-us/library/gg466228.aspx
- Windows Azure Storage Explorers: https://blogs.msdn.com/b/windowsazurestorage/archive/2010/04/17/windows-azure-storage-explorers.aspx
- ClumsyLeaf CloudXplorer v1: https://clumsyleaf.com/products/downloads