Setting up Powershell with Azure
Overview
I tried a bunch of ways to configure Powershell with Azure. This one, documented below, finally worked.
Prerequisites
A Windows Azure subscription – If you don’t currently have a paid subscription, you can sign-up for a FREE trial subscription on the Windows Azure account site https://manage.windowsazure.com/.
Windows Azure PowerShell module – Download and install the Windows Azure PowerShell module https://go.microsoft.com/?linkid=9811175&clcid=0x409 on a PC running Windows PowerShell 3.0.
Task 1 of 1 - Setting up Powershell with Azure
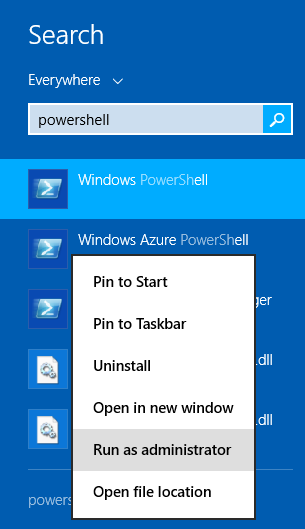
Start Powershell as Administrator
Starting Powershell
Bring up the Powershell IDE
Starting the IDE
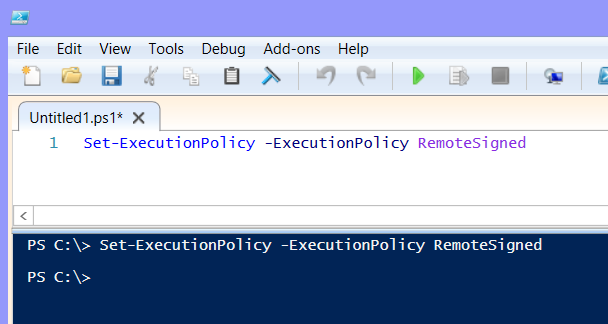
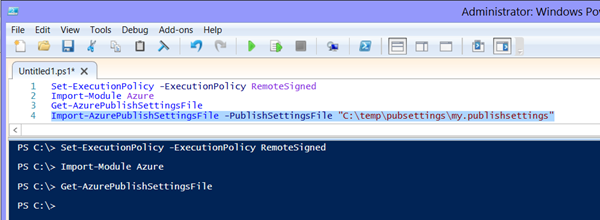
Set the Windows PowerShell script execution policy to RemoteSigned:
Specifying the execution policy
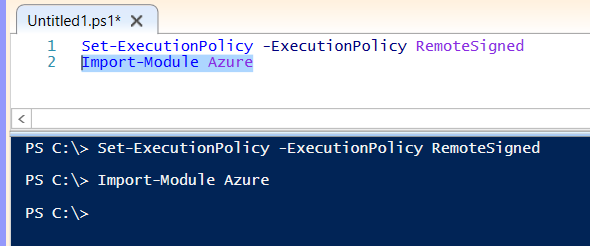
Import the Windows Azure PowerShell module
Import Azure cmdlets
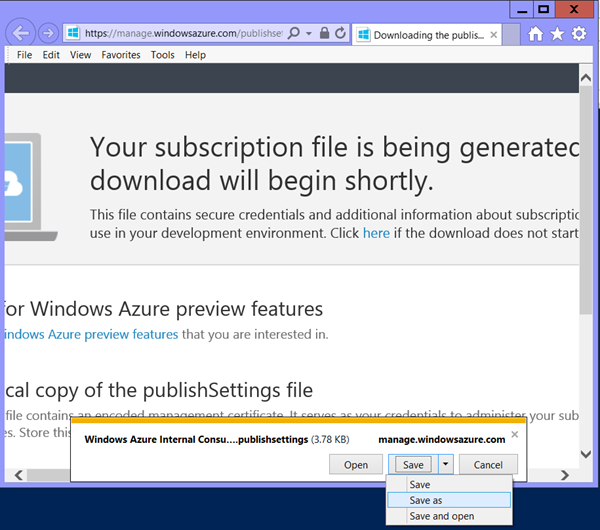
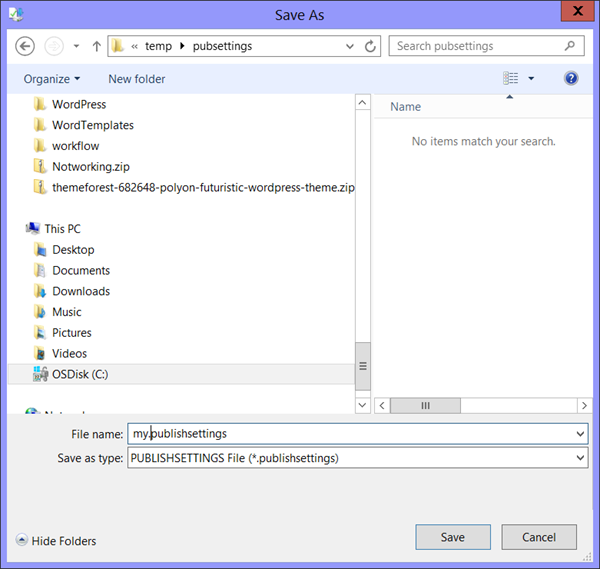
Download the Windows Azure Publish Settings file for your Windows Azure subscription. You may need to sign in.
- Save to a local folder
Downloading the publish file
Save to a local folder
Saving to a local folder
Import the publish settings file
Importing the publish settings file
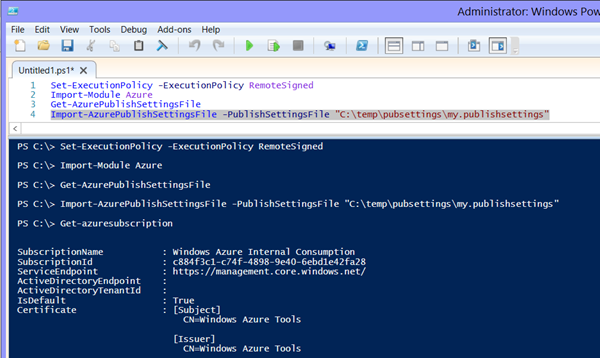
Validate the import by typing Import-auzrePublishSettingsFile.
Validating the setup
Summary
You should now be ready to start managing Azure with Powershell.
