Getting Started With Node.js and Visual Studio
This is first in a series of post dedicated to helping you get up to speed with Node.js. This post will not make any attempts to explain why node is interesting or why you should learn it.
There are many ways to learn node and many developer tools to work with. Visual Studio is the market leader when it comes to integrated development environments. So that’s what I’m going to use.
Even if you know node, this post will have value in that it will show you how to work with node using Visual Studio.
Installation
You can start by going to CodePlex to download the necessary installation files.
This link and how to get started:
https://nodejstools.codeplex.com/releases/view/114437
As of this writing the tools are in the early stages. The installation file can be found here:
Figure 1 - CodePlex installation/MSI file
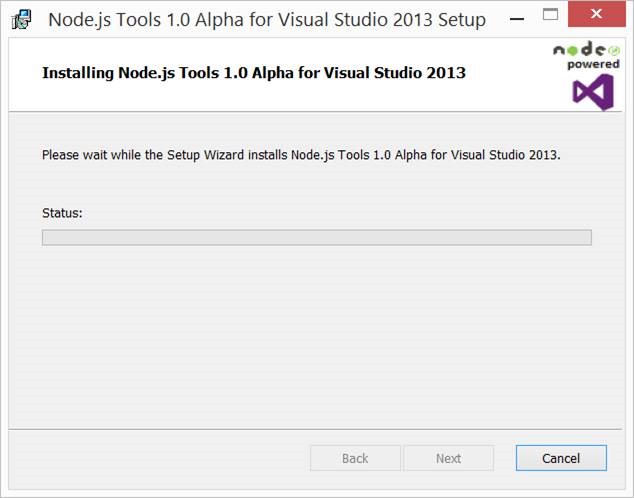
The Visual Studio node extensions will be registered enabling you to create node projects from within Visual Studio.
Figure 2 - The node Installer for Visual Studio 2013
Your first basic application
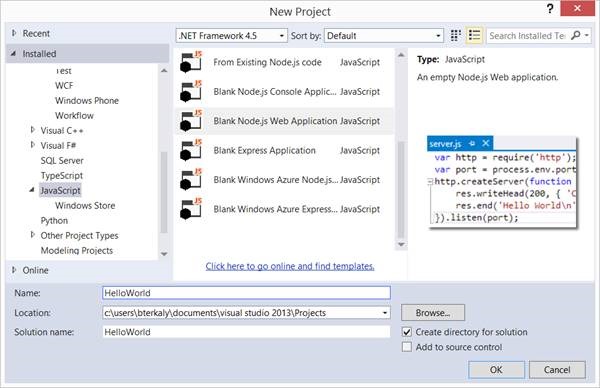
Let’s begin with the most simple application possible. Start Visual Studio and go to the file menu and choose new project. Notice there is a JavaScript template, allowing us to select Blank Node.JS Web Application. I will choose HelloWorld.js.
Figure 3 - File/New Project/Blank Node.js Web App
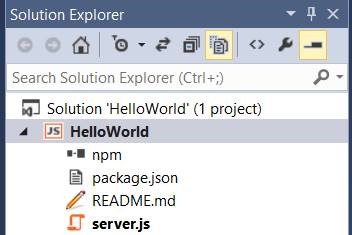
Solution Explorer will contain the most rudimentary aspects of your node application. As we move through this tutorial we will add additional packages.
Figure 4 - Solution Explorer
Visual Studio automatically provides the “hello world” message.
| server.js | |
| 1 2 3 4 5 6 | var http = require('http'); var port = process.env.port || 1337; http.createServer(function (req, res) { res.writeHead(200, { 'Content-Type': 'text/plain' }); res.end('Hello World\n'); }).listen(port); |
(Code Snippet - server.js)
Note: We will quickly address that Visual Studio supports Intellesense.
Intellisense
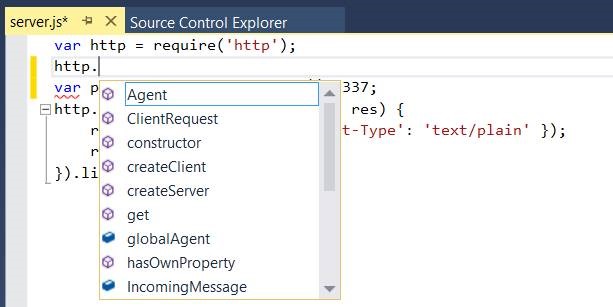
The nice thing about Visual Studio is that Intellisense is available, dramatically simplifying coding.
Figure 5 – Intellisense
Notice in the figure above I just typed in http plus a period and the system automatically provided on the methods and properties relevant for http.
Require
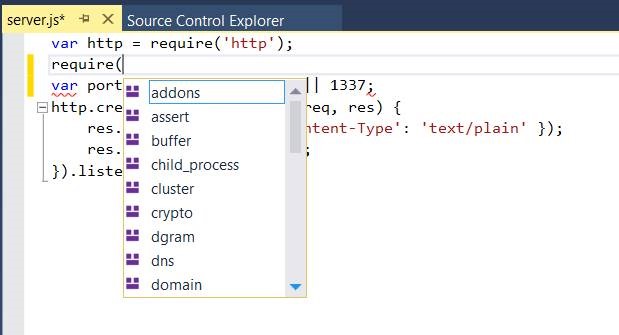
You can also use the require() method to load and cash JavaScript modules, which are localized memory spaces that contain singletons and class definitions. We will talk more about this capability in future modules. For those of you with some node experience, you’ll appreciate Visual Studio’s capability to list locally installed default modules.
Simply type in require ( .
As you can see Visual Studio will automatically provide a list of available modules that are part of the default installation.
Running our project
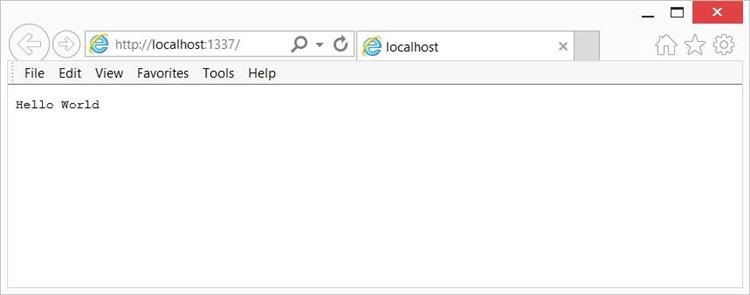
One of the great things about Visual Studio is its ability to run with a simple F5 key. This action will automatically start the browser on the local Web server, selecting port 1337.
Figure 6 - Visual Studio showing available modules
Figure 7 - Running project
Notice in the figure above that everything just works and that hello world easily shows up in the browser.
Summary
In this post we looked at the minimum knowledge you will need to move forward. We started with the discussion of how to integrate node.js with Visual Studio. We looked at some of the built-in niceties that Visual Studio provides, such as IntelliSense. We then ran the project with the simple F5 key.

