Cognitive Services: Deploy your own image recognizer with Custom Vision
[日本語版はこちら]
Custom Vision : newly member of Microsoft Cognitive Services
Custom Vision, family of Microsoft Cognitive Services, is a service to create original image detection engine, and you can call it as web API to recognize photos. Simply uploading photos and tagging image, detection engine is ready without building image detection logic yourself using machine learning,
Here is how to create image detection engine from images in only 2 steps, and show you how to access from API.
How to create image recognizer with Custom Vision
Requirement
- Microsoft Account
- Need for Custom Vision account. (-> Create new Microsoft Account if you don't have)
- Photos
- 5+ photos per on tag for training data, and 2-3 more photos for test data
-> you can download same photos in case you can't prepare :) - jpg/png/bmp format, <4MB per photo
- 5+ photos per on tag for training data, and 2-3 more photos for test data
Only 2-Steps Tutorial
Upload photo and train detection engine from Custom Vision Portal Check Image detection engine
Upload photo and train detection engine from Custom Vision Portal
Custom Vision has portal (https://customvision.ai/) , to upload images and create, get studied, and manage image detection engine. Access, and sign in with a Microsoft account. 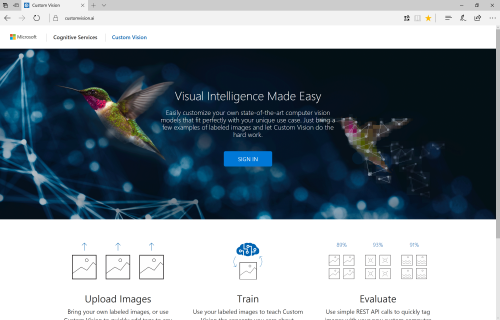
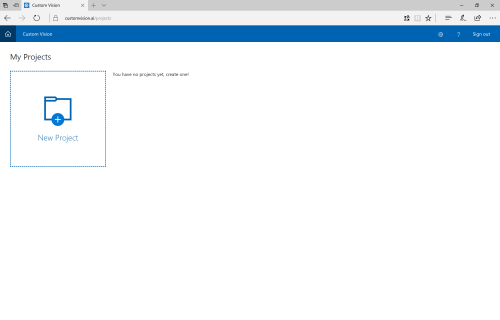
Create a new project to click +New Project
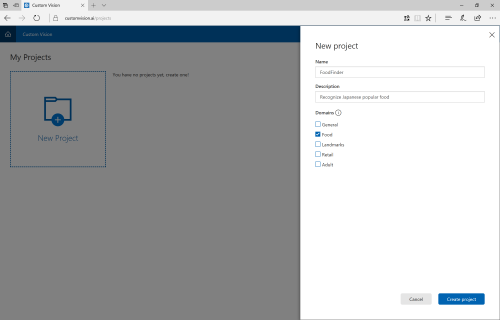
Type name (Project name) and Description (description of the project), and then select Domain (image categories). Let's select Food this time.
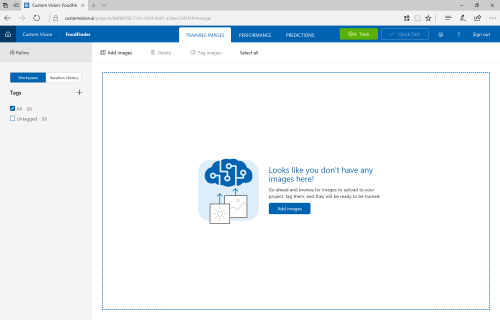
Select project you've just created, and go to Workspace page to upload and tag photos.
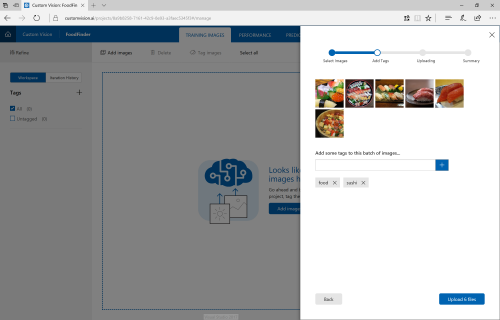
Upload photos from your local PC. You can upload multiple photos to put same tags at once, input tags (food, and sushi this time) and upload.
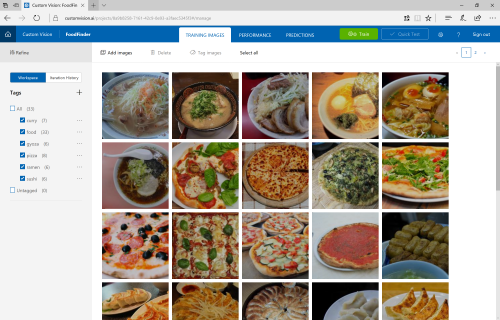
Click Add images to add more photos with tags. Tagged as food (for all photo), curry, gyoza, pizza, ramen, sushi. To train image detection engine, click [Train] on upper screen
Check Image detection engine
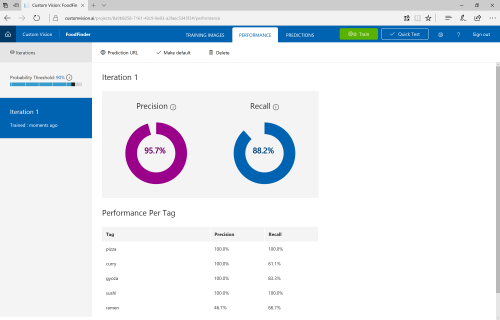
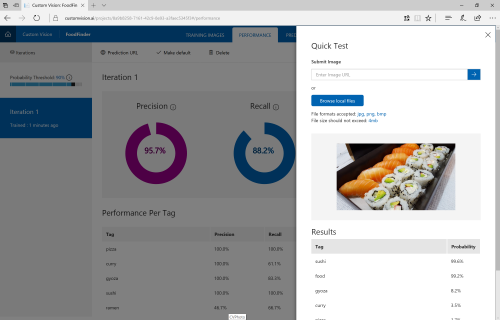
When training is complete, Prediction URL appears. Clicking [Quick Test], you can test engine with test data.
Select photo from your local PC or public storage (online) for testing. Please use one which is not used as training data. Tags and its confidence (as Probability) will be shown.
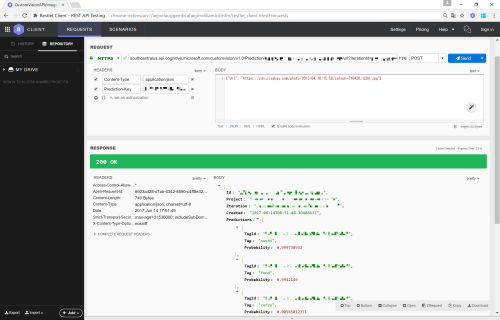
At Prediction URL page, API access information will be shown.
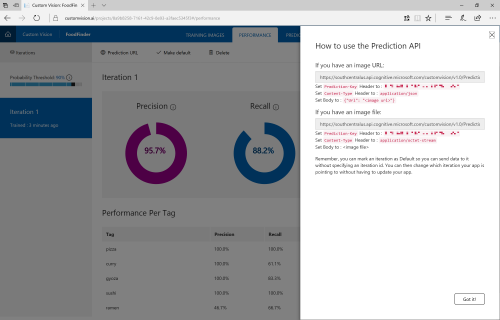
Now you can access this engine via API.
Send POST to to URL that appears at URL prediction, setting content-type and Prediction-key on header, and binding URL or binary of image on body.
API returns result in JSON format as well as quick test on portal, Tags and its Probability.