Mount Azure Blob Storage as Local Drive
Gregory Suarez – 01/09/2014
I was recently working with a colleague of mine who submitted a MapReduce job via an HDInsight Powershell script and he needed a quick way to visually inspect the last several lines of the output after it had completed. He was looking for an easy and flexible way to do this considering the results were stored in Azure blob storage.
There are a couple of approaches one could take here. First, you could connect to the head node via remote desktop and execute the Hadoop tail command to retrieve the last several rows of the file. The following shows an example that could be used from the rdp session to send the results to the console for visual inspection.
hadoop fs -tail /<location to filename>
Other standard ways all involve copying the results from the Azure container down to the local file system. This could be performed using external utilities such as AZCopy or could be accomplished programmatically via Azure Powershell script . Once the results are retrieved from the remote system you could use whatever tools are at your disposal to interrogate the file.
I recommended a third option which was to mount the blob storage as a local drive to the Windows 8.1 machine that submitted the job.
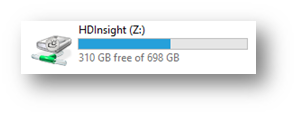
Above, the drive letter Z: maps to <storageaccountname>.blob.core.windows.net. When you do this you gain the flexibility of drag and drop for uploading and downloading files to blob storage as well as in place editing and direct random access to the files contained in the remote location. This indirection allows one to execute local tools such as tail and grep against the remote blob location without having to explicitly copy the files to the local file system. When configured like this - you can think of Azure Blob storage as a USB drive that was just plugged into your system. My colleague simply opened a Windows 8.1 command prompt after the job was submitted and issued a tail command on the output file contained in blob storage to retrieve the desired results.
There are a few tools that I found which offer Azure Blob Storage drive functionality - but one in particular is Gladinet Drive Access . I have had much success with this tool which is why I recommend it.
Configuration requires just a few steps.
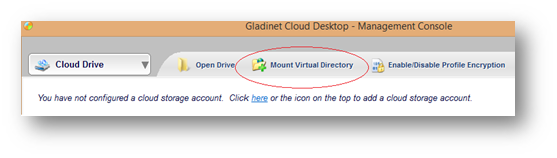
Open Gladinet Desktop Management Console and select Mount Virtual Directory
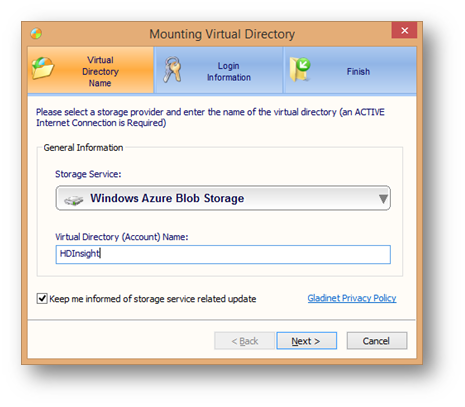
Next, from the Mounting Virtual Directory dialog box, select 'Windows Azure Blob Storage' from the drop down list of options. Next specify a Virtual Directory name (any name) and press next to continue
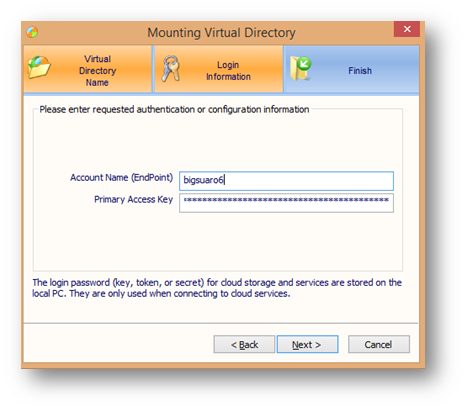
From the Login Information tab, specify the Azure storage name used for your HDInsight container. For example, the URI to access the default file system on my HDInsight cluster is à wasb://suaro22@bigsuaro6.blob.core.windows.net . In this case, I would enter bigsuaro6 as the storage name into the Account Name dialog box below. Primary Access Key - go to your Azure storage accounts, select your desired storage account. Click Manage Access Keys in the bottom toolbar. Copy the Primary Access Key code and paste it into the Primary Access Key textbox.
Once the drive is configured, you can use it like any other drive on your system.
While we do not endorse or support this tool, it may come in handy for you to use on daily basis.