Capture Win32 applications into a provisioning package using ScanState tool
Hi guys,
Today I’m gonna cover how to capture Win32 applications into a PPKG using ScanState tool (available in USMT of Windows 10 ADK).
The standard way to capture Win32 applications using ScanState tool is to run the following command:
scanstate /apps /ppkg c:\Temp\win32apps.ppkg /l:c:\Temp\win32_scan.log
But by default ScanState tool, using the /apps option, will capture all the applications located under the following folders:
- C:\Windows
- C:\Program Files
- C:\Program Files (x86)
- C:\ProgramData
- C:\Users
This might capture way too much data into the provisioning package so we need to limit the captured data to a specific scope. Let’s go through the different steps to execute that.
Create an external media containing ScanState tool
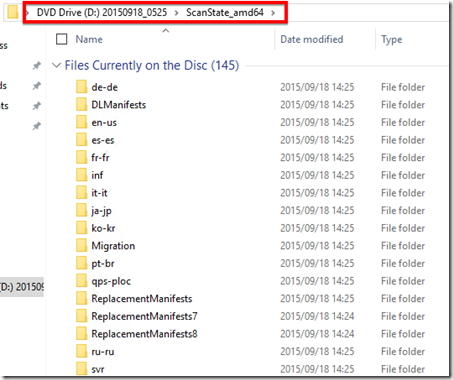
To run ScanState tool on a reference Windows 10 machine, you need to create a removable media containing ScanState. To do so, copy the content of the following folders into a external USB drive. from a computer where USMT (of Windows 10 ADK) is installed.
- "C:\Program Files (x86)\Windows Kits\10\Assessment and Deployment Kit\windows setup\adm64\sources"
- "C:\Program Files (x86)\Windows Kits\10\Assessment and Deployment Kit\User State Migration Tool\adm64"
In my lab, I copied those folders content in a USB drive under “D:\scanstate_amd64”
Restrict data captured by ScanState tool
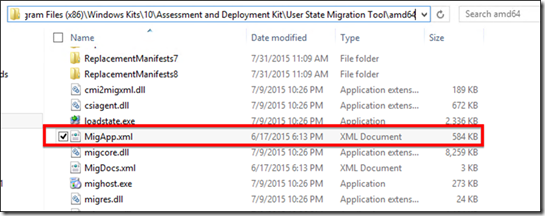
To limit our capture to specific applications, we first need to use an application discovery template provided by USMT. That template is called “MigApp.xml” and is located in the USMT installation path.
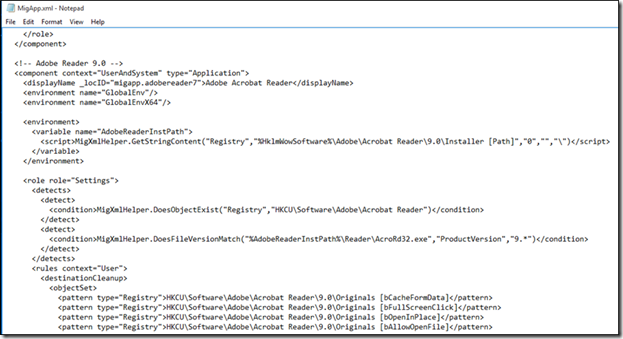
That file contains a detection method for most of the popular applications. You can see in the below picture the detection information for Adobe Reader 9.0.
Using that application detection file with ScanState tool, you can generate a configuration file which contains all the detected applications.
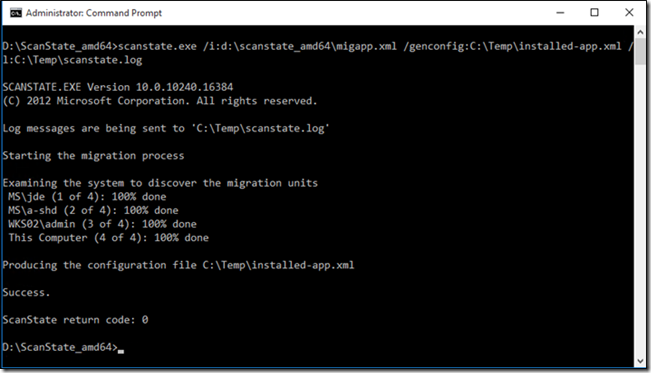
Run the following command to generate the configuration file:
scanstate.exe /i:d:\scanstate_amd64\migapp.xml /genconfig:C:\Temp\installed-app.xml /l:C:\Temp\scanstate.log
That command line will create a new configuration file containing information about detected installed applications on your reference Windows 10 machine. Here’s an example of output file:
Before using that configuration file to execute the Win32 applications capture on the reference computer, you need to modify the [migrate=”yes”] setting of each application, whether we want or not to capture that application.
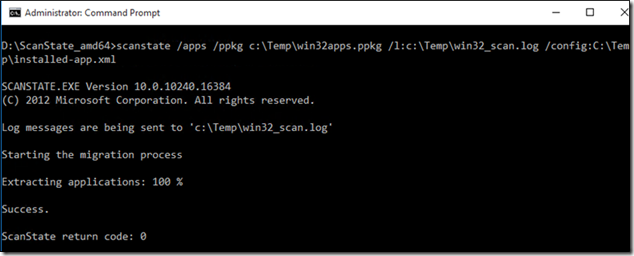
Once the configuration has been modified to only include the Win32 applications that we want to capture, run the following command line to capture selected Win32 applications into a provisioning package.
scanstate /apps /ppkg c:\Temp\win32apps.ppkg /l:c:\Temp\win32_scan.log /config:C:\Temp\installed-app.xml
This will generate a provisioning package in the output folder.
Here’s you can see the size difference between an unfiltered and filtered capture.
