How to upgrade Windows 10 edition using provisioning package?
Hi everyone! In this article, I would like to explain how to upgrade easily Windows 10 edition without reimaging the computer. To do this, we have to use the new Windows 10 feature: provisioning package (PPKG).
To get more information about provisioning package, I let you visit the TechNet page about it.
Just to explain what a provisioning package is, I would say that it is an “unattend.xml” but in much more powerful. You can apply predefined settings, install applications, upgrade edition etc by just applying a provisioning package!
Let go directly to our subject: we want to upgrade Windows 10 edition from Pro to Enterprise by using provisioning package.
Note that you can’t upgrade from Windows 10 Home to Enterprise.
Prerequisites:
- You have installed Windows Imaging and Configuration Designer (WICD) from Windows 10 ADK (download it here) on a computer.
- Have an Windows 10 Enterprise license key (like MSDN).
- Have installed the Windows 10 Pro computer, which will be upgraded to Windows 10 Enterprise.
We are now ready to create the provisioning package which will upgrade our Win 10 Pro to Enterprise.
Create the provisioning package:
Open WICD on your computer and click on “New Provisioning Package”.
- Enter a project name and click “Next”
- Select “Common to all Windows editions” and click “Next”
- You don’t need to import a provisioning package so leave the field blank and click “Next”
- Your new project opens and your ready to configure it.
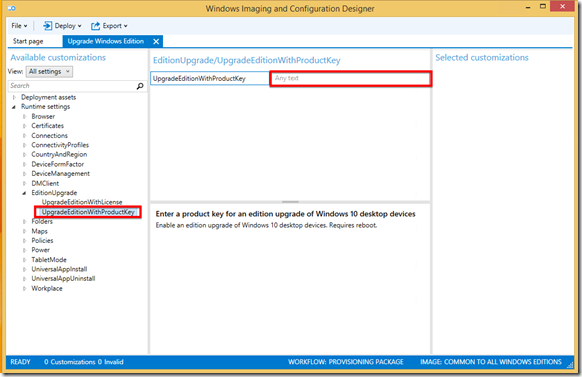
From the left menu, navigate to [Runtime settings] –>[EditionUpgrade] –> [UpgradeEditionWithProductKey]
Enter the Windows 10 Enterprise license key in the right panel and we are ready to export our provisioning package.
Export provisioning package
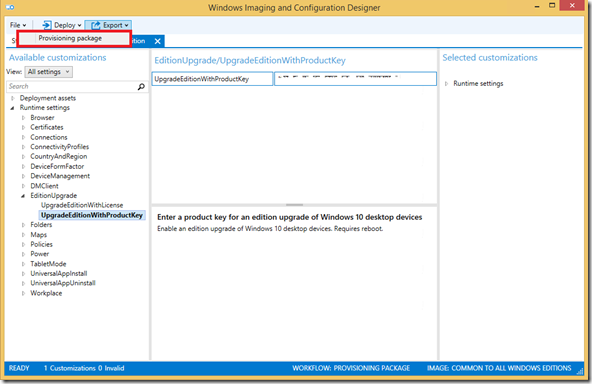
In WICD, from the top menu, click on “Export” –> “Provisioning package”
- On the first windows, you can change the Owner, per example to “IT Admin” and click “Next”.
- You can encrypt or sign the package to make it more secure. Click “Next”.
- Select the path to save the package and “Next”
- Finally you just click on “Build” and the package will be created!
You can move the saved provisioning package which has a “.ppkg” extension on the target computer.
Apply the provisioning package
There’s many different way to apply a provisioning package but in this demo, we’re going to just double-click on the package to apply it. FYI, the other way to apply a provisioning package to a running desktop is to tap the windows button 5 times on the OOBE screen. Finally, to apply a PPKG to an offline image, you can use the DISM command (see my next article).
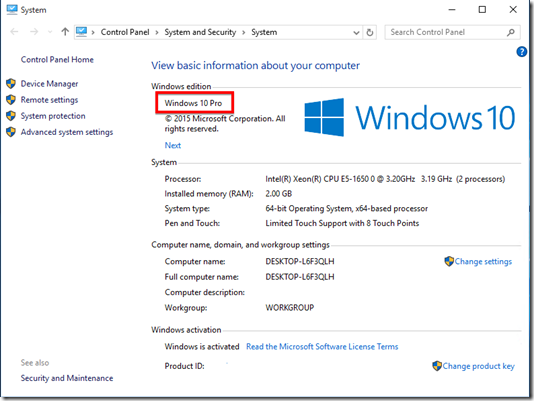
Here’s my computer before applying the provisioning package:
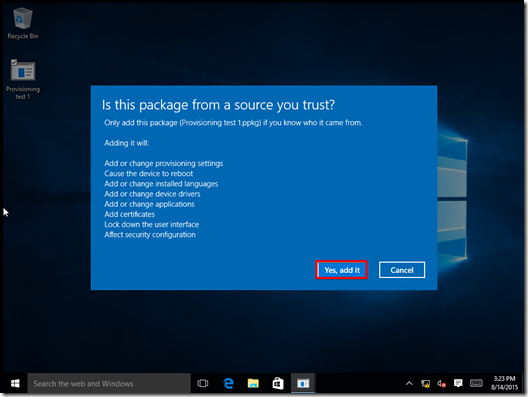
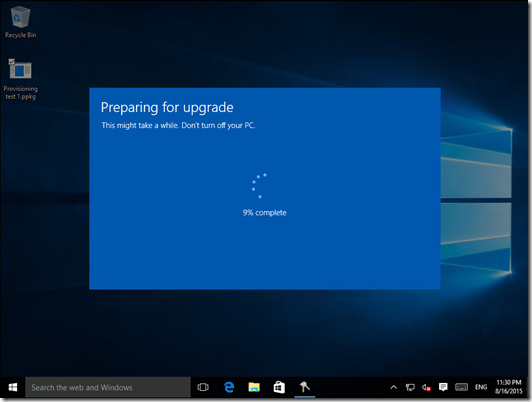
Let me know apply it by just double-clicking on it. You can see my provisioning package on the desktop.
Then I immediately get the following screen telling me that my computer is preparing for upgrade.
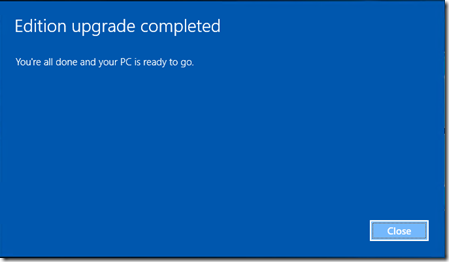
Long story short, the computer reboot and TADAM!
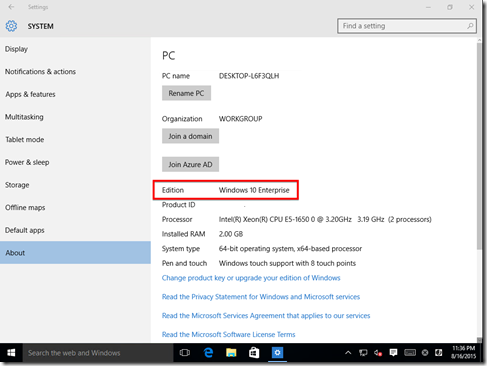
We can verify edition on the upgraded computer.
