Building Arabic SharePoint Site Collections
Back in previous versions of SharePoint (e.g. 2003 release) we had to have a full installation of SharePoint for a specific language, one language per installation, which meant that if we install an Arabic version of SharePoint on a specific server then we can only create Arabic sites on that installation, if we need another language then this would mean another installation of SharePoint for that language on a different server!
With MOSS 2007 Microsoft introduced language packs, so instead of having a clean installation and a different machine every time we wanted a new language, you just need to install that language pack. In this walk-through we will go over installing the Arabic language pack for SharePoint and then create an Arabic site collection.
Step 1: Download the Language Pack
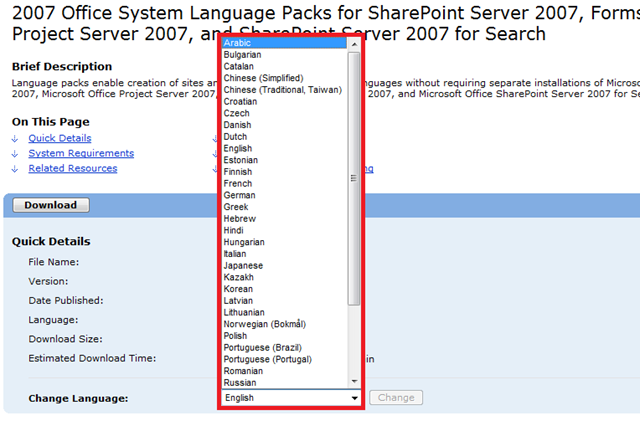
To start we need to download the Arabic Language Pack from: https://www.microsoft.com/downloads/details.aspx?familyid=2447426B-8689-4768-BFF0-CBB511599A45&displaylang=en. Make sure to change the language to Arabic.
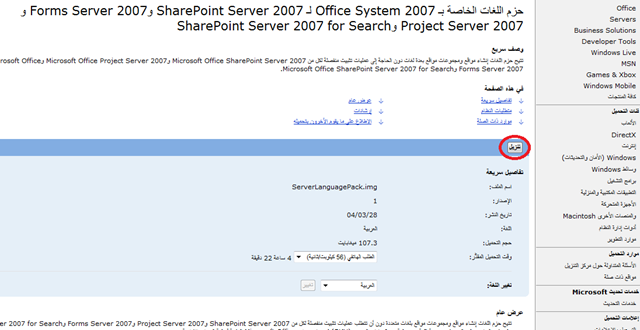
After clicking on Change the page will reload in Arabic. Click on “تنزيل”
Burn the downloaded image to a CD or mount it using any utility, I recommend a free one called Virtual CloneDrive from SlySoft.
Step 2: Install & Configure the Language Pack
Step 2.1: The Windows Server 2008 Workaround
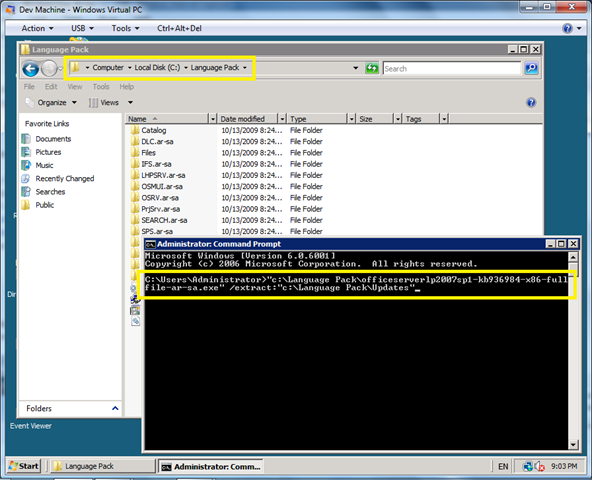
If you are running Windows Server 2003 please skip this section and move directly to Step 2.2. For the Windows Server 2008 users we need to pull a small workaround here to make this work. First of all we need to download Service Pack 1 for the language pack from: https://www.microsoft.com/downloads/details.aspx?displaylang=ar&FamilyID=3a6c26fd-0beb-40d5-8cba-15164faab150. After mounting the Language Pack image, copy all the root contents to a folder on your machine and extract the service pack into the Updates folder.
When running the extract command, the installation wizard will be launched but instead of installing the service pack, it will extract the files into the updates folder.
Step 2.2:
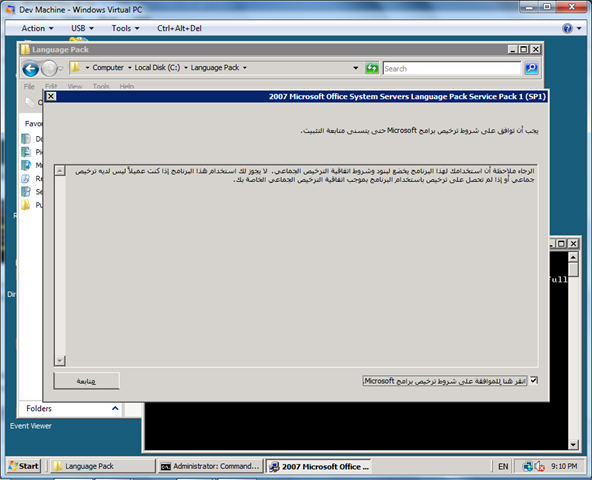
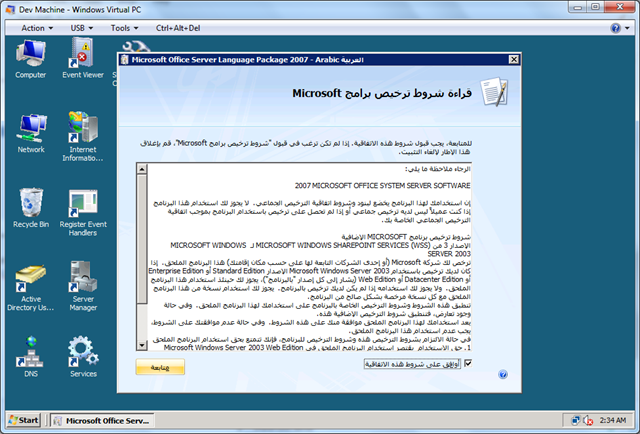
Launch the language pack setup, read the terms carefully and tick the approval checkbox if you agree and move on to the next screen.
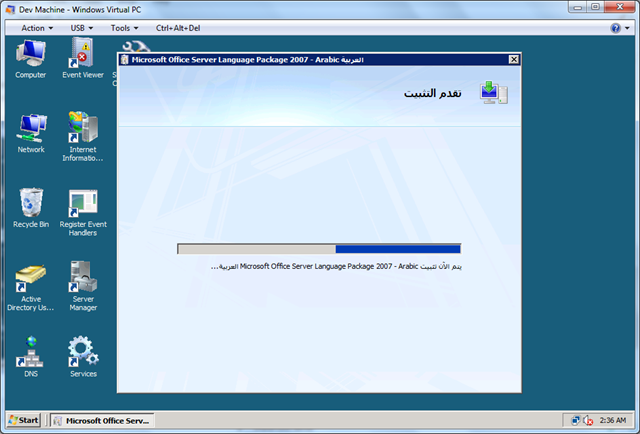
Setup will then start installing the language pack.
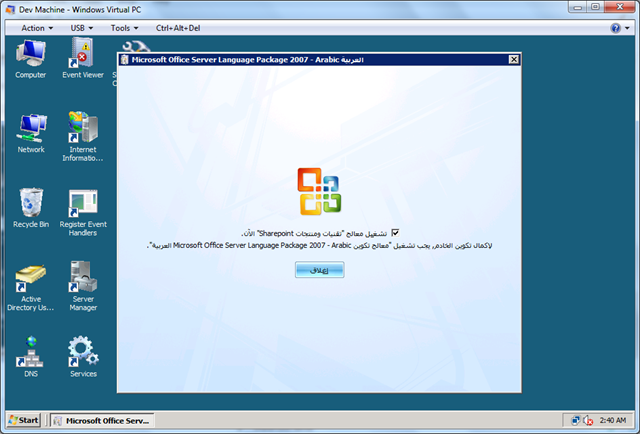
When the setup finishes the installation process it will prompt for running the configuration wizard. Make sure to run it otherwise changes won’t be reflected on SharePoint.
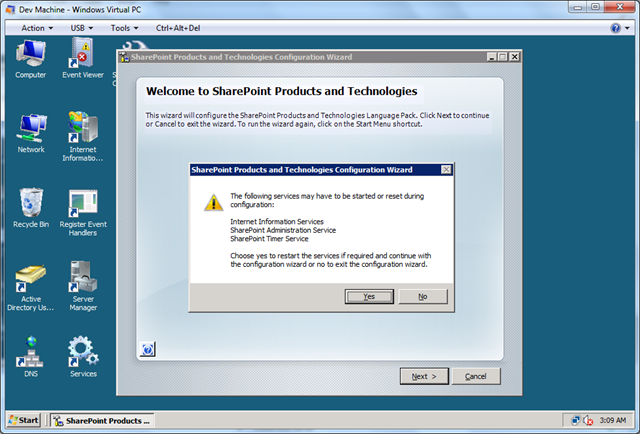
Click Next to start the configuration process. The wizard will warn you about restarting couple of services, Click Yes to continue.
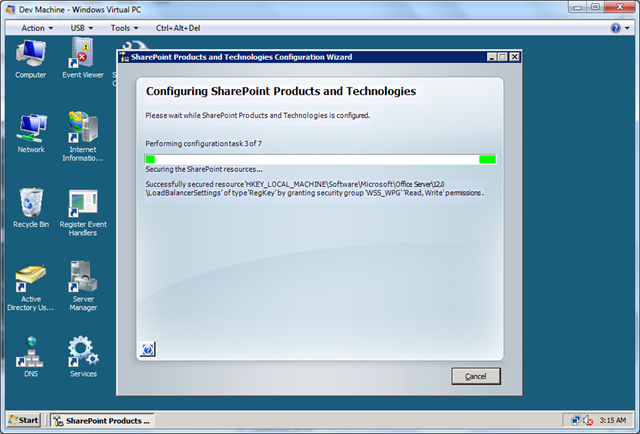
The wizard will take sometime to complete the configuration.
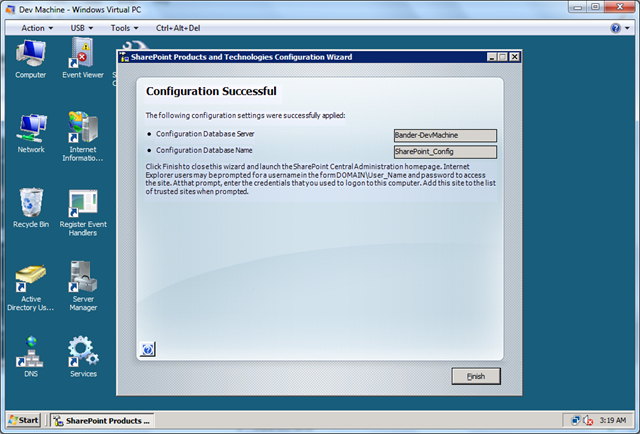
When the configuration is completed the wizard will launch Central Administration.
Step 3: Creating an Arabic SharePoint Site Collection
After we’re done installing the SharePoint Arabic language pack, its about time to taste our victory! ![]()
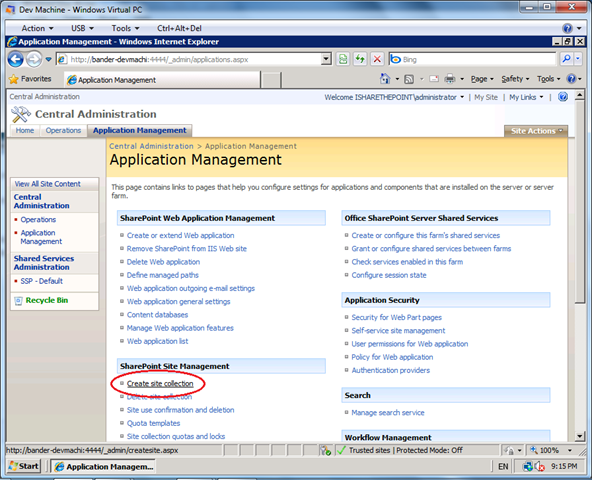
Launch Central Administration and go to the Application Management tab and click on Create a Site Collection.
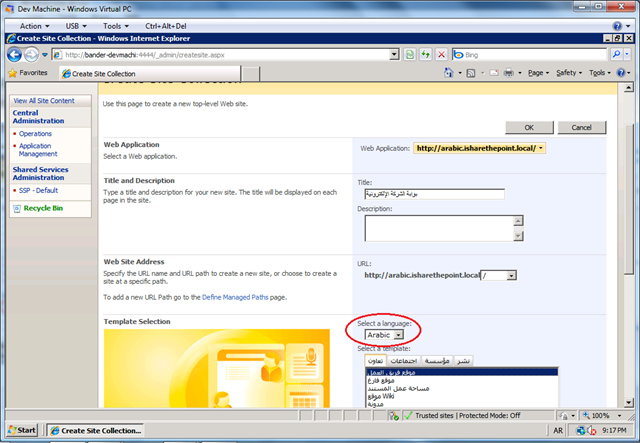
As you can see we have a new section for the language selection. Select Arabic. Fill the rest of the fields, pick a site template, and click OK.
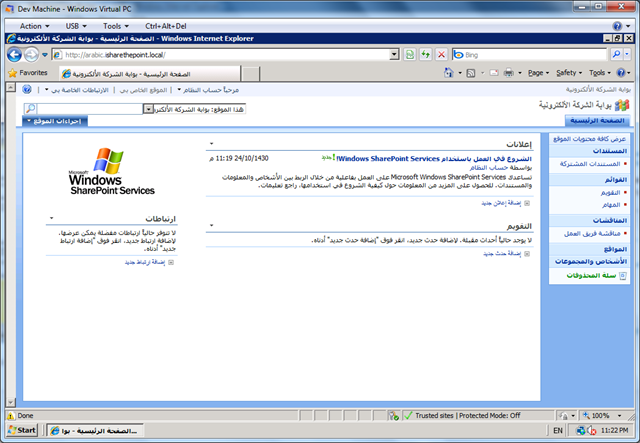
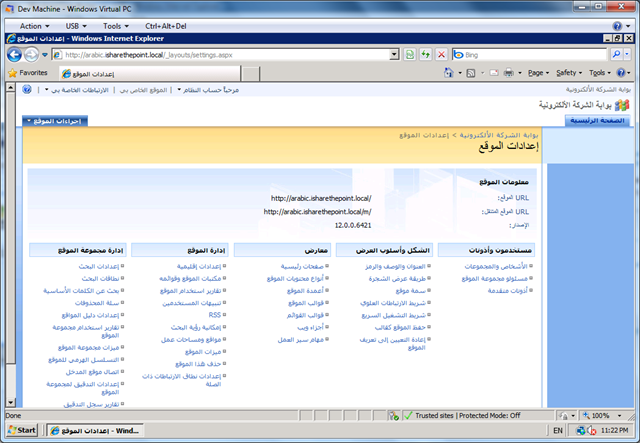
And here you go an Arabic SharePoint Site Collection.
