
Azure Backup on Azure Government
Azure Backup is a secure, scalable, and reliable solution that protects your application data; It enables you to supplement your current backup solution or replace it entirely without the usual high cost of adding capacity (thus lowering the total cost of backing up your data), while still maintaining backups of your data for many years.
It’s now possible to back up your Windows Server machines on Azure Government. This can be achieved by setting up and configuring a Recovery Service Vault. To do this, you can follow these steps:
Log into the Azure Government management portal (https://manage.windowsazure.us) and click “Recovery Services” on the sidebar
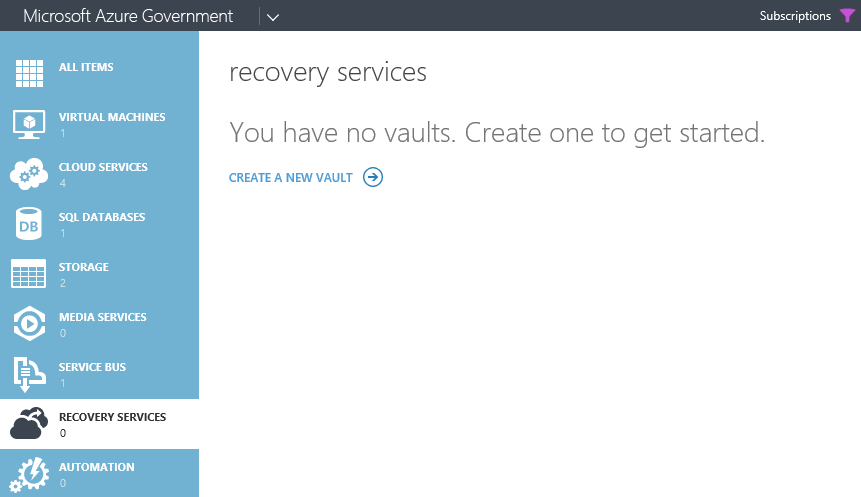
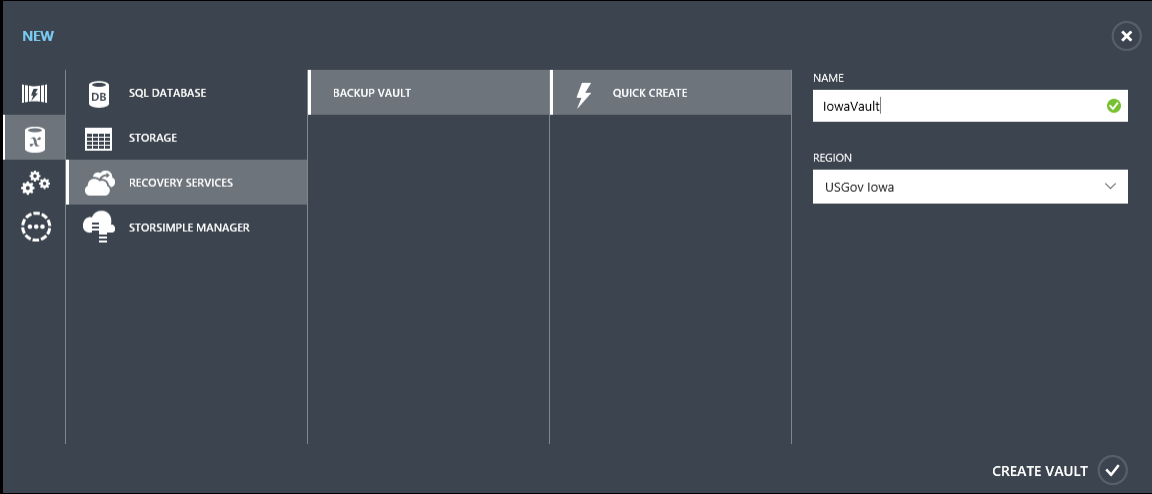
Then create a new Vault using the bottom bar

Now, let’s setup a Backup on Azure Government. In this post – we’ll be using a VM with Windows Server 2012 under Virtual Machines – so go ahead and create one through the Azure Government management portal.
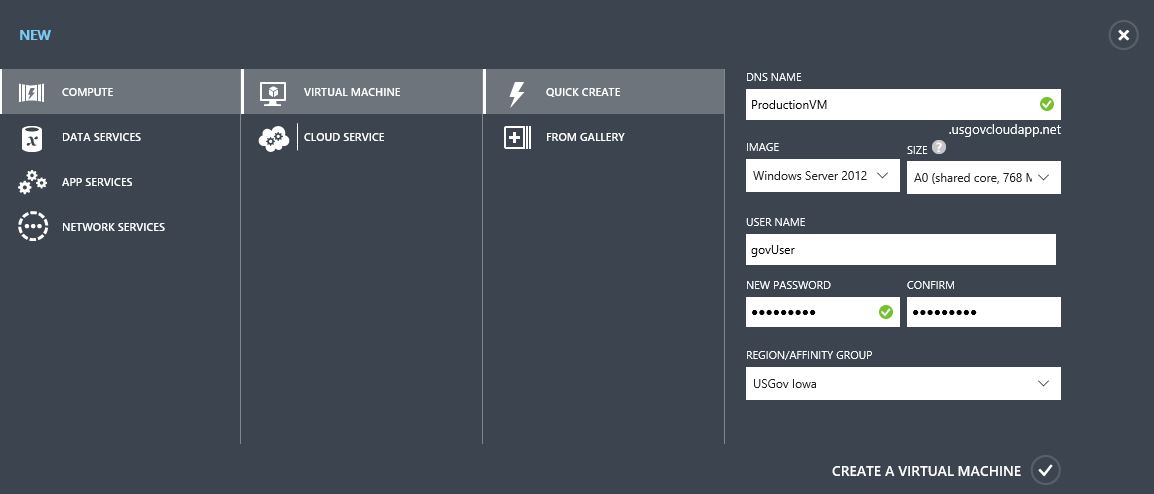
Note that the VM has to be in the same Region as the Backup Vault.
Go back to the Vault you just created and Download the Vault credentials
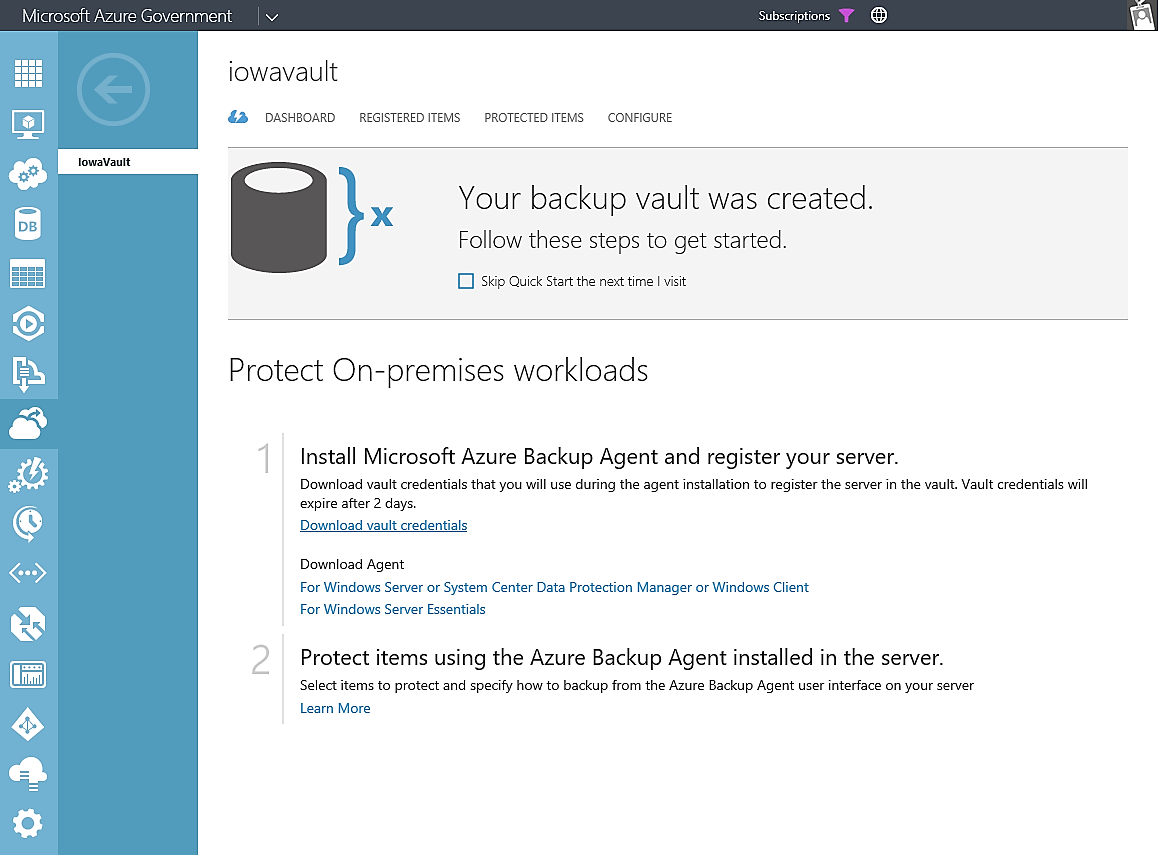
The file obtained will be used to connect our server to this vault. Note that the file will expire after 2 days (It is only required during the registration, which is a one-off task).
From that same page, Download the Windows Server Agent, copy the exe to the server you just created, and install it.
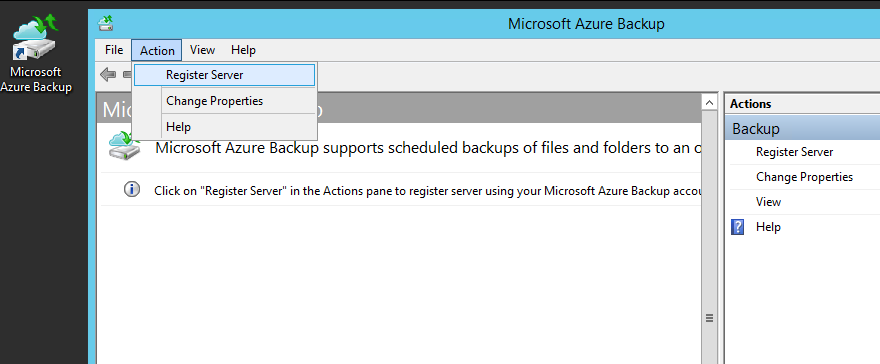
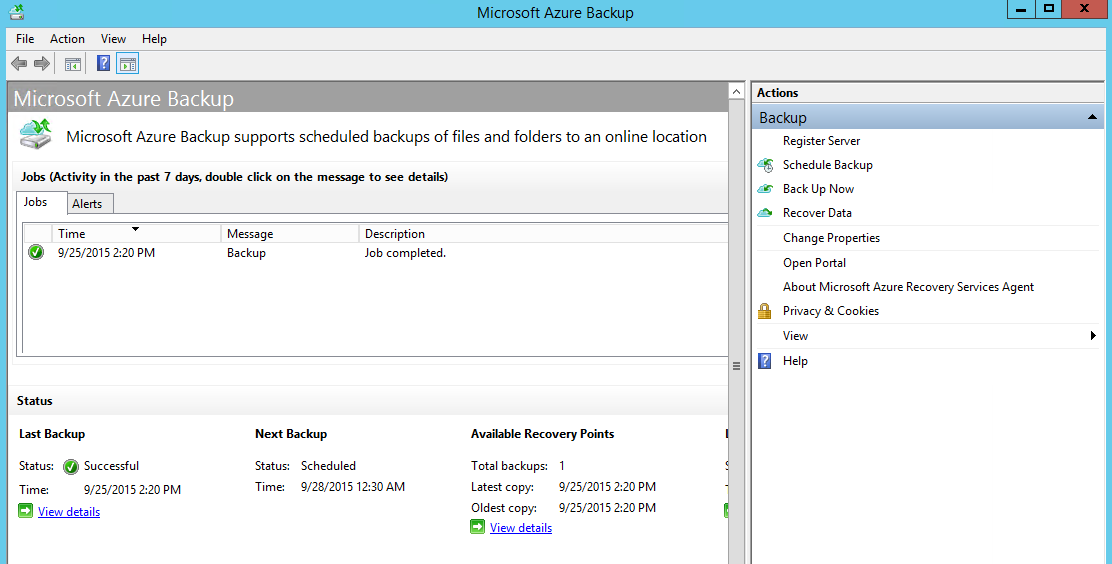
Afterwards, open “Microsoft Azure Backup” and select “Register Server” under the “Action” menu
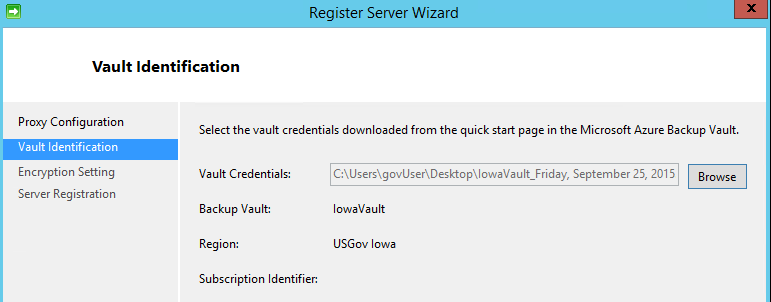
Select your proxy settings, if any (none in this example), and then browse for the Vault credentials file you downloaded earlier; After it loads the Vault information, press Next
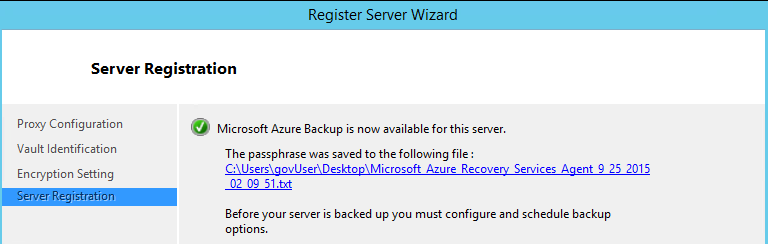
Set or generate a passphrase to encrypt the backups, then click “Register”

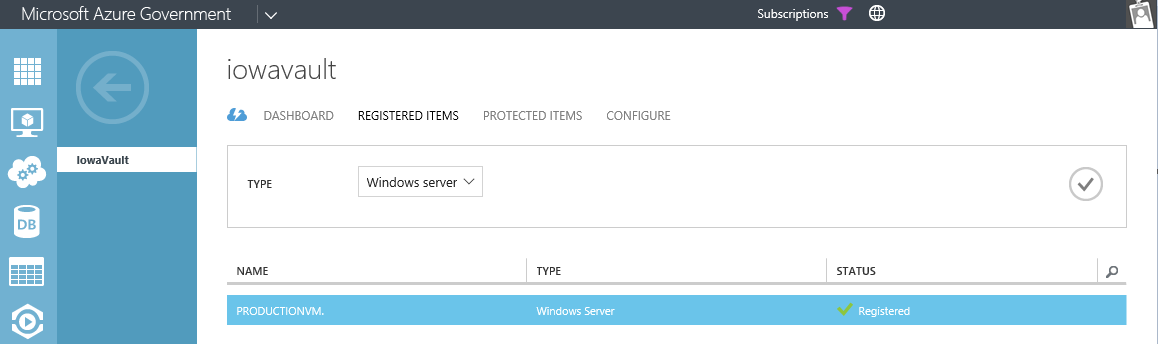
Your server is now registered; you can verify this by going back to the Vault in Azure Recovery Services
Now you can use the options on the right of the Azure Backup utility to run a backup now or set-up scheduled backups
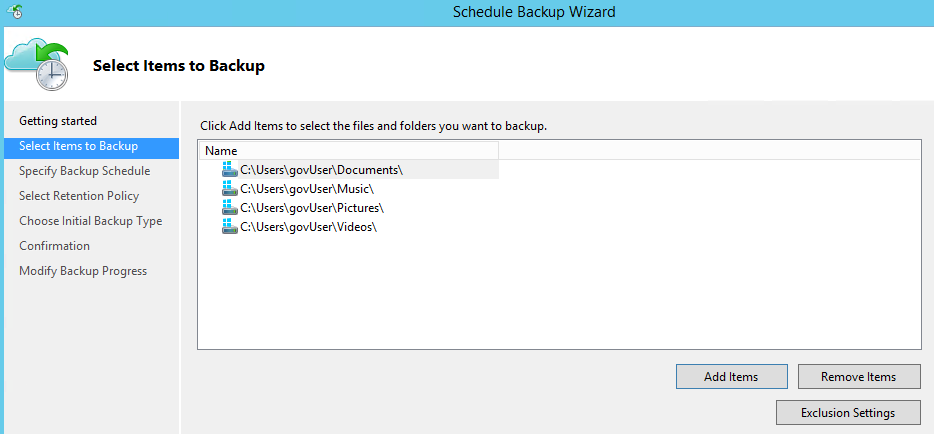
To setup scheduled backups, click “Schedule Backup” and follow the prompts; First select which folders you want to back up:
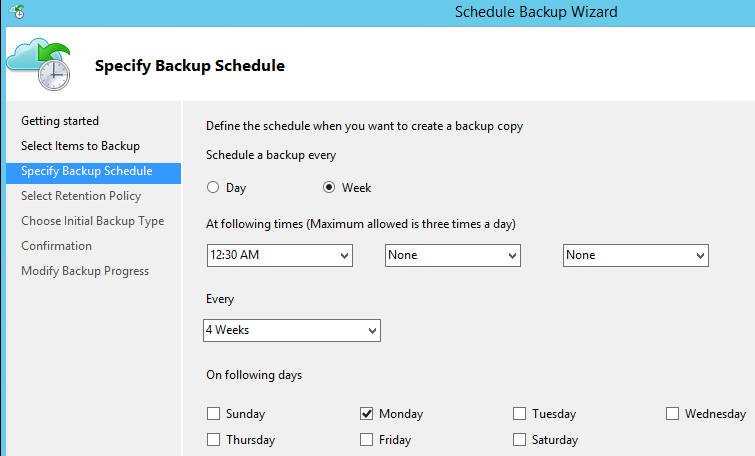
Then set how often you want to back up those folders
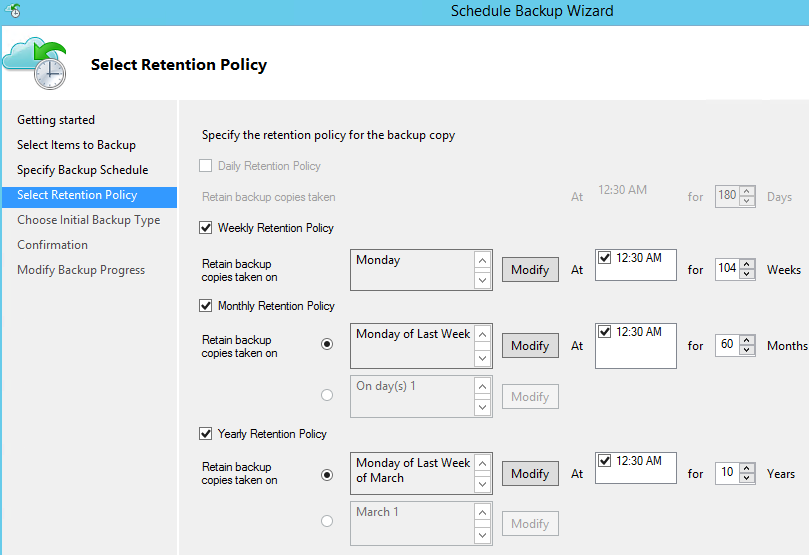
Then select how long you want your backups to be retained
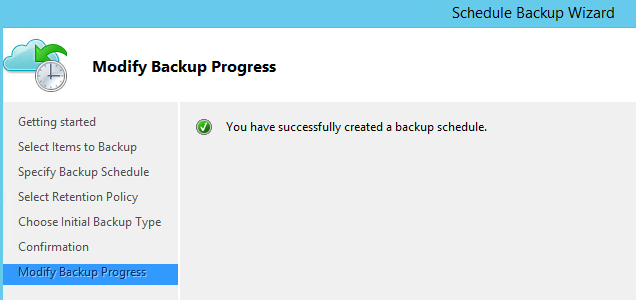
Confirm your selections and the schedule will be created
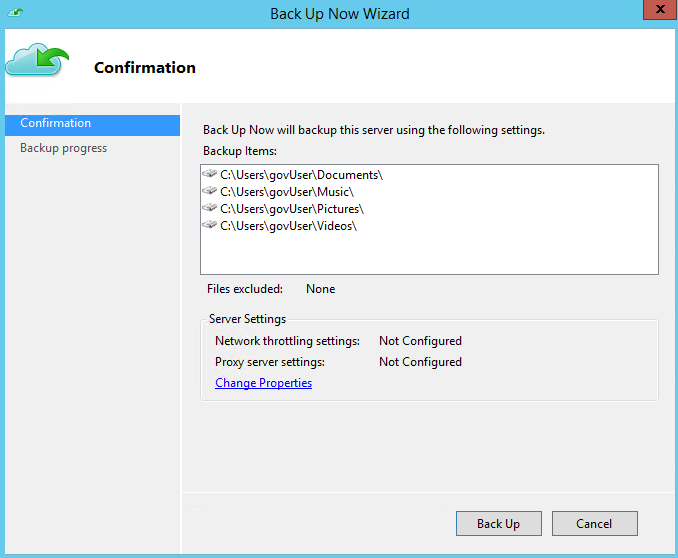
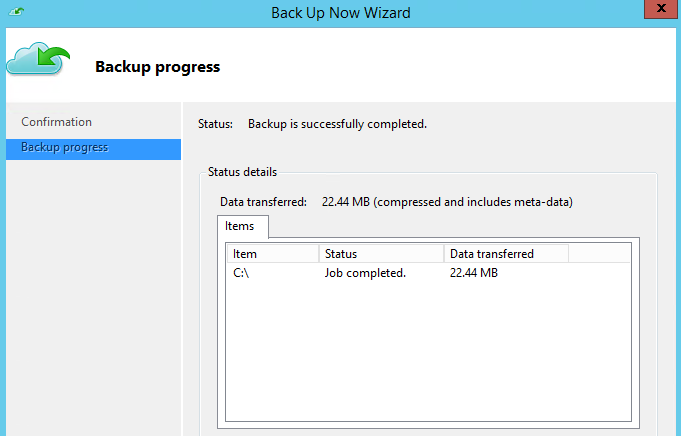
To run a backup immediately, select “Back Up Now” from the Azure Backup utility, then Confirm you want to perform the back up
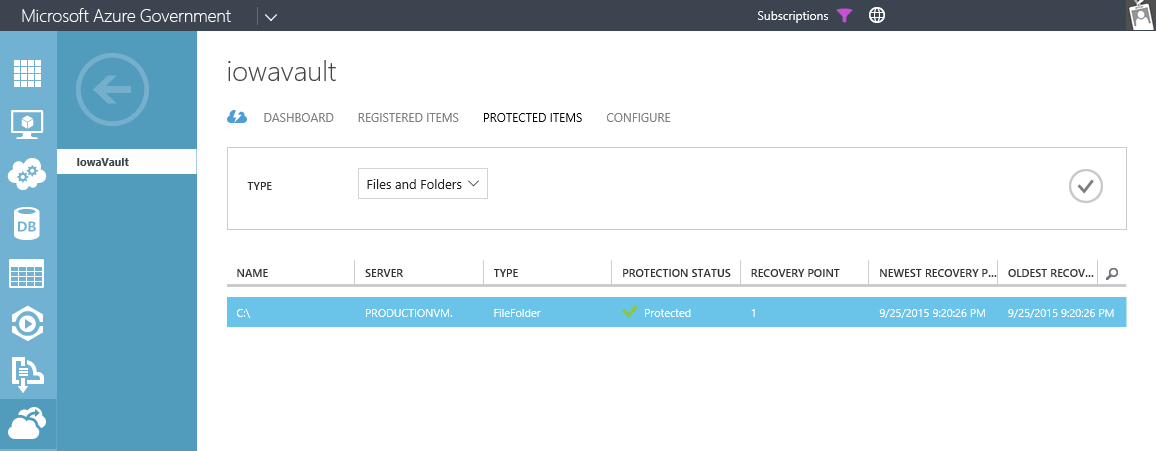
Afterwards, you can verify that the backup is on Azure by going to the “Protected Items” tab on your Vault.
And that’s how you use Azure Government’s Backup service!
For more information, you can visit https://azure.microsoft.com/en-us/services/backup.
 Light
Light Dark
Dark
0 comments