
Configuring High Availability for IaaS Virtual Machines
NOTE: I implemented the below example using the Azure Government cloud, however this technique will work exactly the same using the public Azure cloud.
To ensure a highly available service you want to run at least two IaaS virtual machines in a load balanced set. In this post we will build a basic stateless ASP.NET workload, distribute it across two virtual machines in Azure running IIS, and then demonstrate the benefits of running in a load balanced set.
Let’s start by building our application. We will create a simple ASP.NET MVC application, with a single controller and action that will just return the machine name that the application is running on.
Now that we have an application, lets write a simple console application to exercise the application.
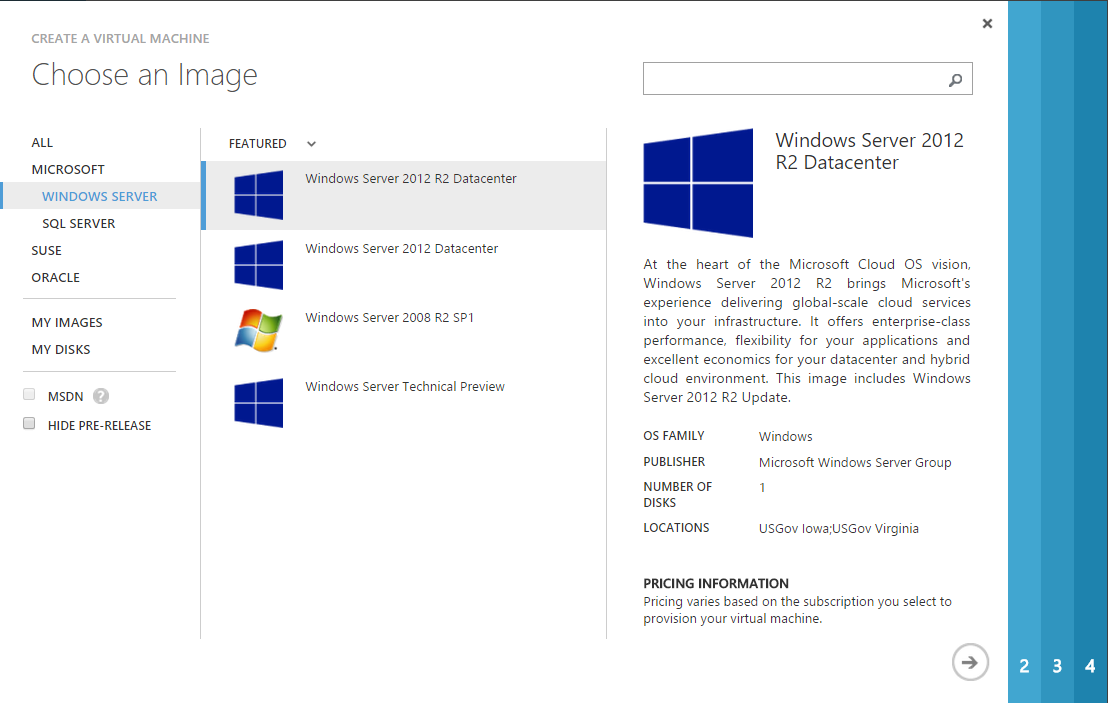
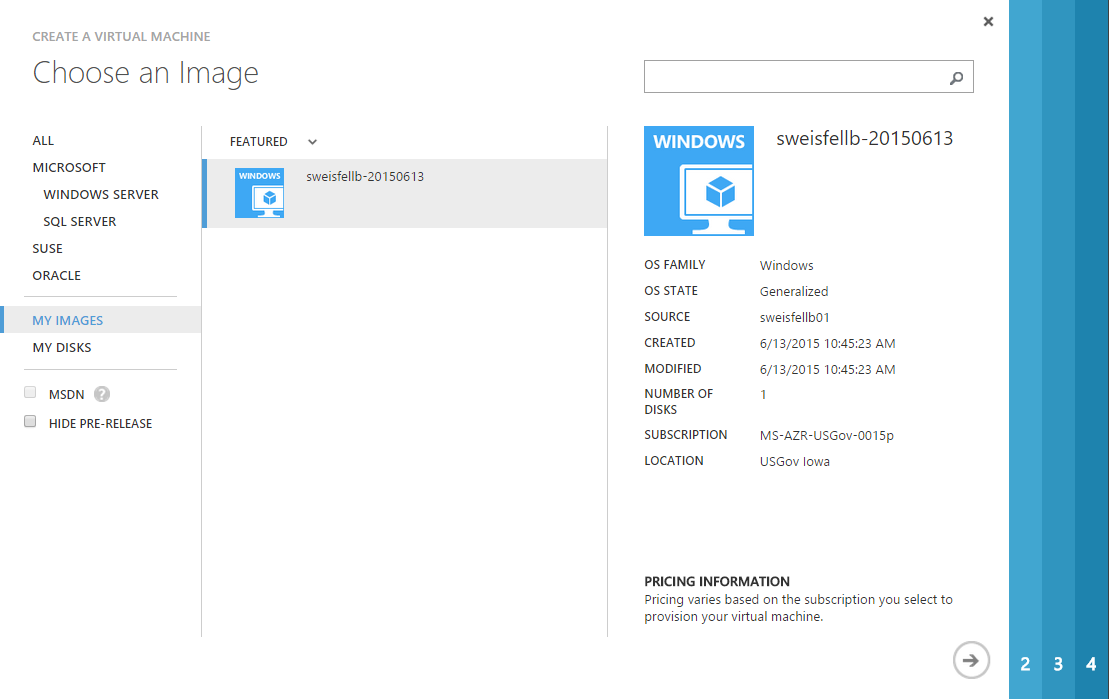
Let’s now create a virtual machine in Azure to deploy our application to, let’s do this using the wizard in the management portal. Select New, then computer, then Virtual Machine, then from Gallery.
We are going to pick Windows Server 2012 R2 Datacenter, and press next.
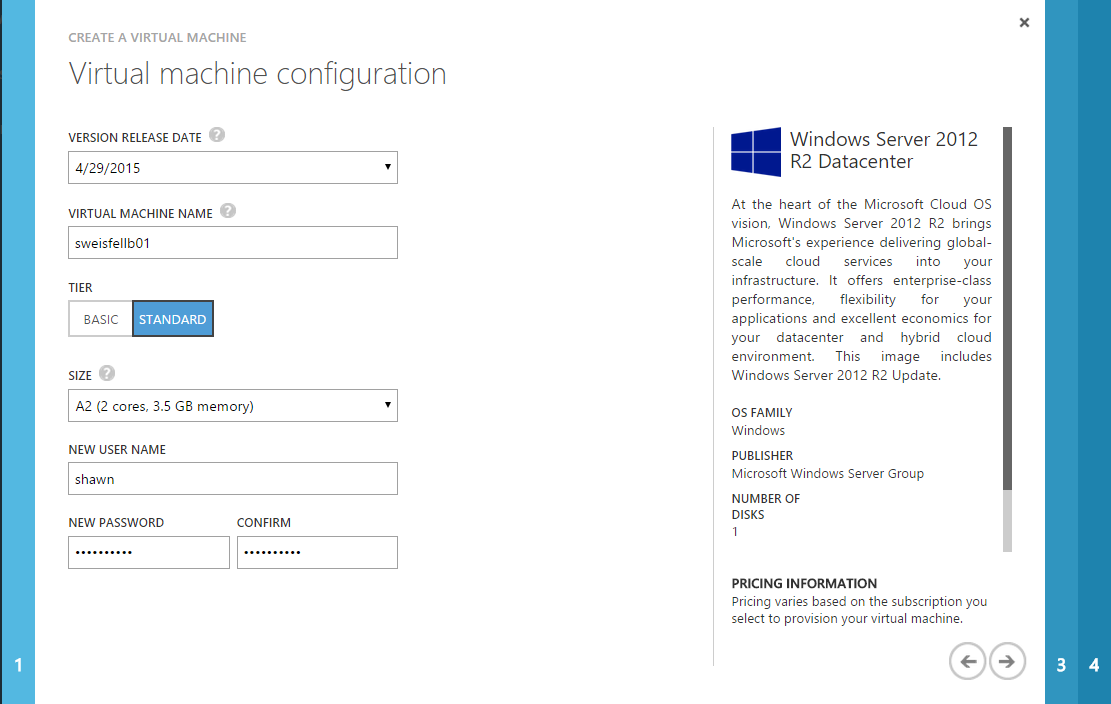
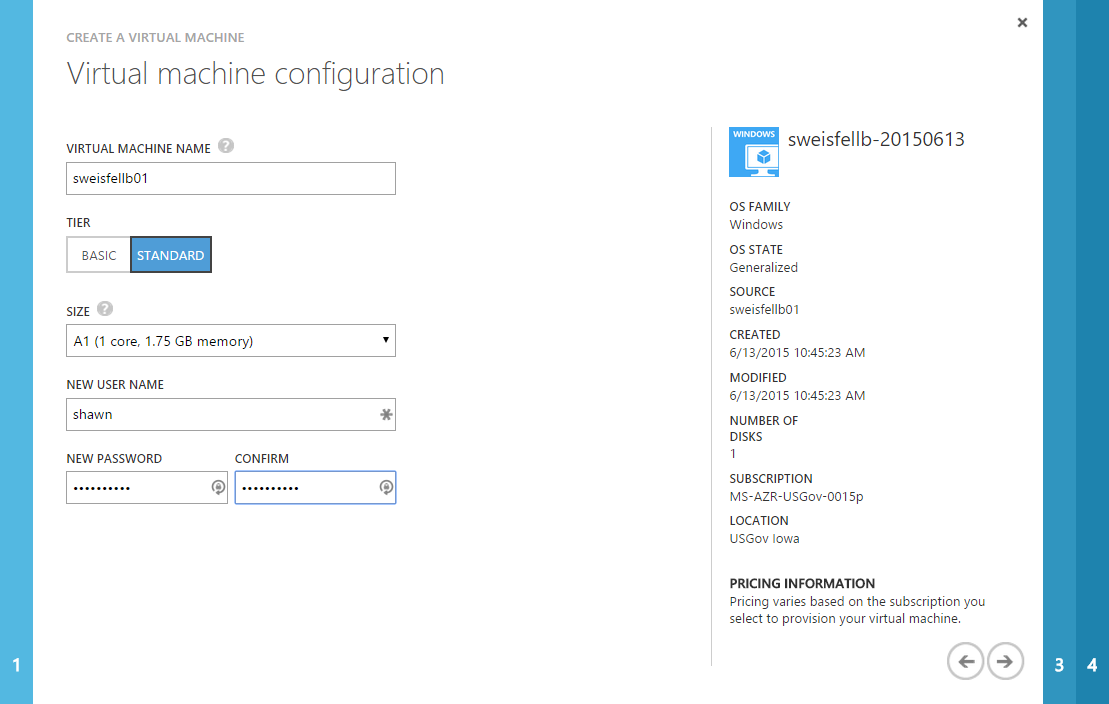
Let’s give our VM a name, select a size, and enter the admin credentials, and press next. Note the VM name with the 01 at the end. I use that as my convention so that all the VMs in my load balanced set appear next to each other in the management portal when sorted alphabetically.
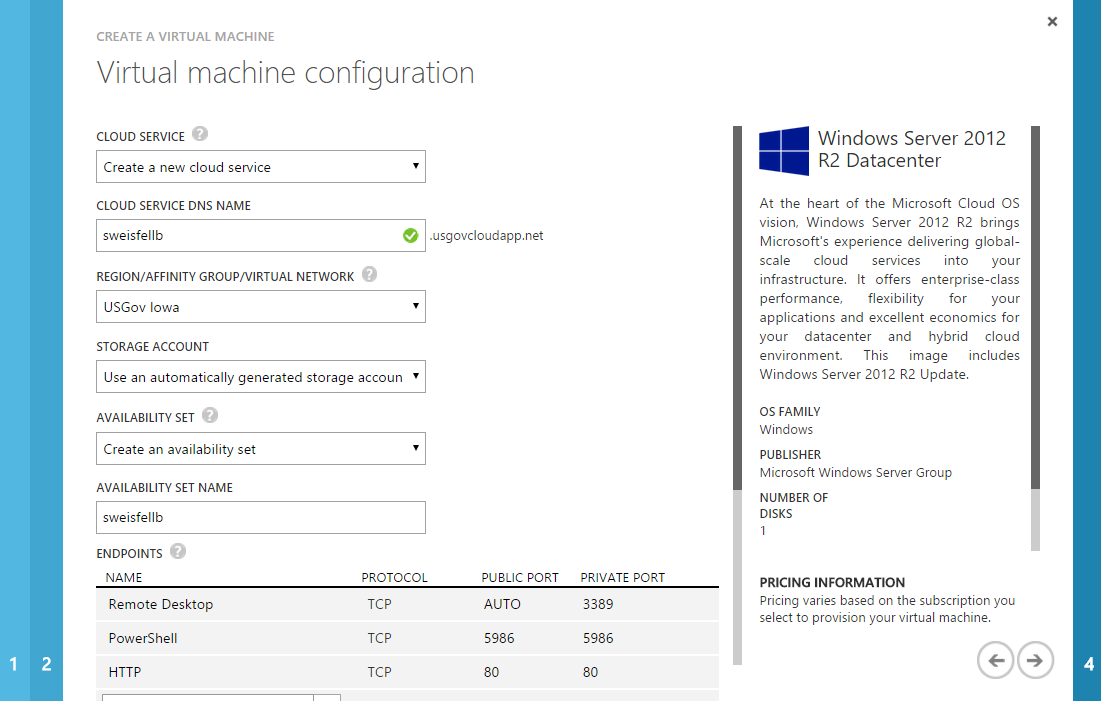
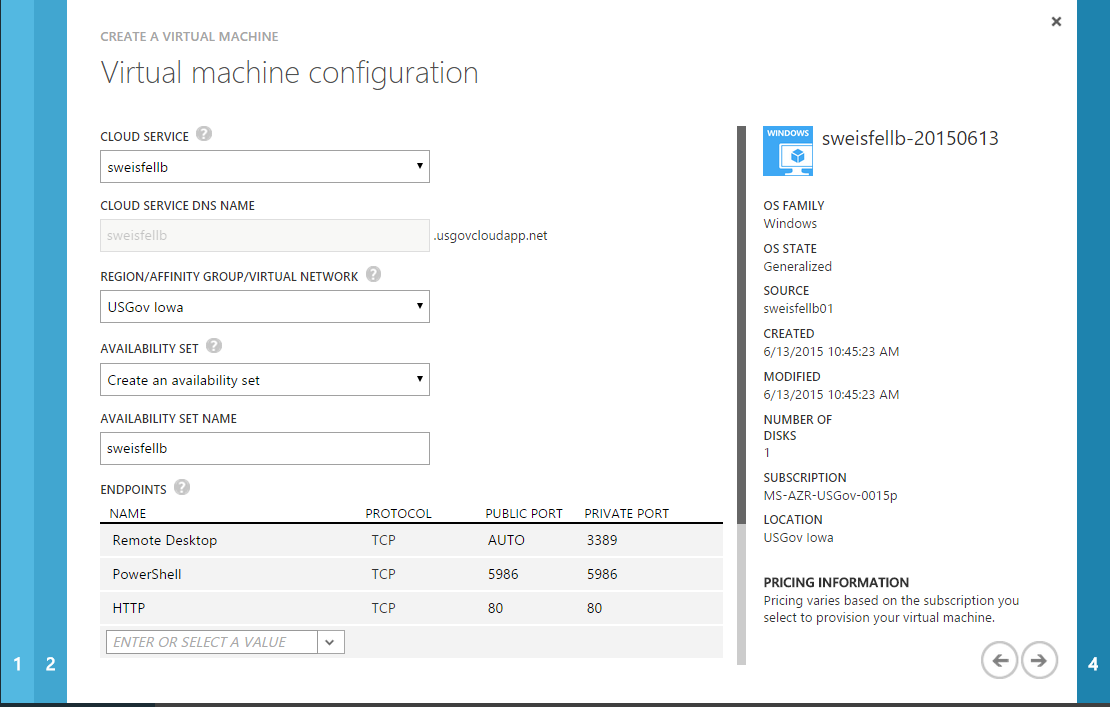
I am going to place the VM in a new cloud service. Few things to note:
First I removed the numbers from the end of the DNS name as I don’t want that to be in the URL for my website.
Secondly we are also going to place the VM inside of an availability set. Availability sets ensure that if the Azure fabric needs to do maintenance it will perform that maintenance in such a way that not all of the VMs in the availability set are impacted. More details here: https://azure.microsoft.com/en-us/documentation/articles/virtual-machines-manage-availability/
Third I added an endpoint for HTTP on port 80 since we are going to host an ASP.NET MVC workload in IIS.
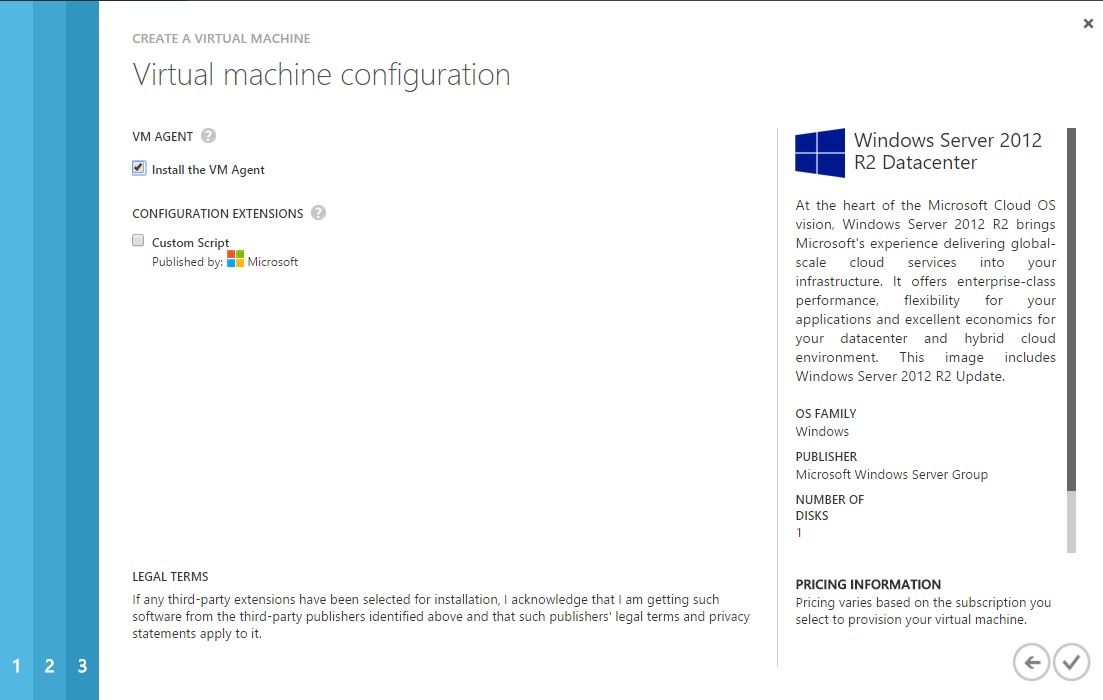
On the next step we can just accept the defaults and press the finish button, and the fabric will spin up a VM for us.
With our VM created, we now can remote into it to setup the VM for IIS and ASP.NET.
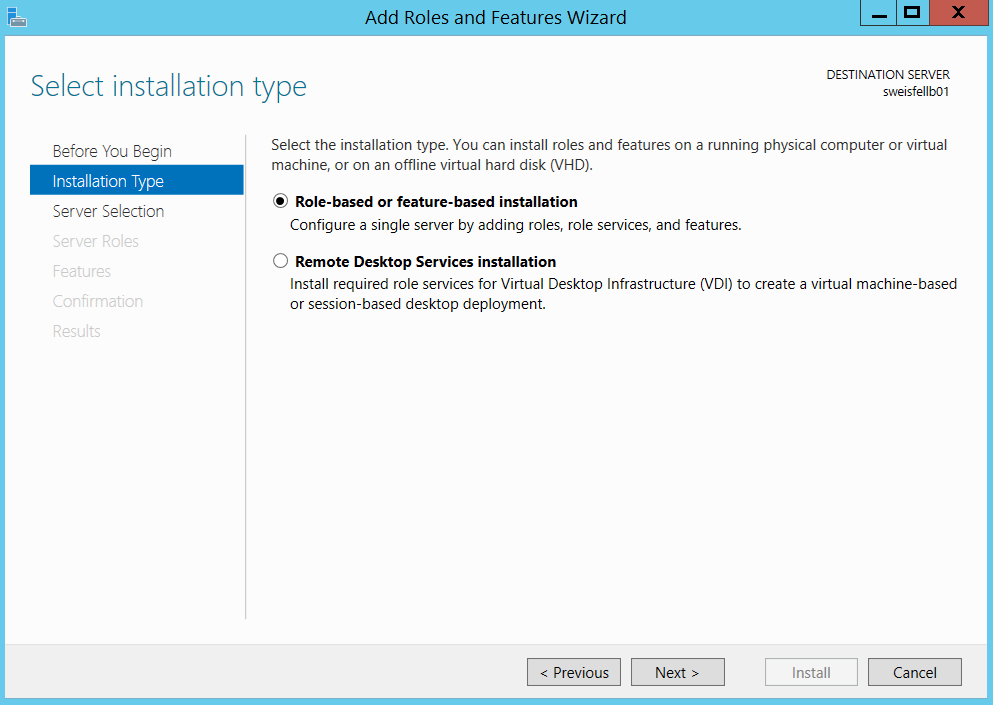
Let’s run through the Add Roles and Features Wizard in our VM to add IIS and ASP.NET.
Select “Role-based or feature-based installation”, press next.
Select the local machine, press next.

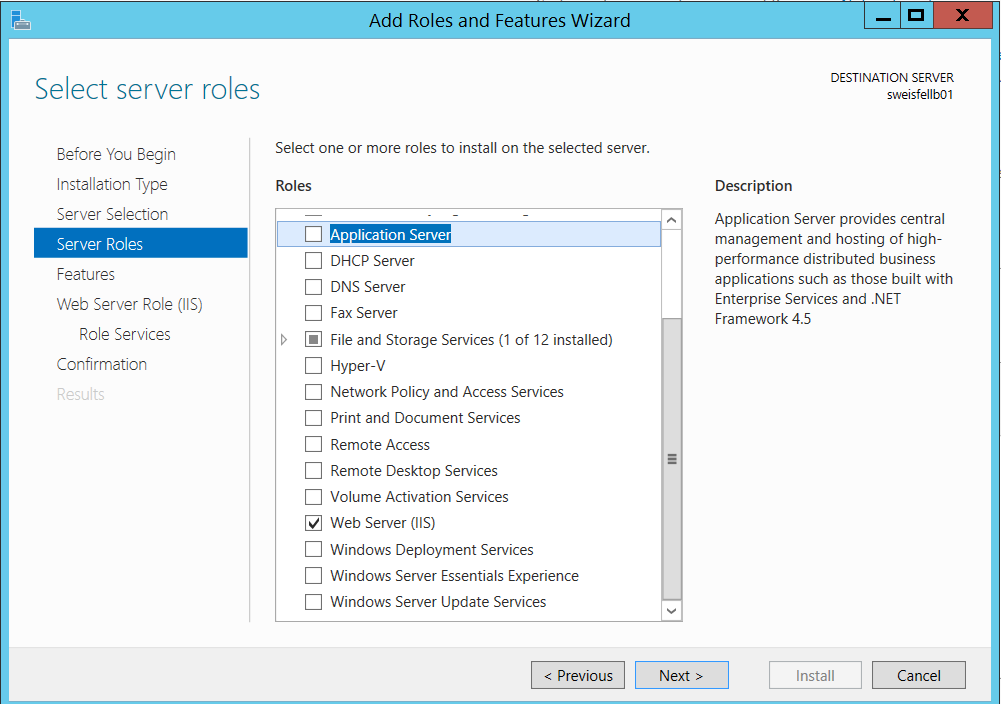
Select Web Server (IIS), and press next. (it will prompt you for some dependent features, accept the defaults)
Leave the defaults, press next.

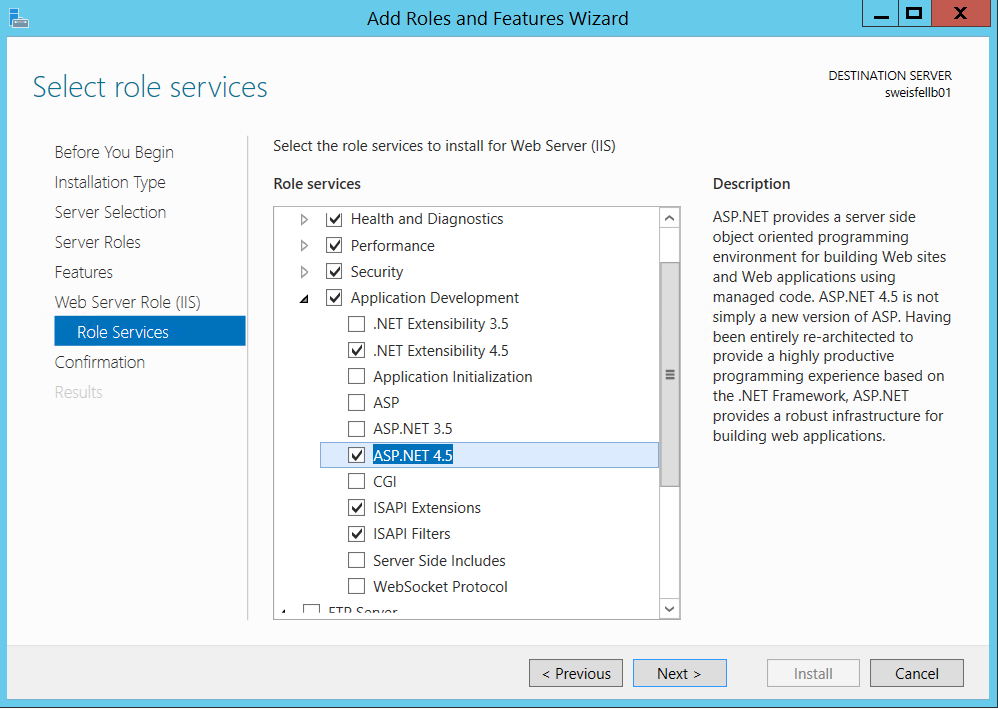
Select ASP.NET 4.5 under Application Development (it will prompt you for some dependent features, accept the defaults)
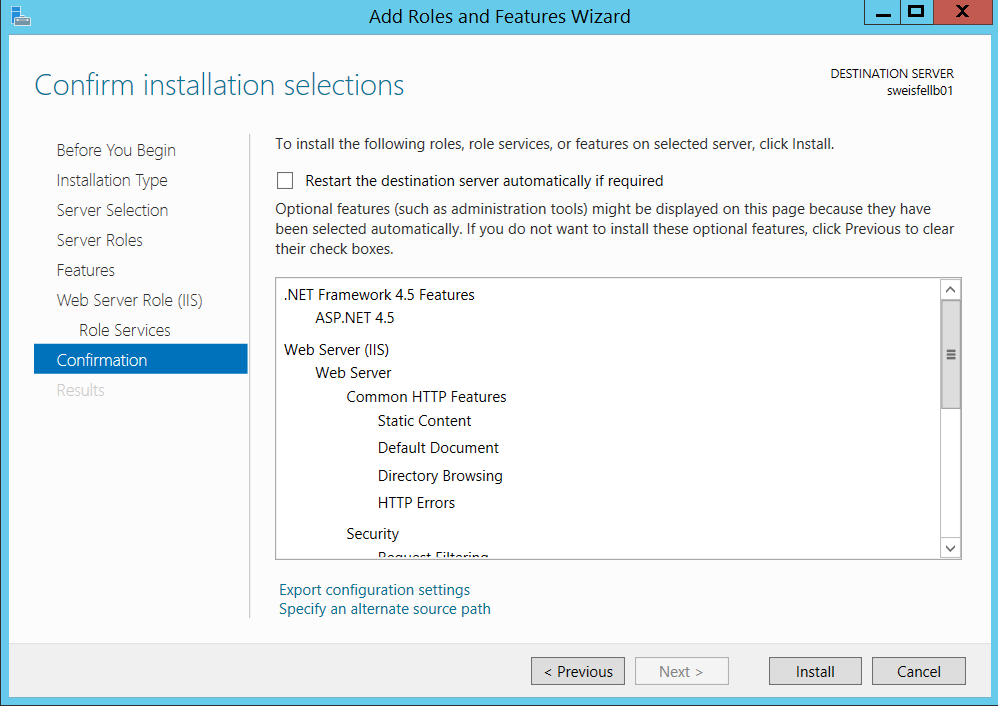
Press, Install, and wait a few minutes for everything to install, then close the installer.
Now let’s deploy our application. Copy it out to wherever you want it to live on the hard drive of the web server.
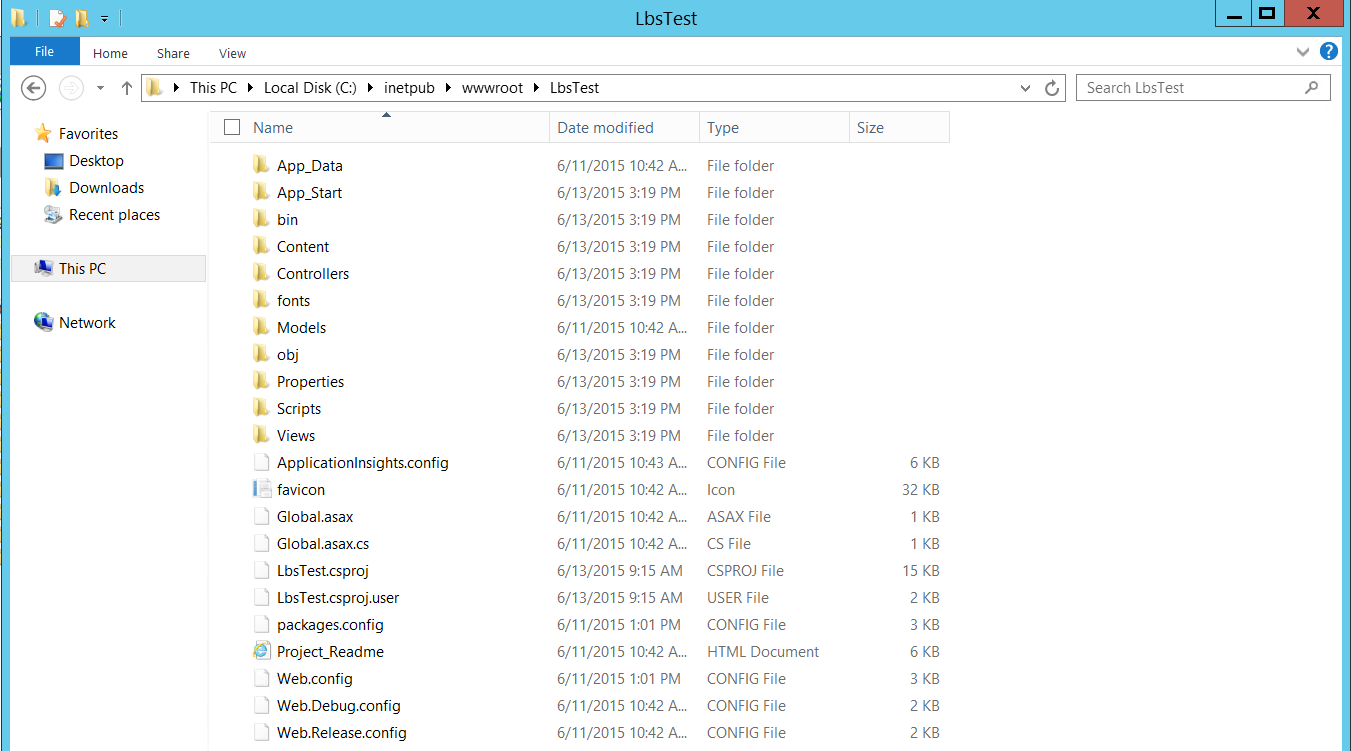
Now let’s map the default website in IIS to the place on the hard drive where we placed the application.

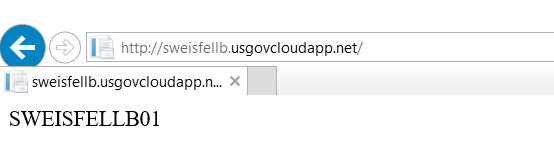
Now if we press the browse button on the web server, it will pop open IE and we will see our machine name.

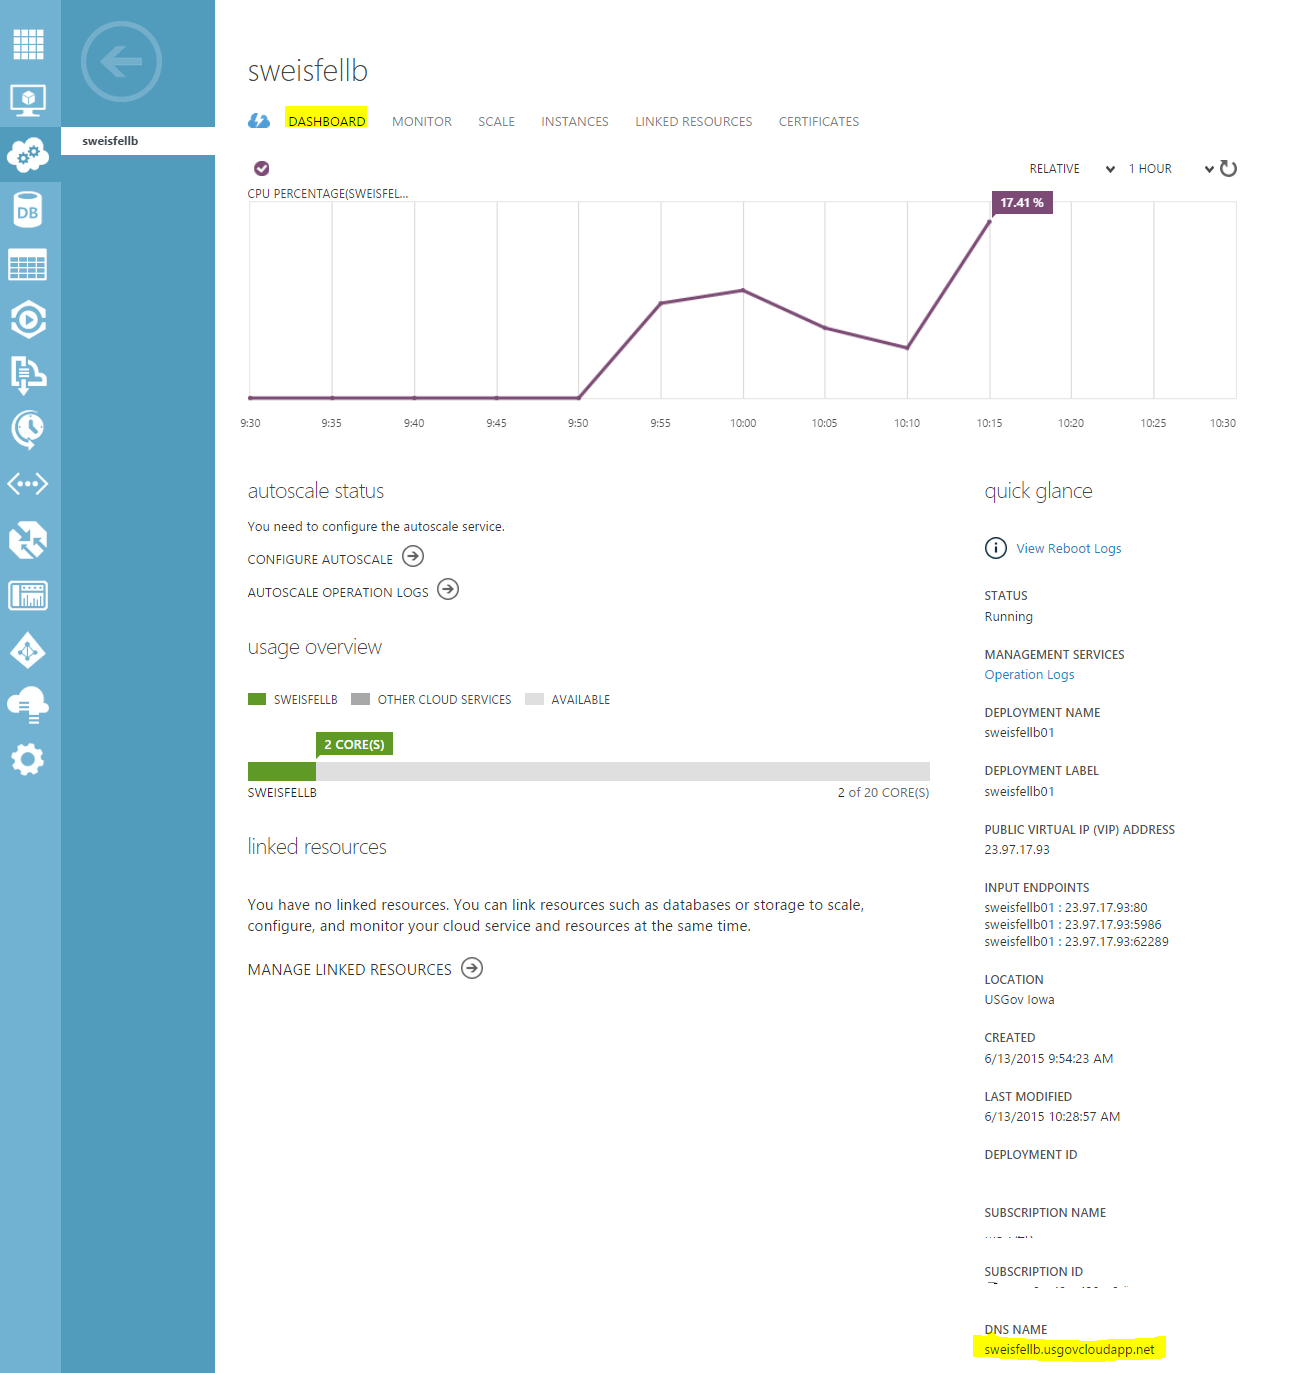
We should now see our service live on the web. You can get the DNS Name by looking at the dashboard tab of your cloud service.
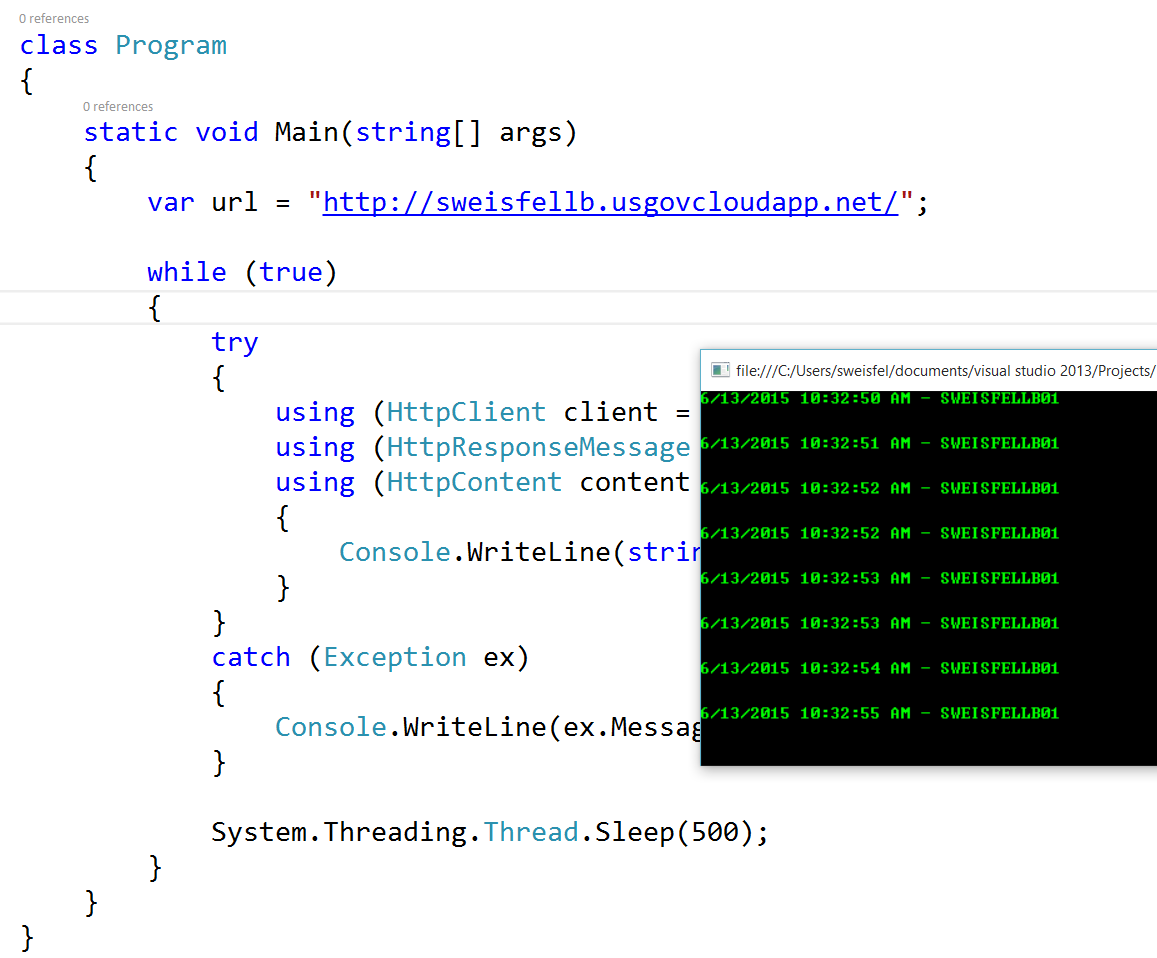
Now, update your console application to point at the endpoint, and run it. You will see that all the requests are served by the same VM, well we only have one, so that is expected.
Now that we have our application working, let’s convert this VM into a template so we can make multiple copies of it. I am not going to rehash that procedure here, just follow the steps outlined in this article
With our template created, lets create our first instance. Let’s create the new VM from the gallery, you will see the image we created in the last step under my images.
Let’s give it a name and press next
We can reuse the cloud service we created earlier, but we will have to recreate our availability set and don’t forget the http endpoint on port 80.
And, next to install the VM Agent.

Now let’s create a second instance. Follow the same procedure as before, let’s call this VM 02

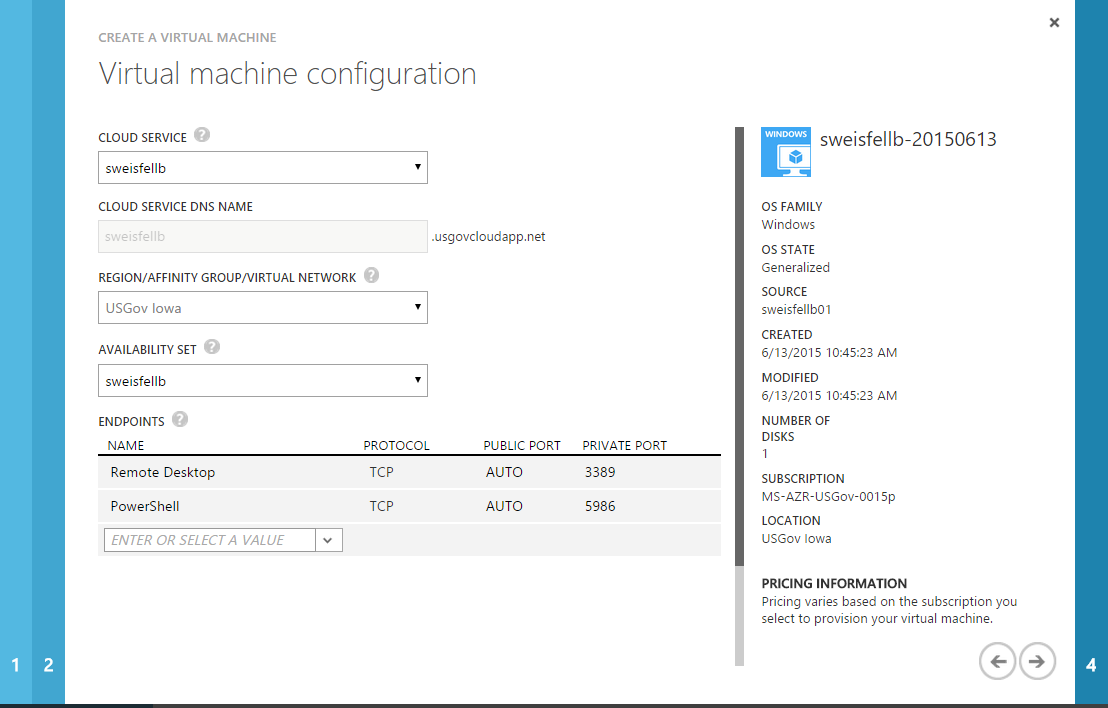
Place it in the same cloud service, and the same availability set as the other VM. NOTE you will not be able to map port 80 on this VM, we will configure that in a minute.
Ok, lets add one more VM for good measure following the same procedure as before. You should now have 3 VMs. Note that they all have same DNS Name.
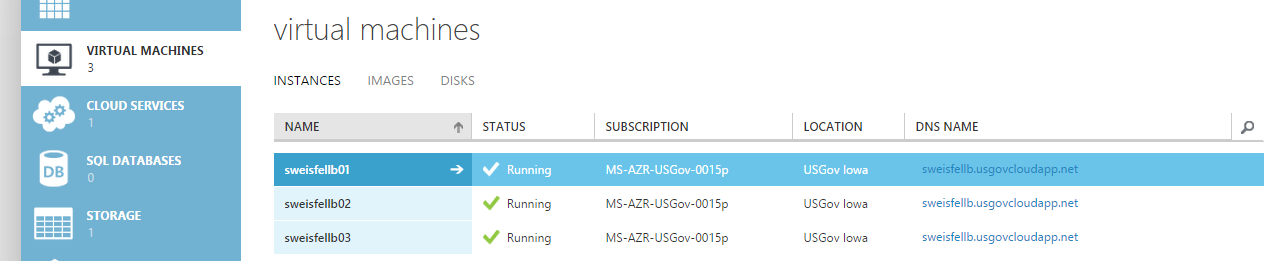
Next let’s wire up the load balancer to route all the HTTP traffic to all 3 VMs.
On the 01 machine, go to the endpoints tab, and let’s edit the HTTP endpoint, select the “create a load balanced set” check box, and press next.
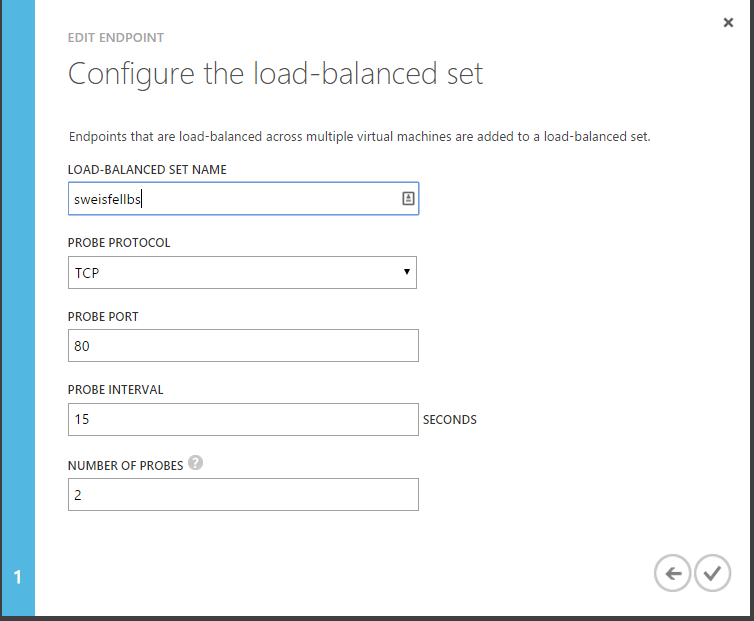
Give your load balanced set a name, and press finish.

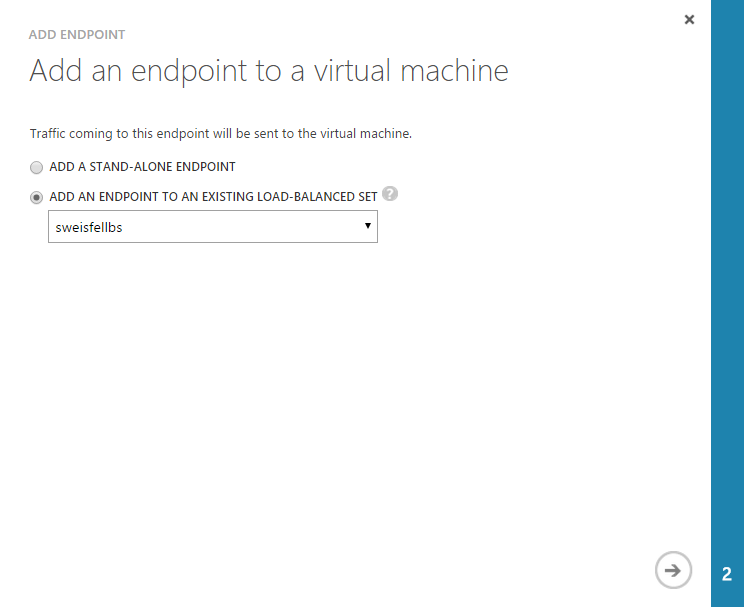
Now let’s add the other two VMs to the load balanced set. Navigate to VM 02, select the endpoints tab, and then select add. Choose the option to “Add an endpoint to an existing load balanced set” and select the load balanced set name that we just created, and press next.
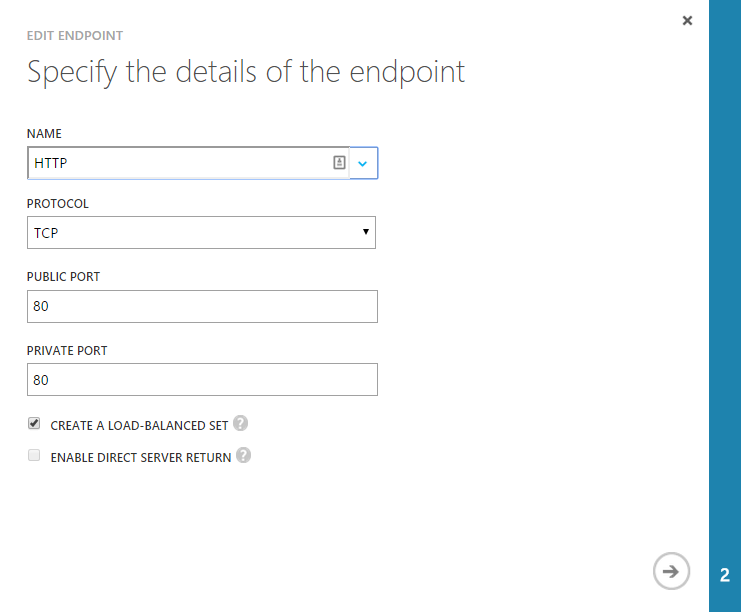
Give the end point a name, and press finish.

Repeat the above process to add machine 03 to the load balanced set.
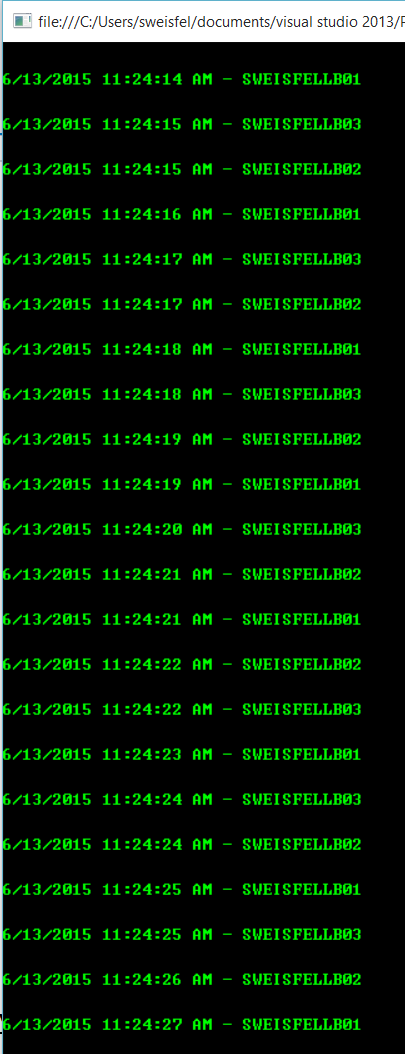
Now if we run our little console application to exercise our web servers we will see that the requests are being handled by all the VMs in our load balanced set.
Now that we have this setup what did we get?
First we can now save some cash by configuring the auto scaling service. More details here: https://azure.microsoft.com/en-us/documentation/articles/cloud-services-how-to-scale

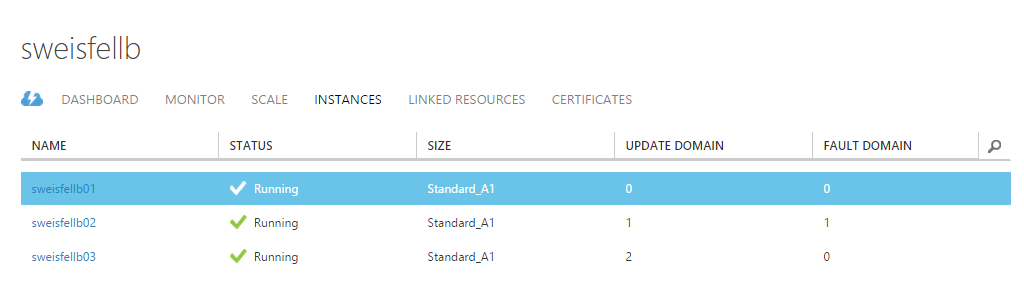
Secondly we now have a highly available configuration. The Azure fabric has deployed our VMs across 3 different update domains and 2 different fault domains. The update domains will ensure that if the fabric has to do some sort of maintenance only one of the VMs will be impacted. The fault domain ensures that our VMs are across 2 different physical racks, thus a hardware failure will not bring down our entire application.
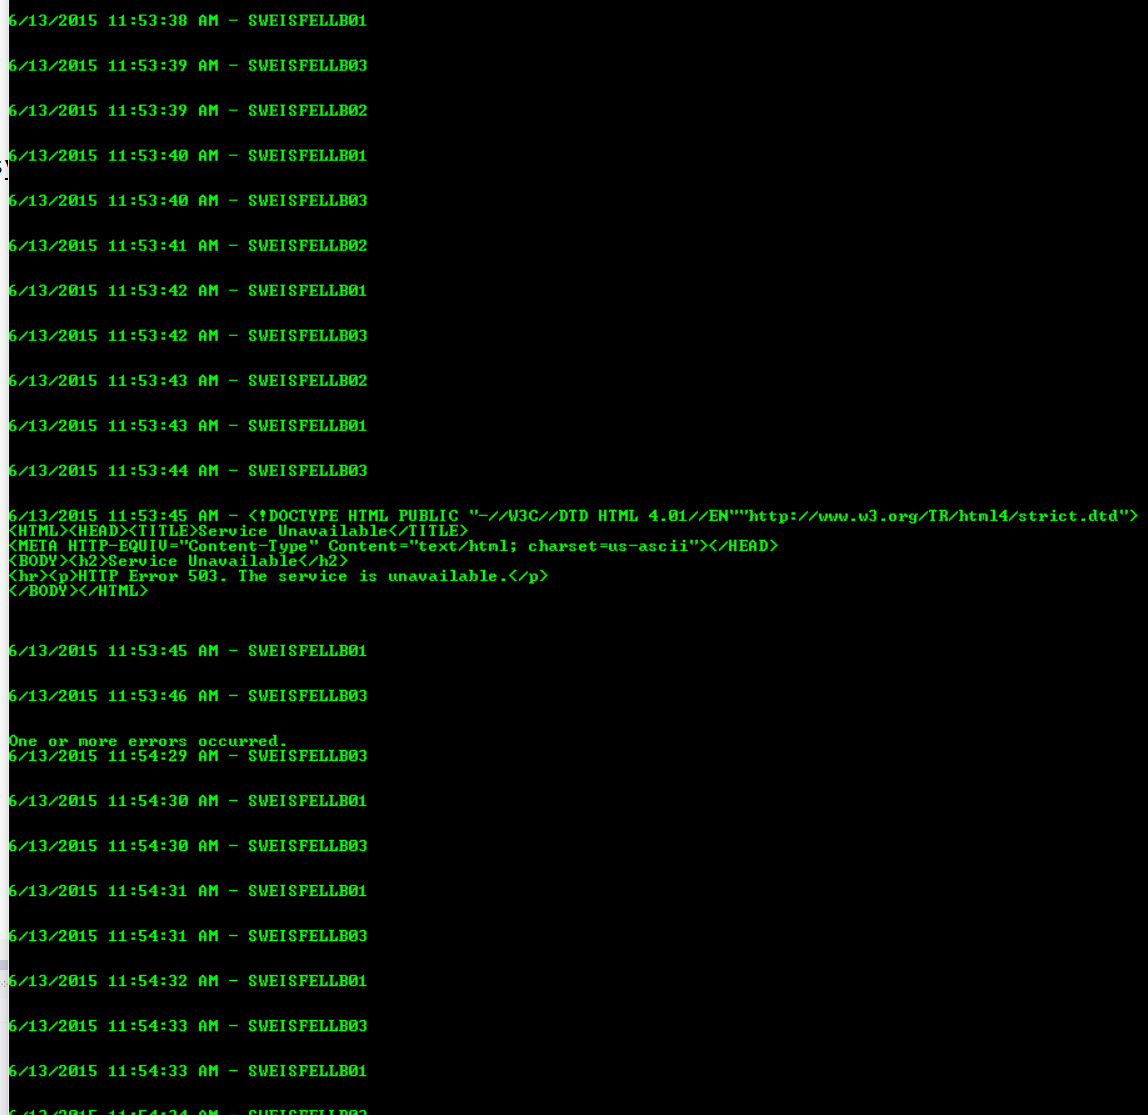
This will also protect us if a VM goes down, let’s do a dry run of this, by remoting into one of our machines while it is running and stop IIS, if we do this while our console test client is running we will see the load balancer in action. In the below screen shot you can see what happened when I stopped IIS on web server 02. As IIS was going down I got a 503 error, then you can see that 01 and 03 started serving up the request all by themselves.
Now let’s do the same process in reverse, and restart IIS on server 02.

Remember that configuration we did for the Load Balanced Set? It is pinging port 80 every 15 seconds, and if it gets 2 failures it will remove the VM from the rotation, and once it starts getting successful probes it automatically puts the VM back into rotation.
As you can see the Azure fabric gives us a very powerful platform for running our virtual machines. Ensuring that with very little work we can create a highly available and robust VM environment that can automatically grow and shrink to ensure we are getting the most value out of every VM we have running.
 Light
Light Dark
Dark
0 comments