A first look at Azure Media Services
Back in the early (Azure) days, I did a project in which we used the Microsoft Expression Media Encoder SDK for encoding video's from inside a Azure Worker Role. We stored those video's in Azure Blob Storage and used IIS Smooth Streaming & Silverlight for playing these video's.
But now there is Azure Media Services, and this will make it all a lot easier and better! Let's take a look at what Azure Media Services has to offer from a developer perspective.
Introduction
Microsoft Azure Media Services (AMS) allows you to build end to end media distribution solutions that can upload, encode, package, and stream media to multiple platforms and devices.
Below features are included:
- Studio-grade encoding at cloud scale.
- One player for all your playback needs.
- Greater discoverability and accessibility of media through media intelligence.
- Content protection and encryption delivered by AES and PlayReady.
- On-demand and live video streaming with integrated Content Delivery Network capabilities.
Before you can get started developing your first AMS solution you need the following:
- A Media Services account in an Azure subscription.
- Visual Studio 2015 / 2013 / 2012.
- .Net framework 4.5.
Create a Media Services Account
A Media Services account gives you access to a set of cloud-based services available in Azure. It doesn't store the actual media content, only the media metadata and media processing jobs. Take the following steps to create a new Media Services account.
Navigate to the Azure Portal and log in.
Click Web + Mobile -> Media Services. 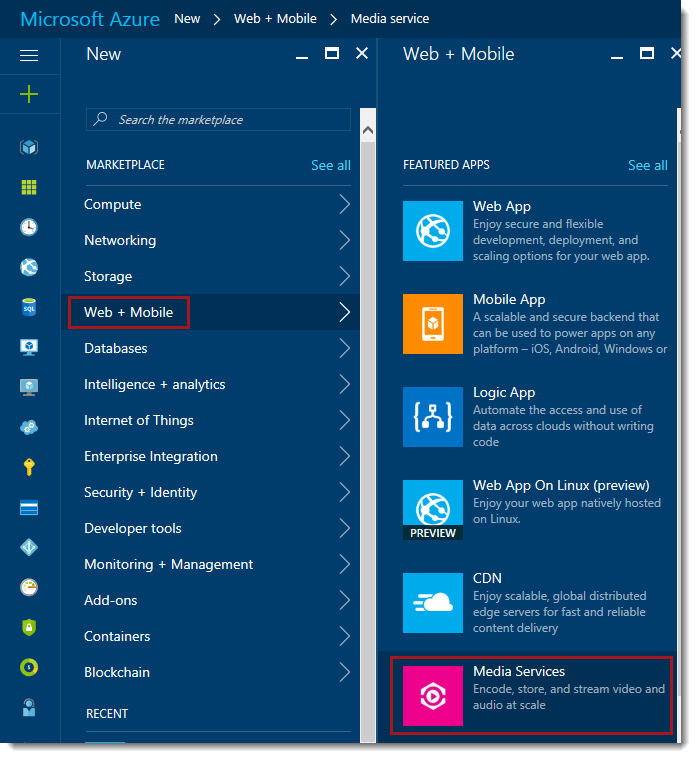
Enter an account name, select a Resource group or create a new one and select a storage account or create a new one. Click OK.
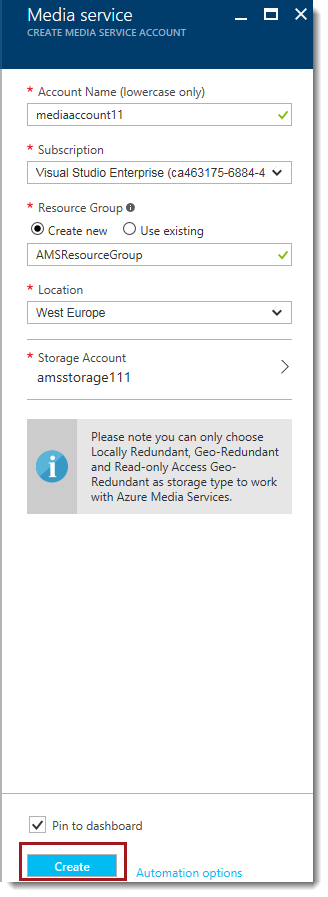
Your AMS account is being created now!
After the account creation navigate to the new Media Service. A Default endpoint is created for you, which is in the stopped state. Turn this on to enable streaming, by clicking the Start button.

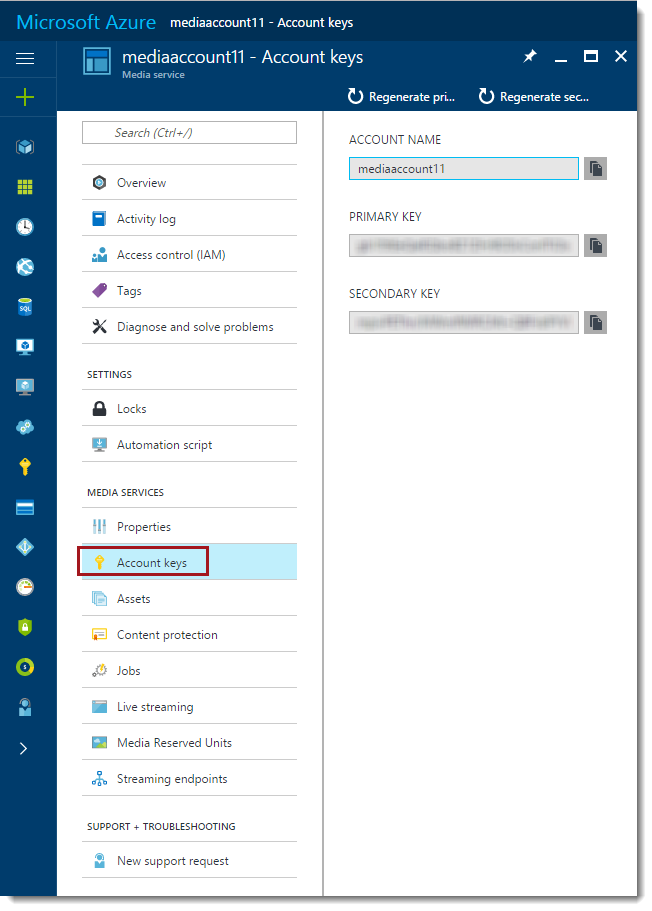
For your application, you need the Account key to connect to your Media Services account. Go to Account Keys and copy the Primary Key to your text-editor.
Create your Visual Studio Project
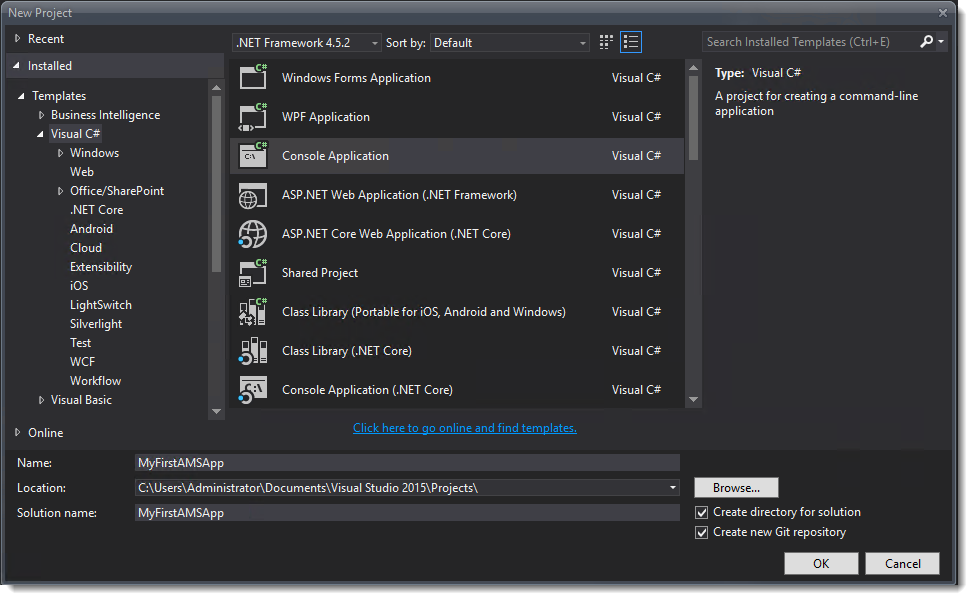
The AMS SDK can be installed using NuGet. So, open Visual Studio and create a new C# Console Application.
When the project is created, click Tools -> NuGet Package Manager -> Manage NuGet Packages for Solution.
In the search box, type windowsazure.mediaservices.extensions, select the package and click install.

Add a reference to the System.Configuration assembly to your project. This assembly is used to add the Media Service account name and the account key (which you’ve copied earlier) to the App.config.
Add the below code to the App.Config file:
 [code lang="js"]

<appSettings>
  <add key="MediaServicesAccountName" value="Account Name" />
  <add key="MediaServicesAccountKey" value="Account Key" />
</appSettings>
Replace the values with your Account Name and the Account Key.
Add the following using statements to the program.cs file:
 [code lang="js"]
using System.Configuration;
using System.Threading;
using System.IO;
using Microsoft.WindowsAzure.MediaServices.Client;
Inside your class, add the following code:
 [code lang="js"]

class Program
{
   // Read values from the App.config file.
   private static readonly string _mediaServicesAccountName =
   ConfigurationManager.AppSettings["MediaServicesAccountName"];

   private static readonly string _mediaServicesAccountKey =
   ConfigurationManager.AppSettings["MediaServicesAccountKey"];

   private static CloudMediaContext _context = null;
   private static MediaServicesCredentials _cachedCredentials = null;

   static void Main(string[] args)
   {
      try
      {
         _cachedCredentials = new MediaServicesCredentials(
         _mediaServicesAccountName,
         _mediaServicesAccountKey);
         _context = new CloudMediaContext(_cachedCredentials);

         IAsset inputAsset =
         UploadFile(@"C:\SampleVideo.mp4", AssetCreationOptions.None);
       }
       catch (Exception exception)
       {
          exception = MediaServicesExceptionParser.Parse(exception);
          Console.Error.WriteLine(exception.Message);
       }
       finally
       {
          Console.ReadLine();
       }
   }

   static public IAsset UploadFile(string fileName, AssetCreationOptions options)
   {
      IAsset inputAsset = _context.Assets.CreateFromFile(
         fileName,
         options,
         (af, p) =>
         {
               Console.WriteLine("Uploading '{0}' - Progress: {1:0.##}%", af.Name, p.Progress);
         });
      Console.WriteLine("Asset {0} created.", inputAsset.Id);
      return inputAsset;
   }
}
When you run this code, the video gets uploaded to the storage account of your Media Services. If you open the Media Services account in the Azure Portal you can see that it’s there.
Conclusion
In this post we’ve created an Azure Media Service Account and created a simple application for uploading a video into AMS. It works smooth and fast in my opinion. In upcoming posts I will explore some more AMS development functionalities.