Managing Multiple Azure Environments with Visual Studio Online Builds
Carrying on from the Multiple Azure Cloud Environments post, the following provides an example of how managing the progression of a solution through the development, staging, and production environments.
Staging in the context indicates an environment and not the staging deployment of a cloud service. In hindsight, it could have been named Test to avoid confusion but the word Test could also have been perceived as temporary. UAT is another popular term for the environment before production. Please post a comment for the terms that your organisation(s) uses.
Using Visual Studio Online to manage the build process is a popular choice due to its tight integration with Visual Studio and Azure. The image below illustrates this process:
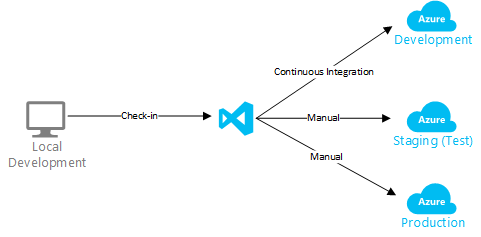
The development team develops and tests locally before checking in their changes. When a check-in occurs, the Visual Studio Online server then gets the latest changes, builds and then deploys to the Development cloud service. Then once the changes have been reviewed, another build and deployment is then made to the Staging and production environments.
This post will illustrate this approach by using the SpikeCloud solution created in the earlier post.
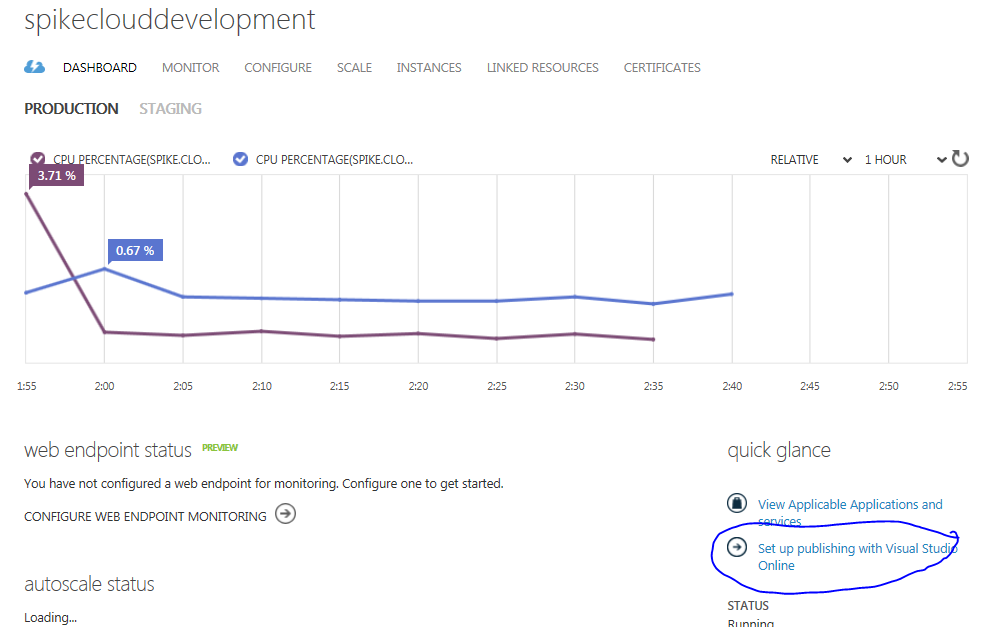
Add to Visual Studio Online
The first step is to add the solution to Visual Studio Online:
You will then be asked to authorise the connection:
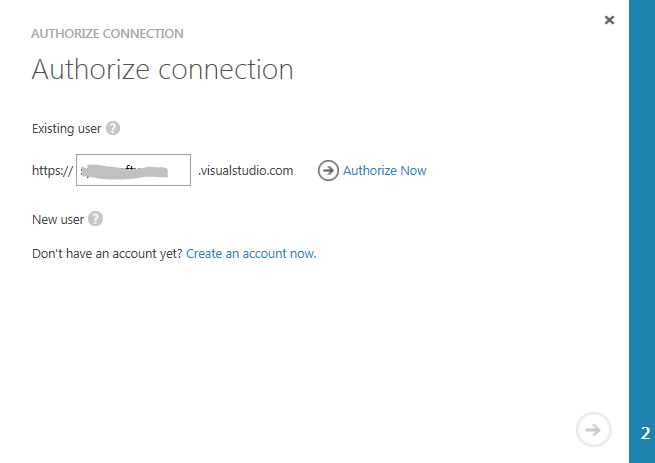
This step links your cloud service to Visual Studio Online
Add solution to source control
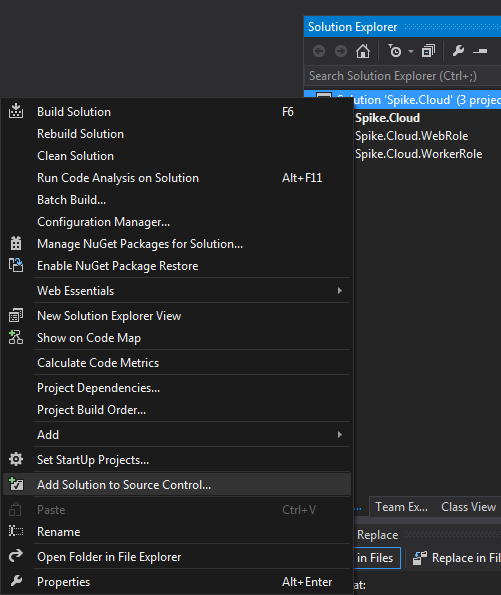
Now that the link is complete, the solution needs to be added to Visual Studio Online. From within your solution, this can be done by adding the solution to source control:
You will be prompted for the type of source control system:

Once the solution has been added, Visual Studio will indicate this:
If we were only supporting a single environment, we could check-in and the solution would then be deployed to Azure using continuous integration. Because of the multiple environments, we have a bit more configuration to do.
Go ahead and check-in the changes now as the build is disabled by default.
Supporting Multiple Environments
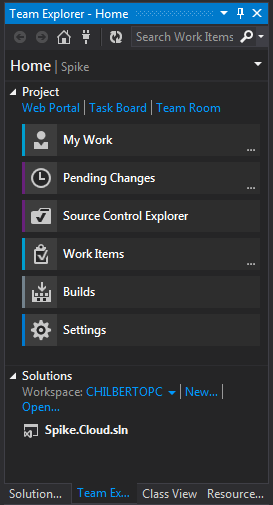
In the Team Explorer, select Builds. If you do not see the Team Explorer, you can open it under the View menu.
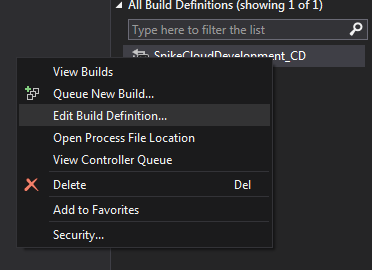
Edit the Build definition.
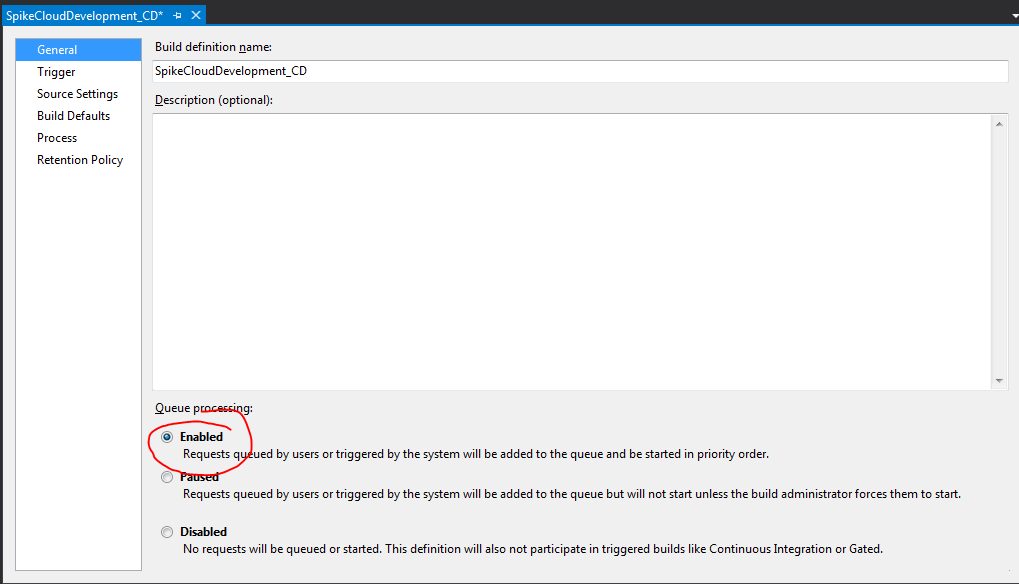
The first page of properties allows us name and set the queue processing status. Go ahead and enable the build:
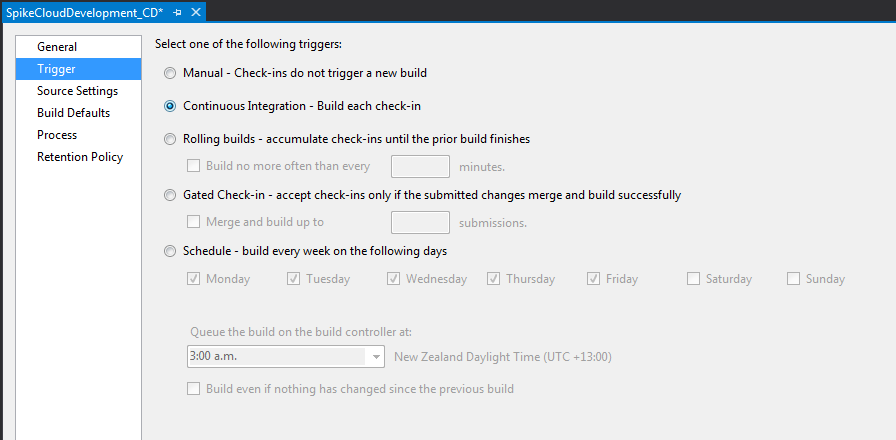
For the development environment, leave the Trigger set to continuous as we want to run a build each time someone checks in:
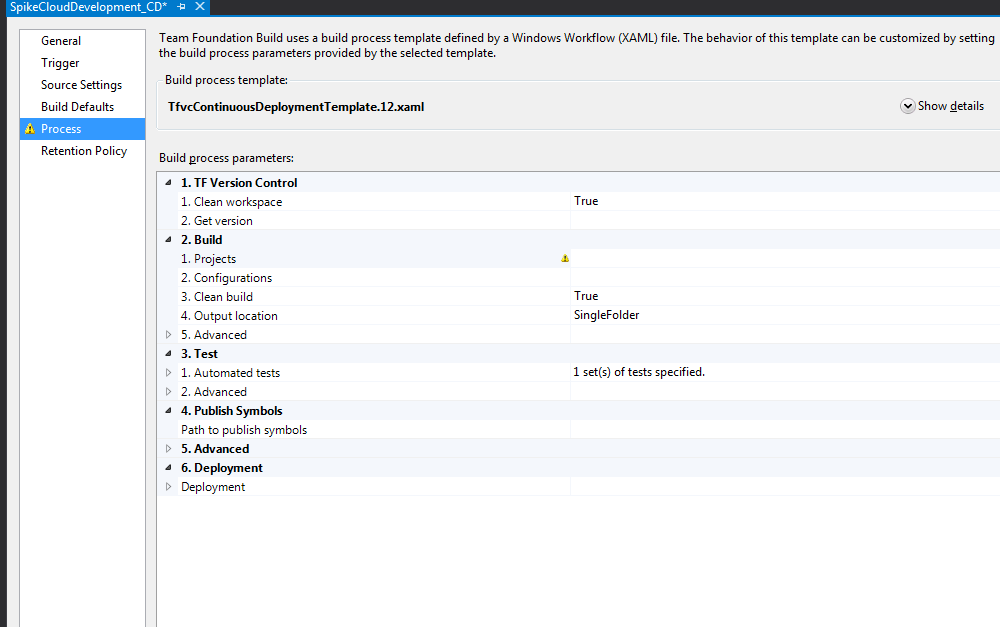
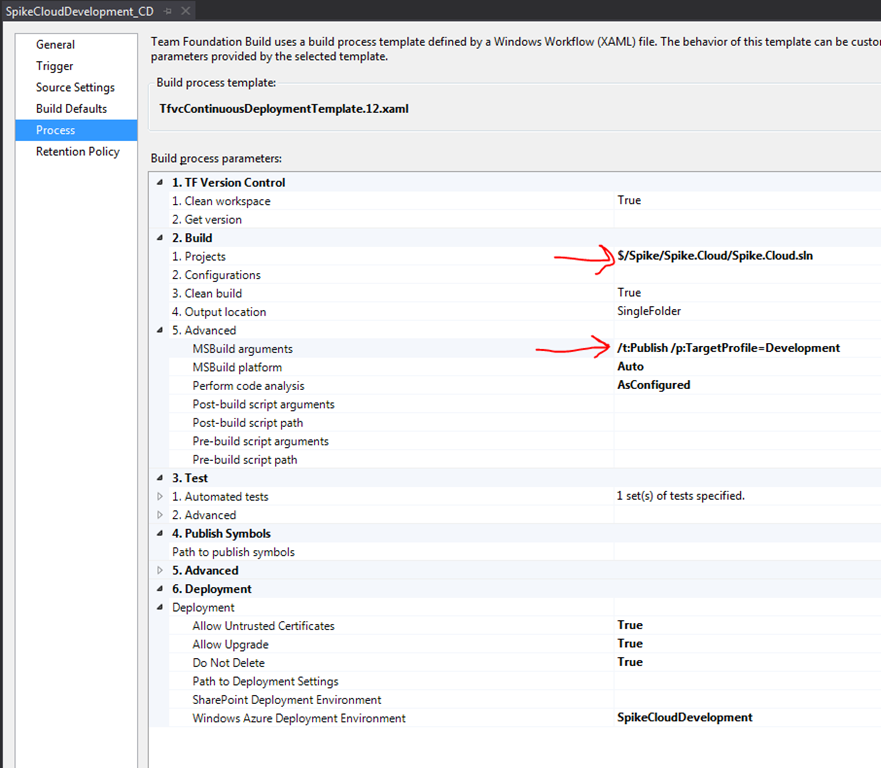
For the purpose of this post, we will leave the Source Settings, Build Defaults and Retention Policy as the defaults. In the Process tab we need to set some information about our solution. First of all the solution to build needs to be specified by clicking the elipse in the Projects field:
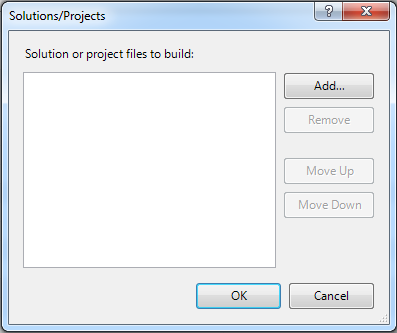
The solution file needs to be added by first clicking the add button:
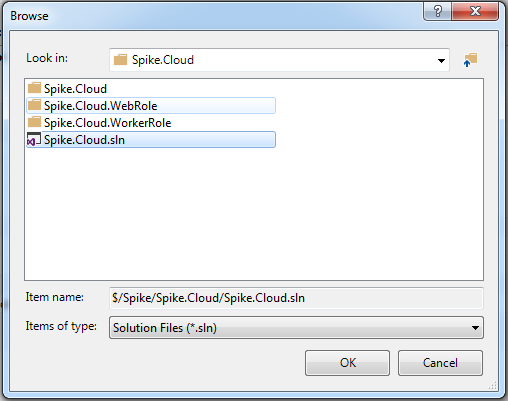
And then navigating to the solution file:
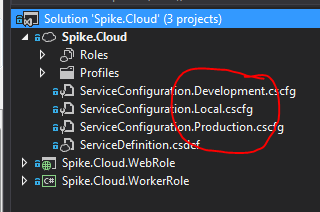
In order to specify the azure configuration we require, we need to indicate this as an msbuild parameter. This is pretty straightforward as the target profile matches the service configuration we created in the previous post:
The following shows our completed build settings with the fields we were required to set indicated:
In order to test the changes, check-in a change or manually start a build by selecting Queue New Build:

Conclusion
By combining source control and build automation, linking your Azure cloud services to Visual Studio Online provides a number of benefits. Besides providing a robust and feature rich collaboration tool, managed builds provides a team with a simple and efficient mechanism for deploying to Azure. In my experience, I have seen my deployment time reduced up to 5 times by deploying from VSO instead of local workstations.