Simple database copies with the Azure Data Lake Database Export Wizard
Azure Data Lake Tools for Visual Studio now provides the ability to export all or part of a database associated with an ADL Analytics (ADLA) account into a database on a local machine. This capability is very useful when creating local environment for development or debugging.
The concept of a database is used to group related data structures and functions together. ADLA users have databases in their production environment that contain tables, assemblies, table valued functions and other objects. Previously, when developing and tuning U-SQL queries on a local machine, developers would have to manually recreate everything in their production database. After coding they would have to identify any changes to the database and then update the production account's database. This process took extra time and introduced errors without adding any value.
Using the Export Wizard, developers can clone the existing database environment and sample data directly to the local account. Developers can also choose to export only parts of the database to the local database. Follow below steps to export your U-SQL databases.
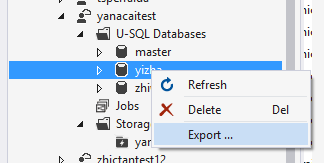
Step 1: Right click your database in Server Explorer and click "Export..."
Exports can be performed on databases in your ADLA accounts, and databases under the Local account.
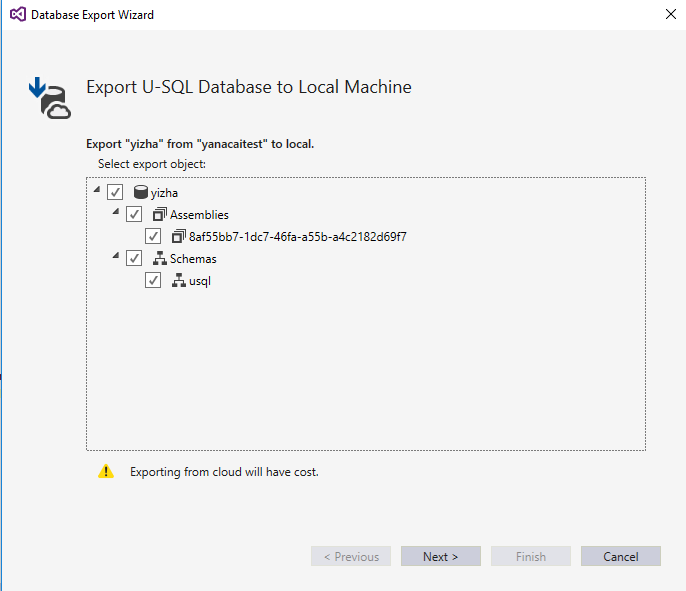
Step 2: Configure the objects you want to export
When a database is very large but you just need a small part of it, you can configure the subset of objects you want to export from the tree view and then click Next. Please note that the export action is completed by running a U-SQL job, and therefore exporting from your Azure account will incur some cost.
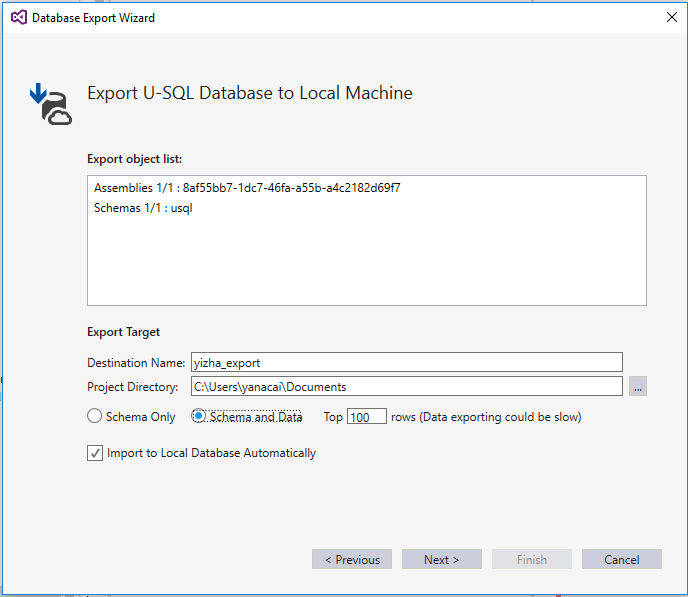
Step 3: Check the objects list and more configurations
You can find all the objects you selected for export listed at the top of the next dialog. Here you can also configure:
| Configuration | Description |
| Destination Name | This name indicates where you want to save the exported database resources, like assemblies, additional files and sample data. A folder with this name will be created under your local data root folder. |
| Project Directory | This path defines where you want to save the exported U-SQL script which includes all database object definitions. |
| Schema Only | Selecting this option results in only database definitions and resources (like assemblies and additional files) being exported. |
| Schema and Data | Selecting this option results in database definitions, resources, and data to be exported. The top N rows of tables are exported. |
| Import to Local Database Automatically | Checking this means the exported database will be imported to your local database automatically after exporting is completed. |
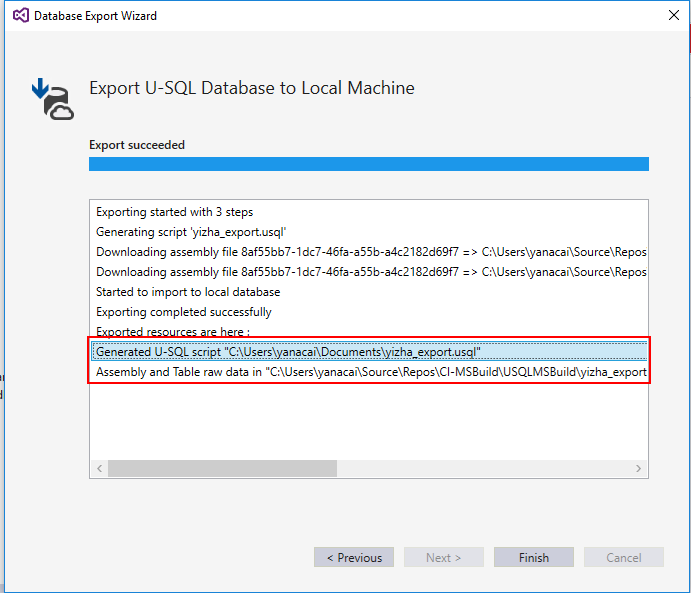
Step 4: Check the export result
After all these settings and exporting progress, you can find the exported results from the log window.
Try this and contact us at adldevtool@microsoft.com if you have questions and feedback, we shall be happy to hear your feedback.