Project Integration Walkthrough in Microsoft Dynamics AX 2012 R3
With the Microsoft Dynamics AX 2012 R3 release, Microsoft Project Integration for Dynamics AX is now a client based integration model. This makes the integration prerequisites and the configuration process much simpler than in previous versions of AX. In order to configure Project Integration you only need to follow the simple process outlined below.
First remember that with 2013 this is a client integration so all activities will be performed on the client machine and not the server. To integrate with Project you need to have MS Office and Project installed on the desired client machine before doing any AX configuration. Refer to the Dynamics AX documentation for the official supported versions of Project but currently the list is Project Professional 2013, Project Standard 2013, Project Professional 2010 and Project Standard 2010.
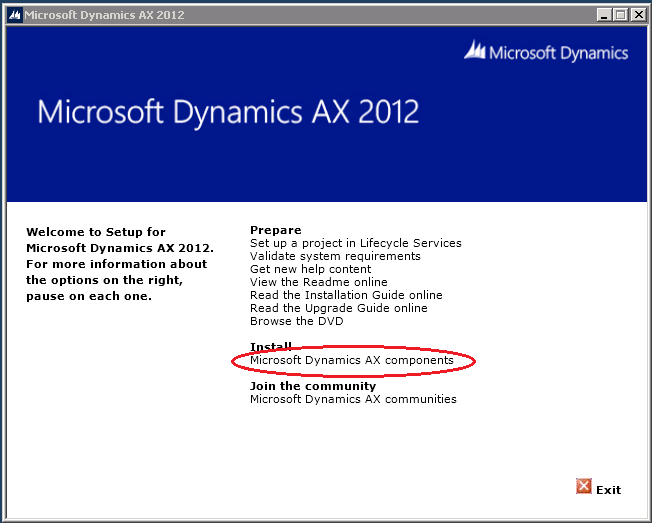
Once Project has been installed on the client machine run the Dynamics AX installer on the client machine again and select Microsoft Dynamics AX Components under the Install option.
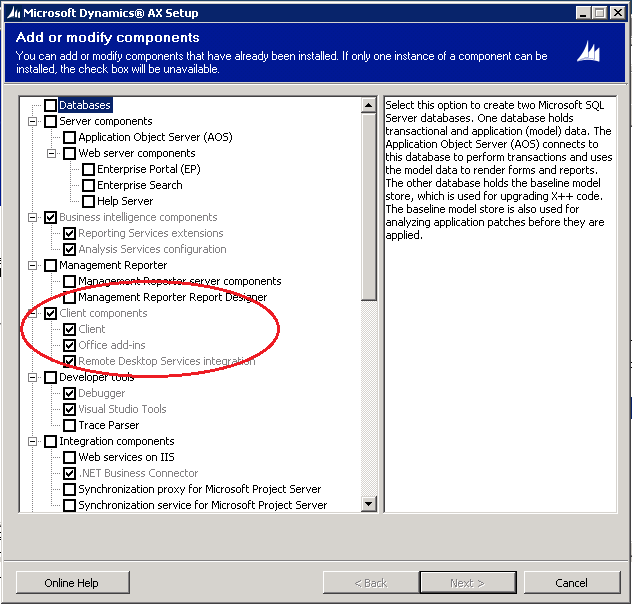
Click Next on the resulting welcome screen, select Add or Modify Components on the installation screen and hit Next. On the components screen select Office add-ins (this contains all Office add-ins including the Project add-in) and click Next. Complete the installation of this component.
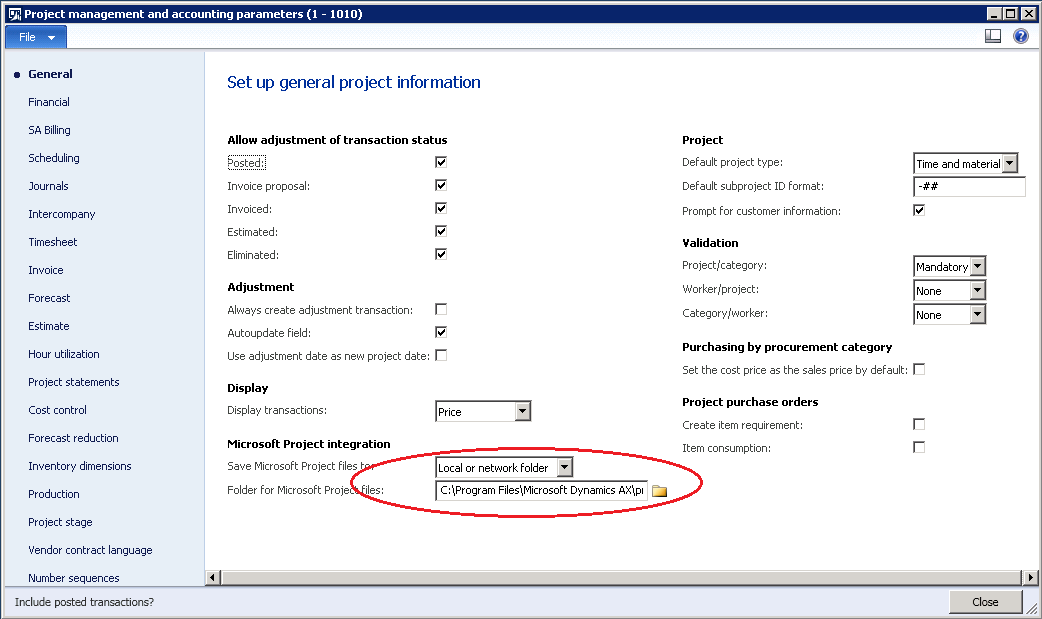
The last thing to do is to ensure that the required Project options are properly configured in AX. On the General tab of the Project->Setup->Project Management and Accounting Parameters screen find the Microsoft Project Integration section on the lower left. Select “Local or Network Folder” for the Save Microsoft Project files to: option. In the Folder for Microsoft Project Files control either type in the desired local or network UNC path or browse to the desired location and hit OK. Alternatively, you can specify a SharePoint site but that is beyond the scope of this post.
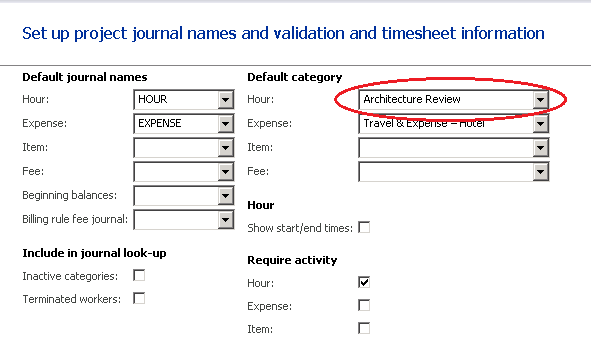
Finally, on the Journals tab of the Project->Setup->Project Management and Accounting Parameters enter a Default Category for the Hour field on the upper right part of the screen. This is the Category value that will be assigned to tasks when you synch with a project file which does not have the Category field filled in for one or more rows. Without this default value these rows will not be imported into AX.
Open MS Project from your desktop and create a new blank project. Select the File menu option. Select Options on the resulting menu and click Add-Ins on the left side of the Project Options screen. This will bring up the add-in
manager. You should see “Microsoft Dynamics AX Add-in for Microsoft Project” as one of the installed Add-ins.
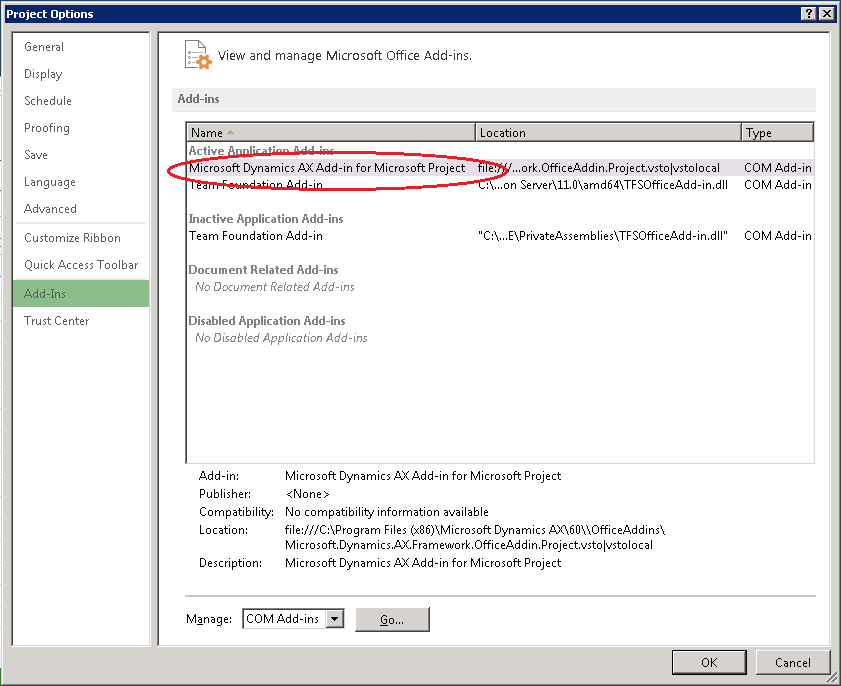
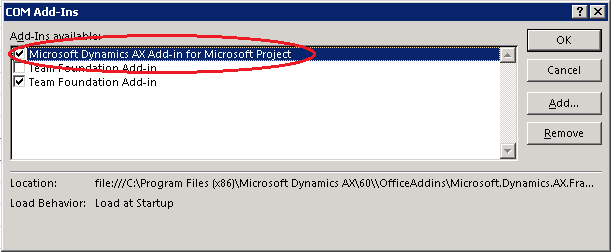
If the entry is under the Active Application Add-ins node you are done. If it is under the Inactive Application Add-ins node you need to activate the add-in. To activate the add-in select Go next to the Manage combo box at the bottom of the screen. The pop dialog will let you select which installed add-ins you want activated. Check the Project add-in and click OK.
Close MS Project and re-open it and you should see the menu option “Dynamics AX” when you open a project file. You are now ready to synch projects between AX and MS Project.
Bruce Benton