Customizing your Hadoop cluster running on your own Windows Azure Subscription
In this article we will learn how to configure the same Hadoop cluster to do some customization.
To learn about creating your own Hadoop cluster on Windows Azure by using your own Windows Azure Subscription account – Click here
To add more worker nodes to Hadoop cluster on Windows Azure we need to first find out how many cores we have remaining and because each worker node is medium VM means it takes 2 cores for each worker node, we can figure out how many more worker nodes we can add. To check how many cores I have remaining in my Windows Azure Subscription run command and I will get the number of cores available.
>> isotopeEMR quota

Based on above cores I can guess that I can add maximum 4 more worker nodes to my Hadoop cluster. I will not add 4 instead I will try adding 2 more core as below:
>> isotopeEMR resize hadoopultra 6
This command will change my configuration to a new number of worker node either by adding or deleting worker nodes to match to specified given number.

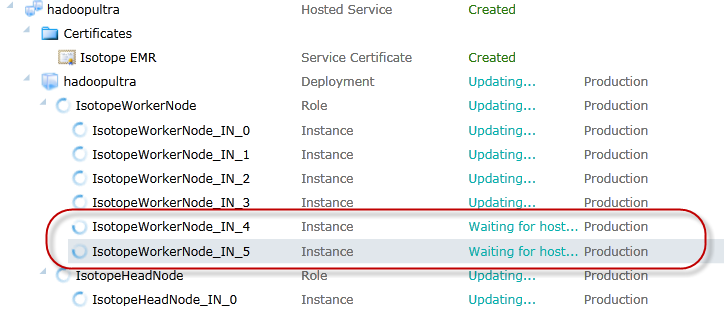
During this time I will see that 2 more worker nodes are added to my Windows Azure Subscription. Looking at Windows Azure Management Portal I can see 2 new nodes *_IN_4 and *_IN_5 are being configured as below:
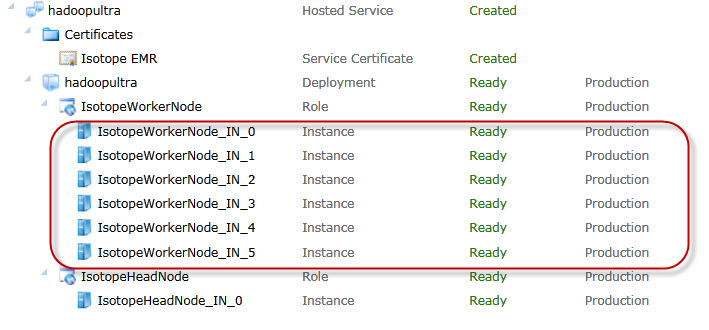
After about 4-10 minutes I will have all 6 worker nodes ready as below:
Now if I check my available cores quota, the result reflects the 2 more worker nodes addition in my cluster as below:

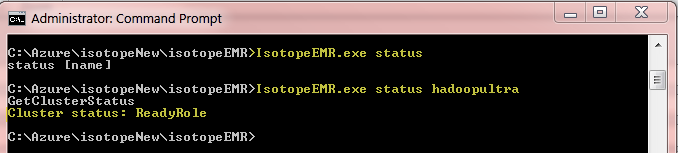
If any time I want to know my head node status if it is running or in other state I can run command:
>> IsotopeEMR.exe status hadoopultra
If I want to reset my Hadoop cluster and redeploy again, I can run the command as below:
>> IsotopeEMR.exe reset hadoopultra
If I decided to delete my Hadoop cluster completely, I can run the command as below:
>> IsotopeEMR.exe delete hadoopultra
Resources:
- Apache Hadoop on Windows Azure Technet WiKi
- Keywords: Apache Hadoop, Windows Azure, BigData, Cloud, MapReduce