Developing ASP.NET MVC4 based Windows Azure Web Role
In this article we will learn how to create a Windows Azure Web Role based application using ASP.NET MVC4 template.
To start You must have VS2010 professional or above Visual Studio SKU otherwise you can download free version of Visual Studio Web Developer. You also need latest Windows Azure SDK 1.5 to develop your Windows Azure application.
Get ASP.NET MVC4 Web Installer from the link below:
- VS2011 is still not supported with Windows Azure Tools so we will not be using ASP.NET MVC4 Developer Preview here. However you sure can use ASP.NET MVC4 Developer preview for 2011 for other ASP.NET project.
- Learn more about ASP.Net MVC4
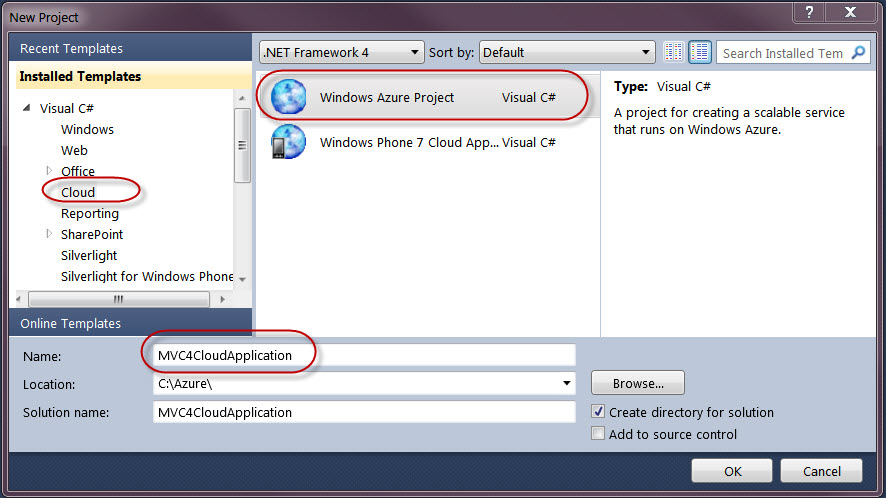
Once you have ASP.NET MVC4 installed, create a new cloud application as below:
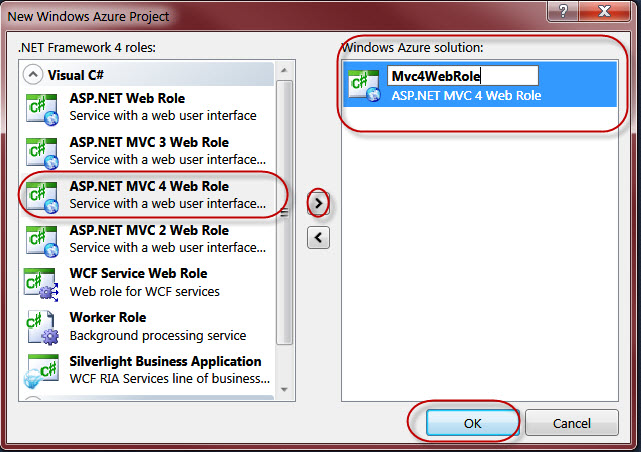
In the role selection wizard please select MVC4 based ASP.NET Web Role as below:
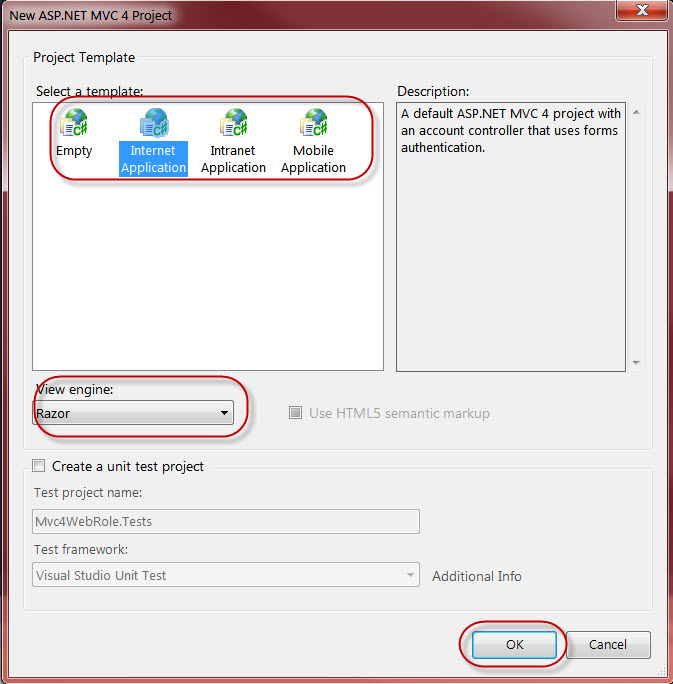
Now you will be asked to choose ASP.NET MVC4 template as below so choose one of the given template and then select your view engine between Razor or ASPX:
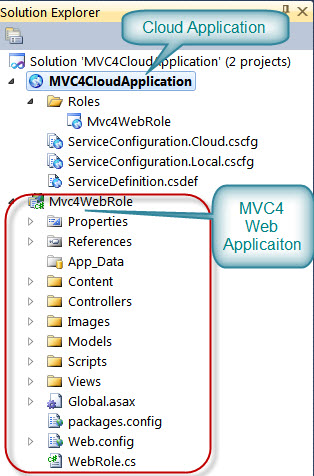
After above steps, your project will open in VS2010 (or Visual Studio Web Developer). In the Solution Explorer windows, you will see the project details as below:
Now you can make any changes you would need in your MVC4 application.
Please be sure to have your Windows Azure Cloud application is set as default project as below:

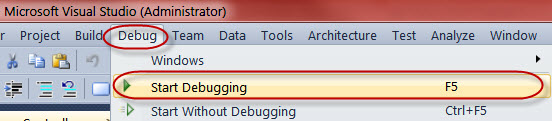
After it you can just launch your Windows Azure Cloud application in “Compute Emulator” by selecting Debug -> Start Debugging / Start Without Debugging:
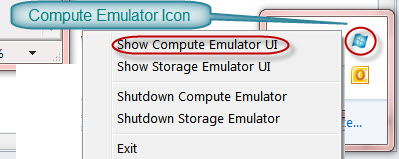
After you will see that Windows Azure Compute Emulator started as below:
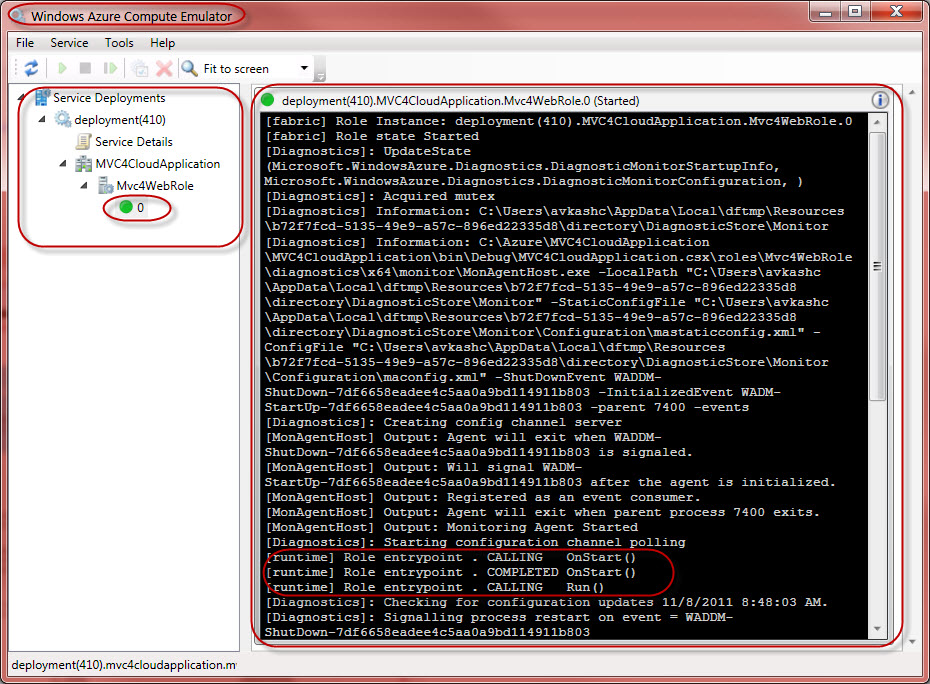
In the Compute Emulator UI you will see that your Windows Azure Cloud Application is running as below:
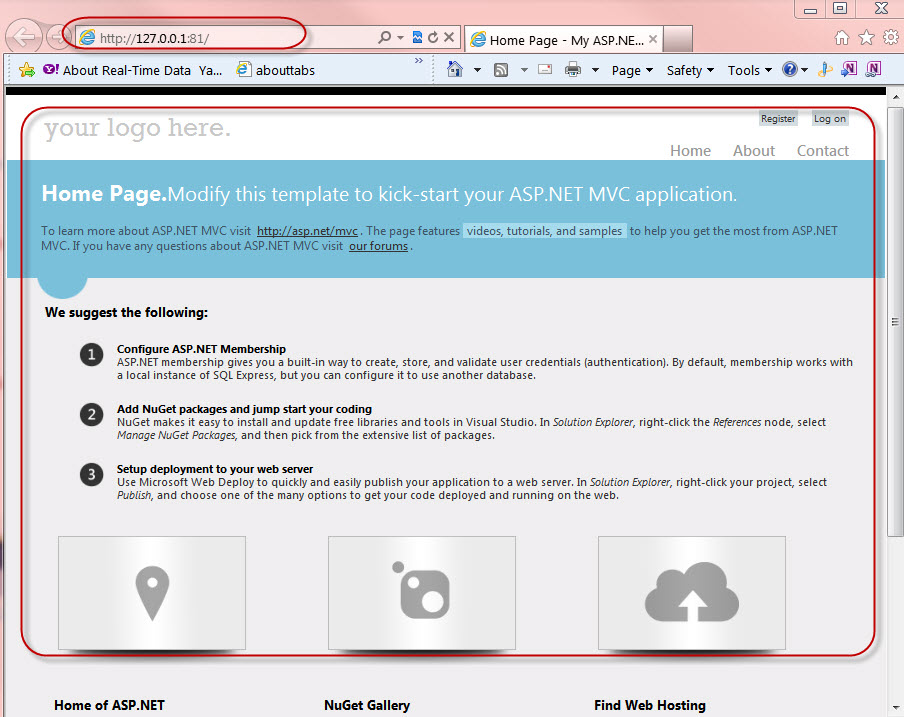
You can also verify your application is running in your default browser windows as below: