Windows Azure and Visual Studio LightSwitch 2011 - Part 1/3 : Creating Hello World Application in Visual Studio LightSwitch
Visual Studio LightSwitch 2011 offers downloadable starter kits and flexible deployment options that help you create and easily release custom business apps that look professional and polished, with no coding required. Learn more at:
https://www.microsoft.com/visualstudio/en-us/lightswitch/overview
Technology used in this 3 part blog entry:
- Visual Studio LightSwitch 2011
- Visual Studio 2010 Pro and Above
- Windows Azure SDK 1.4 Refresh
Visual Studio LightSwitch is the simplest way to develop business applications for the desktop and the cloud. LightSwitch handles all the plumbing for you so that you can concentrate on the business value. The only code you write is the only code you could write.
After you have installed LightSwitch 2011, lets not get to work.
Visual Studio LightSwitch 2011 Application Creation:
Step 1: Start LightSwitch 2011 application and create a new application based on your choice of language. In this case i have create an application name "AzureLightSwitchWebRole".
The first screen will look like as below:
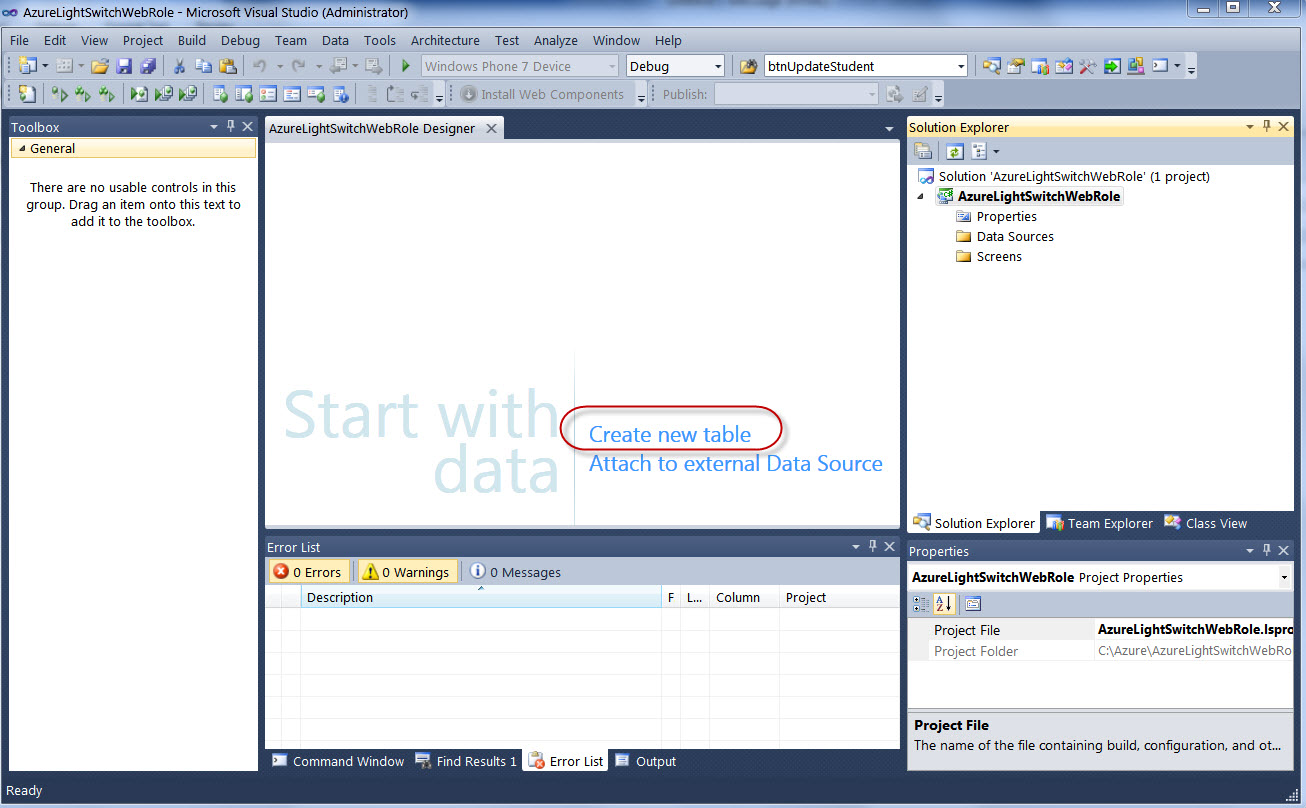
Step 2: Because we are creating a very simple application which we will host in Windows Azure and our main objective is Windows Azure so in the above screen you can select "Create new table" option and you will see new dialog windows to create table items. You can create tables "AddressList" and included tables items as below:
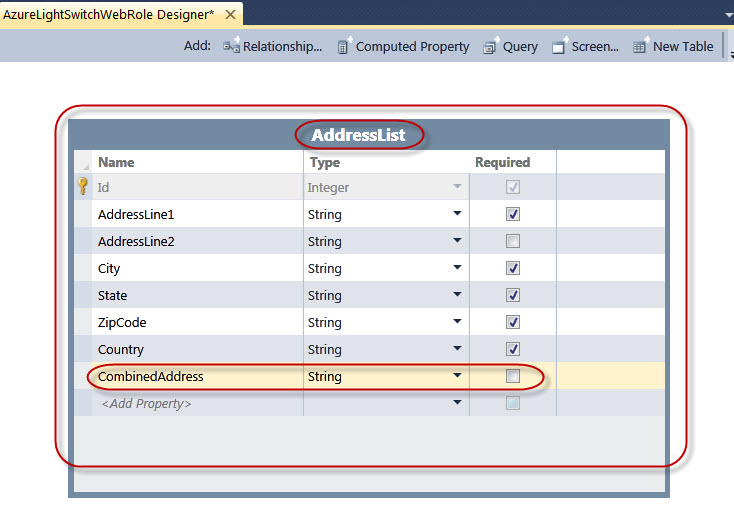
Step 3: Once above table items are created in AddressList table, you can save your project and create new screen as below:
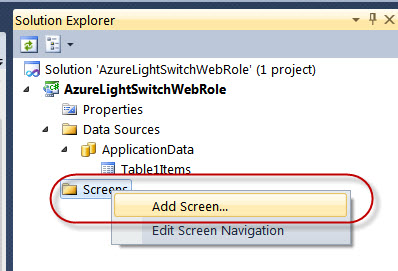
Step 4: Once you have clicked "Add Screen" option, you will see a new screen wizard as below:
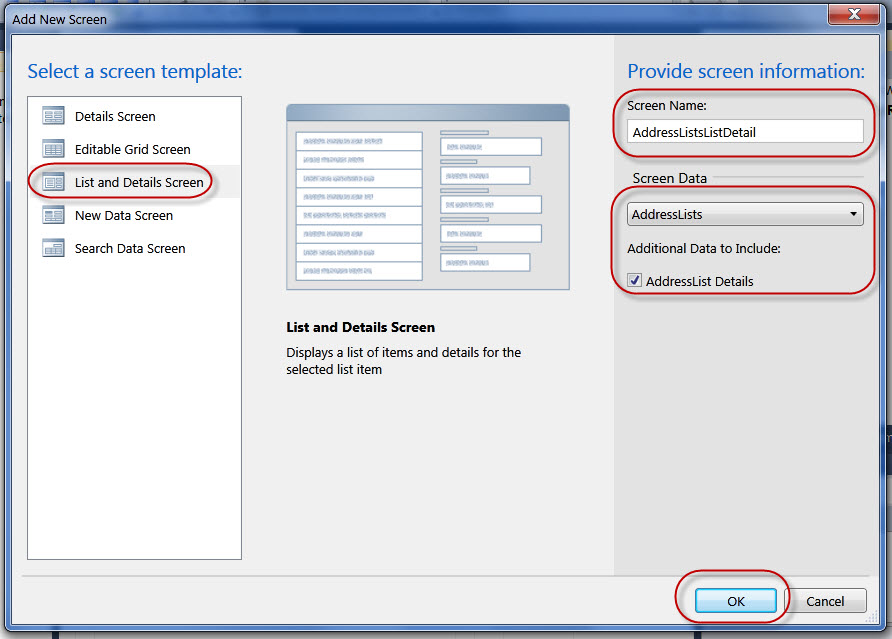
Step 5: Please select "List and Detail Screen" from the template above and select your "AddressList" table as "Screen Data". Once above selections are done, you will see the screen layout as below:

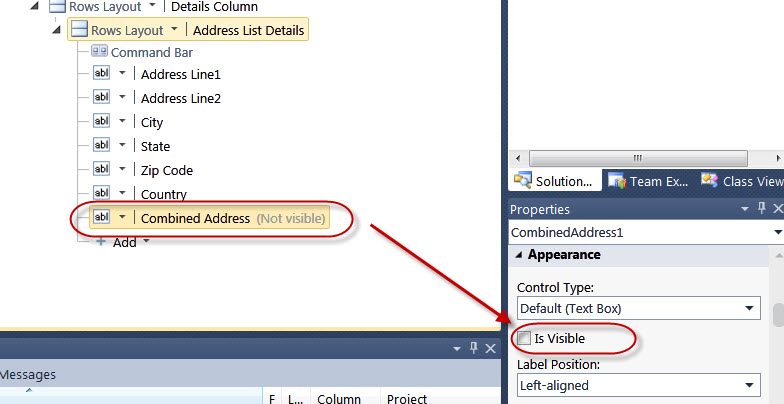
Step 6: The following screen is just to show how you can use screen layout properties to set individual table items property:
That's it. I am not going to write any code behind it and if you want to learn more you can download Visual Studio LightSwitch 2011 Training Kit from the link below:
https://www.microsoft.com/download/en/details.aspx?displayLang=en&id=23746
Visual Studio LightSwitch 2011 Application Execution (As Desktop Application):
Now lets run our application and you will see the application executes as a Desktop Application as below:
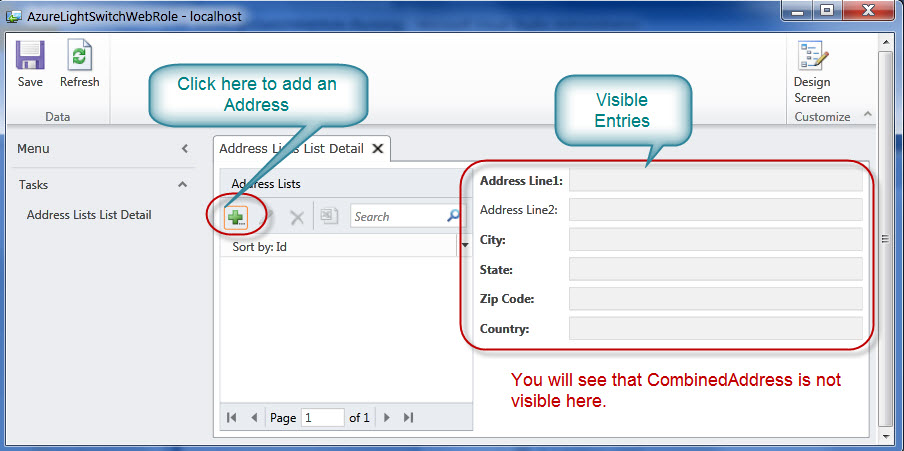
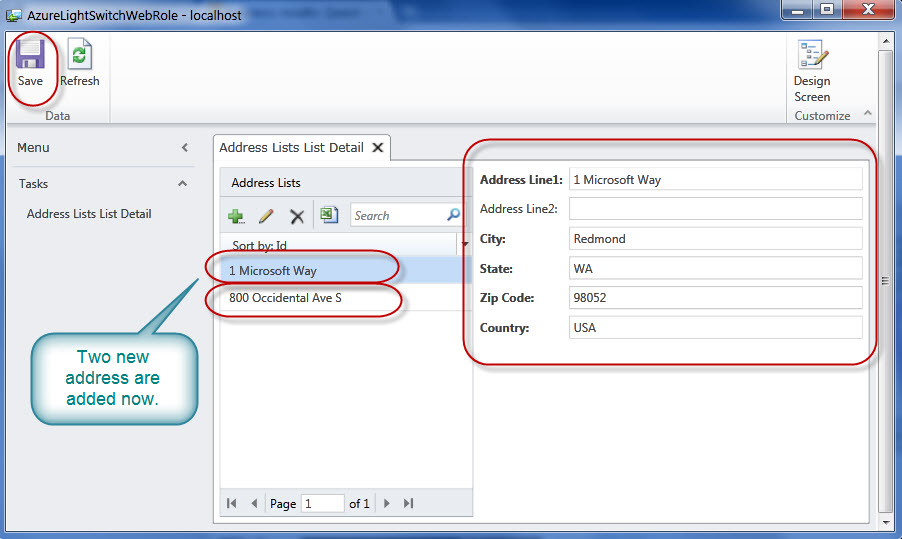
In this application you can insert new addresses as below and save them. All new address are saved in the table and when you start new instance of the application the previously saved address are populated.
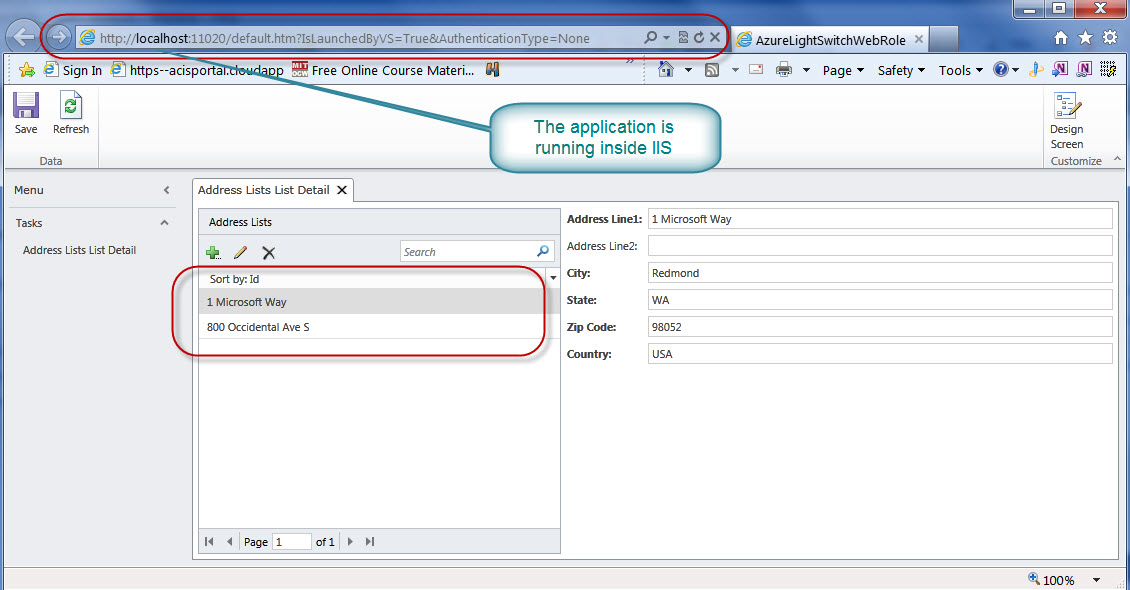
Visual Studio LightSwitch 2011 Application Execution (As Web Application inside Web Browser) :
To test the same application inside Web Browser you will need to set the application properties as below:
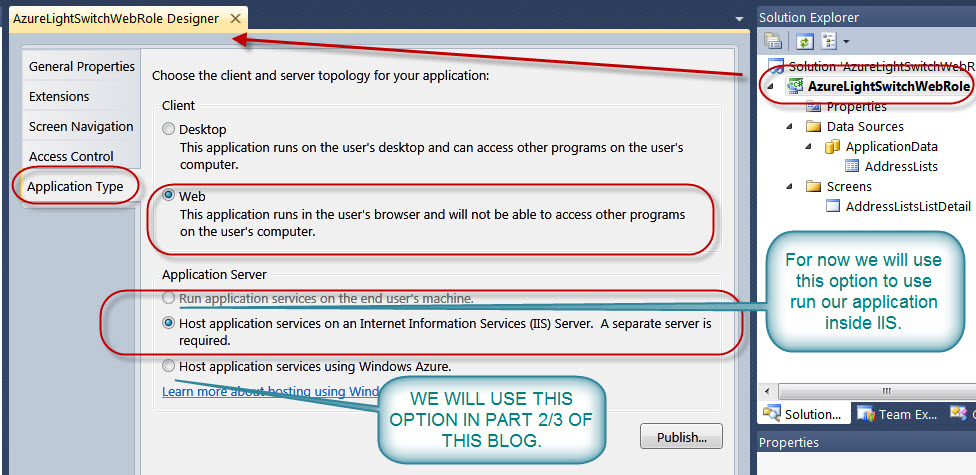
Once above properties selection is completed, you can run application and you will see the application runs in web browser as below:
That's it here for us. In the second part of this blog entry we will publish the same application in Windows Azure.