Setting RDP Access in Windows Azure Application with Windows Azure SDK
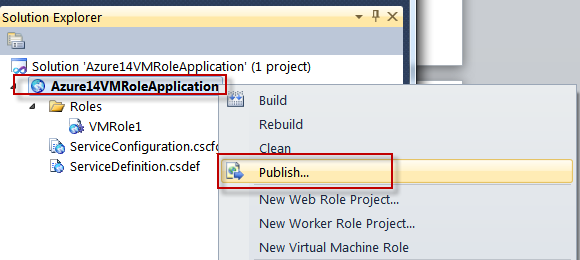
In this article we will learn how to enable RDP Access to Windows Azure Application. Right click on your Cloud Project i.e. "Azure14VMRoleApplication" Name and in the newly opened menu, please select "Publish" option as below:
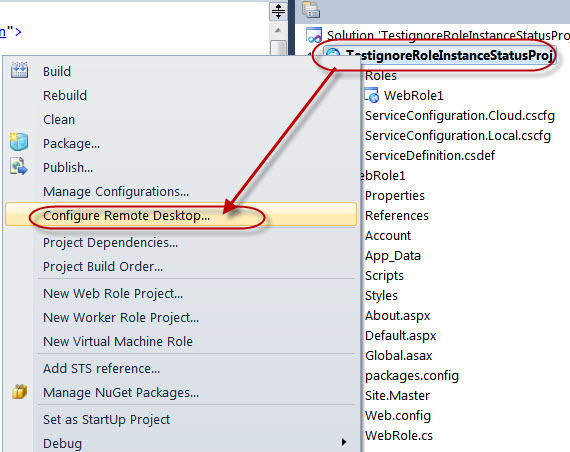
With SDK older then SDK 1.5:
You will see a new dialog opened as below:
If you are using SDK 1.5 or newer the option is located as below:
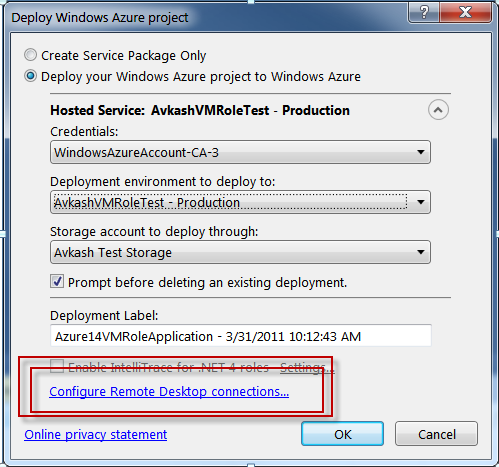
Because we are setting RDP access to our application, so any of following setting does not matter at this time:
- Create Service Package Only
- Deploy your Windows Azure project to Windows Azure
We just need to click on "Configure Remote Desktop connections..." above.
We will see a new dialog "Remote Desktop Configuration". In this dialog, you will need to check "Enable connections for all role" check box in the above window, which will open all disabled input box to enter proper credentials. Once you checked the "Enable connections for all roles", please select a certificate, which will be used to encrypt your password. You also need to upload this certificate in the certificates section of your Service in Windows Azure Management Portal.
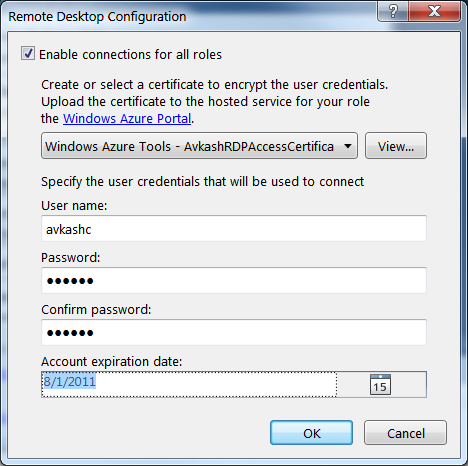
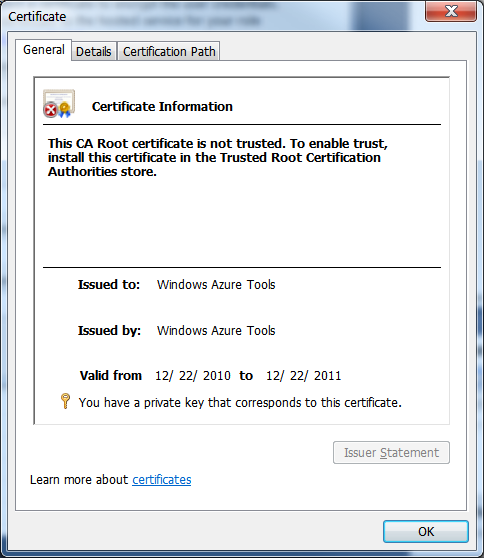
Above I have selected a certificate I would need to upload this certificate to Windows Azure Management Portal so let's export this certificate now.
To export the certificate please select the "View" button and you will see the certificate windows as below:
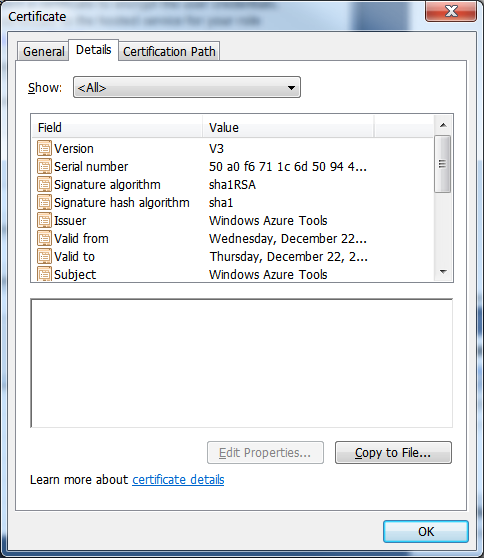
Now please open the "Details" tab in above windows and select "Copy to File":
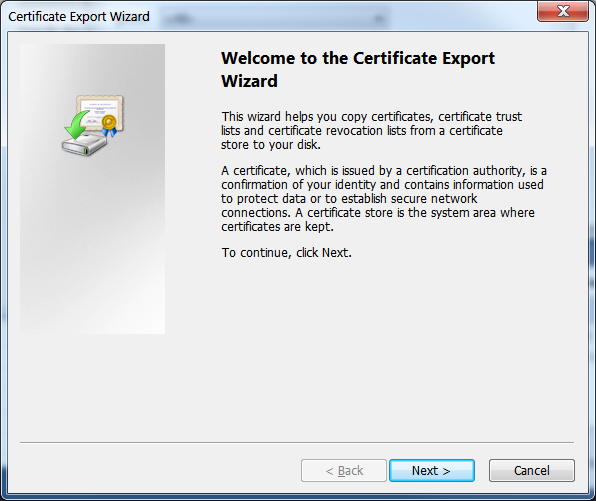
This action will open "Certificate Export Wizard" as below, please select "Next":
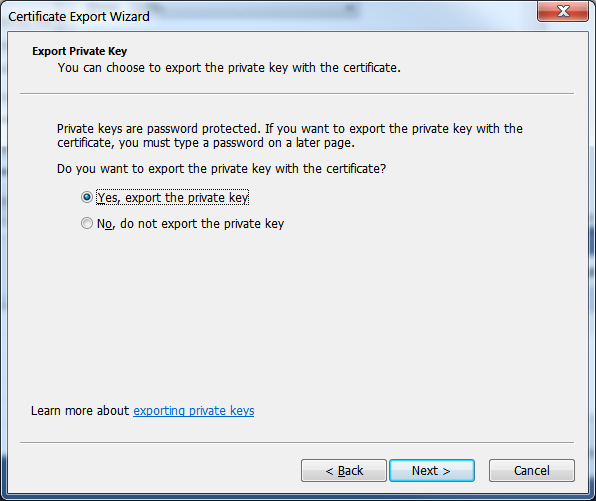
In next "Export Private Key" wizard windows please select "Yes, export the private key" option and select "Next":
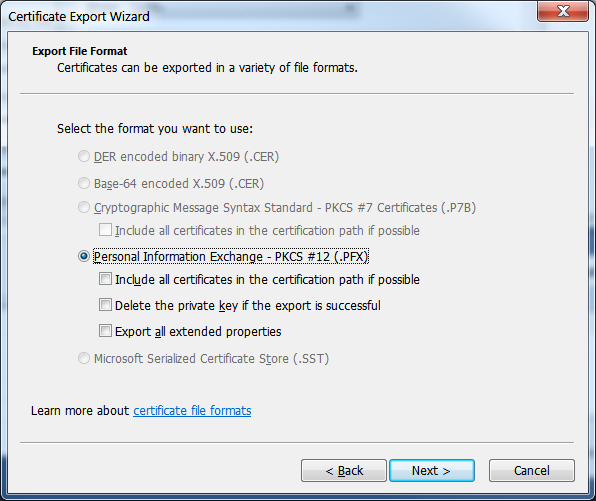
You will see the "Export File Format" window, please leave all default and just select "Next" here:
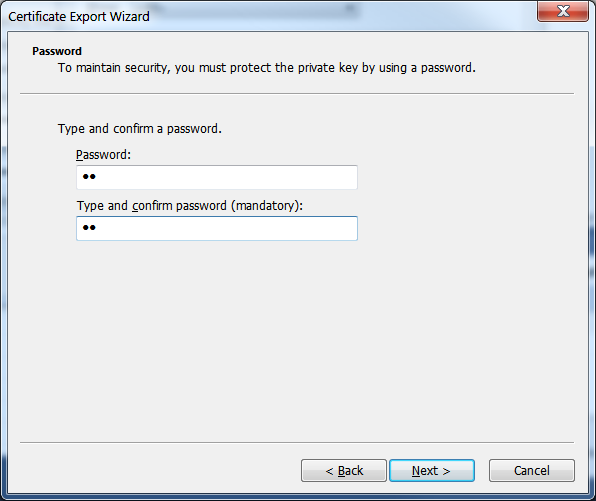
Now you will be asked to enter a password to protect your key so please enter a password in the both input boxes and then select "Next":
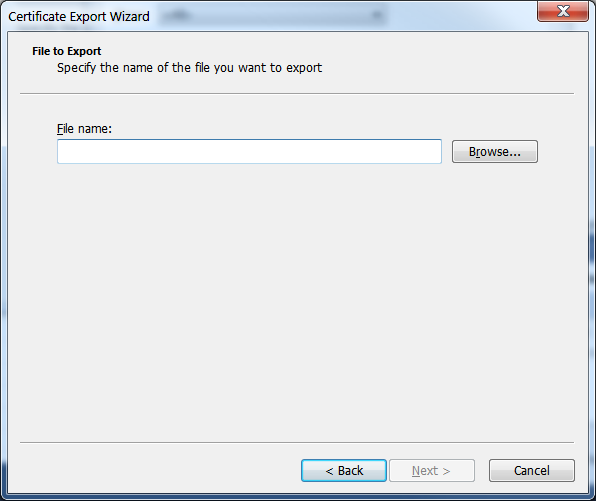
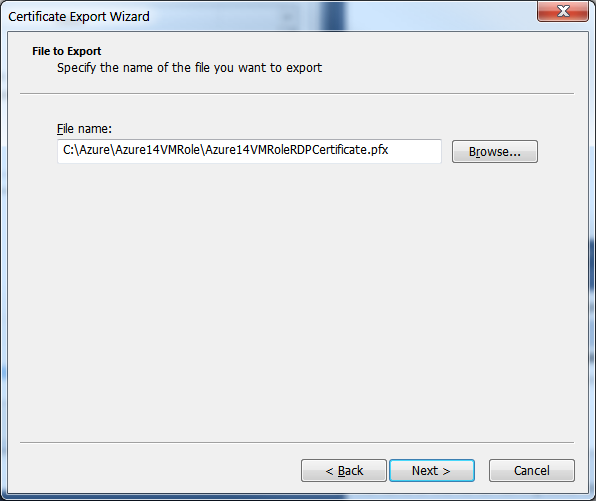
You will asked to provide a folder location and file name to save your certificate as below:
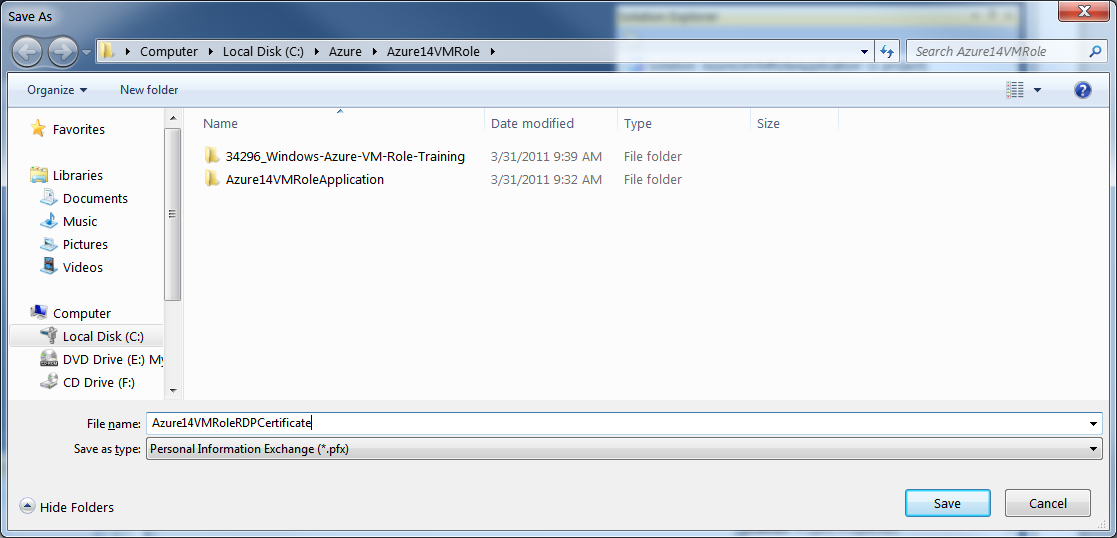
Please select the "Browse" button to locate your VM Role Training Material Folder as below and enter the Certificate name "Azure14VMRoleRDPCertificate":
The full file name with path will appear in the next window as below:
Please select "Next" in above dialog and the you will see the final confirmation about your exported certificate as below:
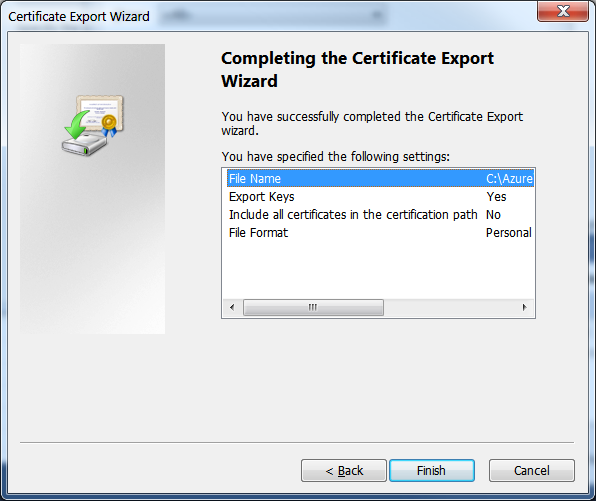
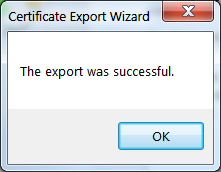
Please select "Finish" above and export confirmation will appear:
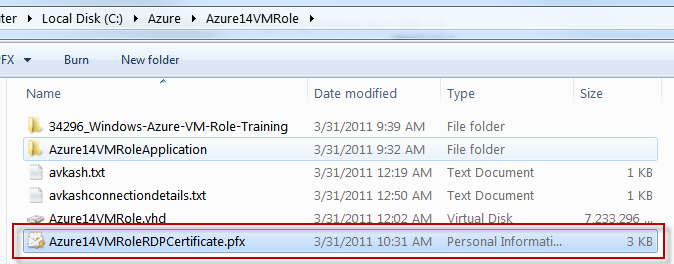
Finally, you can verify the exported certificate in your folder as below:
To upload recently exported certificate please select the "Certificate" node in your "Azure14VMRoleService" hosted service as below:

Once you select "Add Certificate" from the toolbar, you will see the following "Upload an X.509 Certificate" windows in which you will need to provide:
- The Azure14VMRoleRDPCertificate.pfx certificate which you can select using the "Browse" button.
- Enter the correct password and matching password
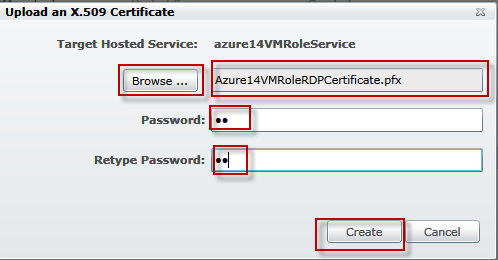
Once you select "Create" button above you will a "verification" activity and after a few seconds the certificate will be created as below:

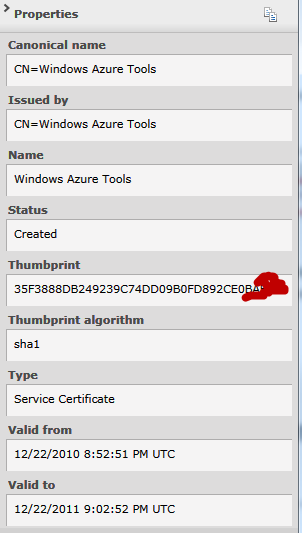
If you select the above certificate by clicking on it, on right side of Windows Azure Management Portal you will see the detailed information about this certificate as below:
To confirm that your application have Remote Desktop Settings correctly, please open our Service Configuration (CSCGF) file which will have a few new settings indicating addition of "AccountUserName" and AccountEncryptedPassword" as below:
<?xml version="1.0" encoding="utf-8"?> <ServiceConfiguration serviceName="Azure14VMRoleApplication" xmlns="https://schemas.microsoft.com/ServiceHosting/2008/10/ServiceConfiguration" osFamily="1" osVersion="*"> <Role name="VMRole1"> <Instances count="1" /> <ConfigurationSettings> <Setting name="Microsoft.WindowsAzure.Plugins.Diagnostics.ConnectionString" value="UseDevelopmentStorage=true" /> <Setting name="Microsoft.WindowsAzure.Plugins.RemoteAccess.Enabled" value="true" /> <Setting name="Microsoft.WindowsAzure.Plugins.RemoteAccess.AccountUsername" value="avkash" /> <Setting name="Microsoft.WindowsAzure.Plugins.RemoteAccess.AccountEncryptedPassword" value="***************************==" /> <Setting name="Microsoft.WindowsAzure.Plugins.RemoteAccess.AccountExpiration" value="2011-08-01T23:59:59.0000000-07:00" /> <Setting name="Microsoft.WindowsAzure.Plugins.RemoteForwarder.Enabled" value="true" /> </ConfigurationSettings> <Certificates> <Certificate name="Microsoft.WindowsAzure.Plugins.RemoteAccess.PasswordEncryption" thumbprint="*******************************" thumbprintAlgorithm="sha1" /> </Certificates> </Role> </ServiceConfiguration> |
You are done from Windows Azure Management Portal for now you can go back to Visual Studio 2010 windows to further upload the package directly from VS2010 or publish locally and then upload manually.
Note: If you decide to use your own certificate instead of creating a new one, you sure can use above and then deploy it to Windows Azure Management Portal.