How to Login into Windows Azure Virtual Machine using Remote Desktop
To start RDP Access first time, you just
need to go to Windows Azure Management Portal to use the Remote Desktop
credentials.
If you want to know how to create
RDP access to Windows Azure Application use the following blog:
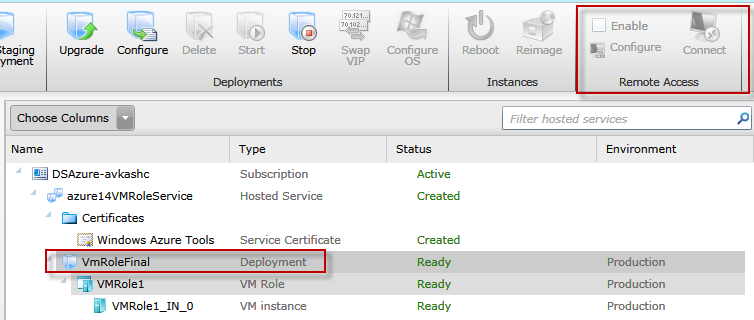
In Windows Azure Management Portal
when you select your service name (i.e. azure14VMRoleService and The Role name
is "VmRoleFinal"),
you will see that the Remote access toolbar options grayed out as below:
In same Windows Azure Management
Portal if you select azure14VMRoleService service "Role Name" as "VMRole1", you will
see that the a few setting in the Remote access toolbar options enabled as below:
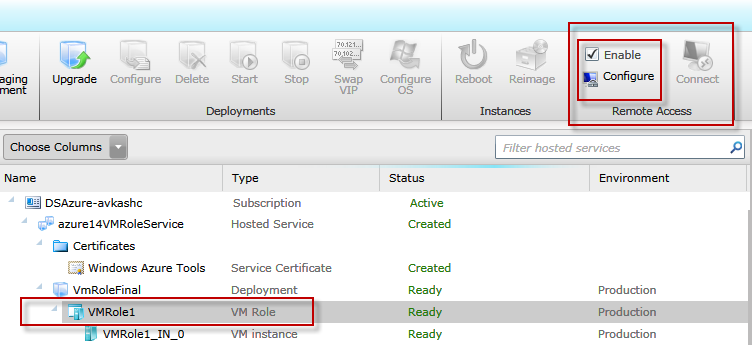
In above Remote Access option:
-
"Enable" means - you have RDP access
enabled for this Role
-
Configure option allows you to modify the
following:
a.
username,
b. password
c.
password expiration
d. Password
Encryption Certificate
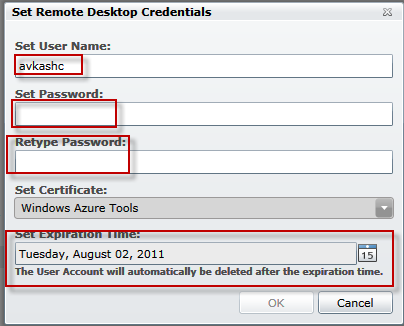
If you click on
"Configure" option, you will see the following dialog to modify the
above details:
In same Windows Azure Management
Portal, please select azure14VMRoleService service "Role Instance" as
"VMRole1_IN_0",
you will see the "Connect" option in Remote access toolbar is enabled
as below:
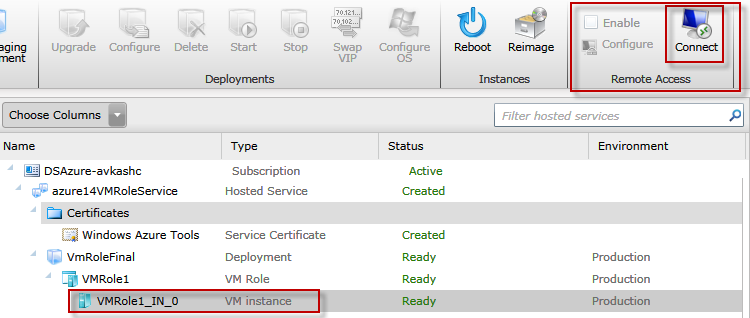
Which means you can connect to the
Virtual Machine associated with this particular role instance. To connect
please select "Connect" button and you will see the following dialog
(I am using IE9 as my default browser):

Once you select "Connect"
option a RDP script file is created and made available for you, to download
& save in your machine which can be used for subsequent RDP access. Let's
"Save" the file to our Azure14VMRole folder.
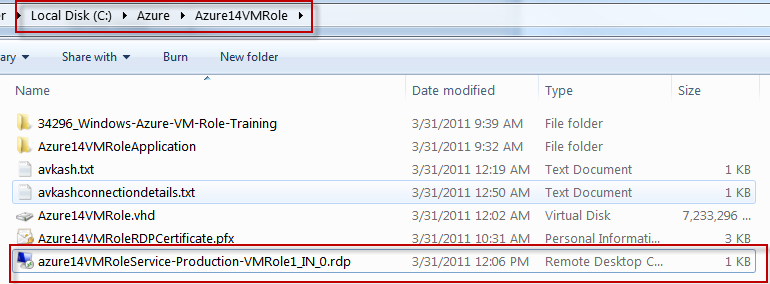
Now whenever we need to RDP our
Virtual Machine we can just run this azure14VMRoleService-Production-VMRole1_IN_0.rdp
script instead of opening Windows Azure Management Portal.
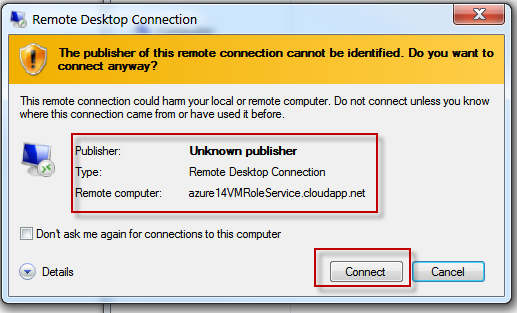
Let's run azure14VMRoleService-Production-VMRole1_IN_0.rdp
and select "Connect" option:
The following dialog will open for
me to enter Remote Access credentials (User name and Password):
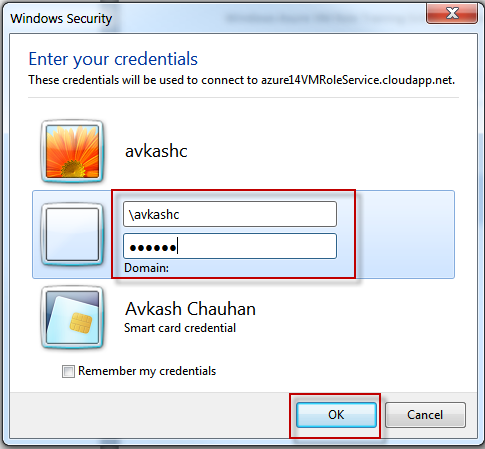
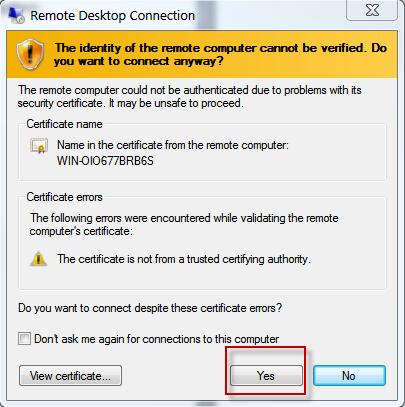
After entering correct "user
name and password", the following dialog will appear to suggest that
certificate authority for the certificate user are not trusted, this is because
we have created the certificate in Visual Studio instead of buying form
certified "Certificate Authority (CA)". Not a problem, please select
"Yes" below:
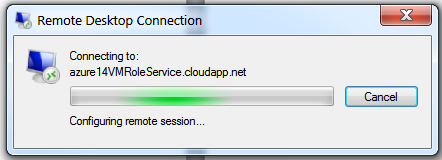
You will see that the Remote Desktop
session configuration is in progress as below:
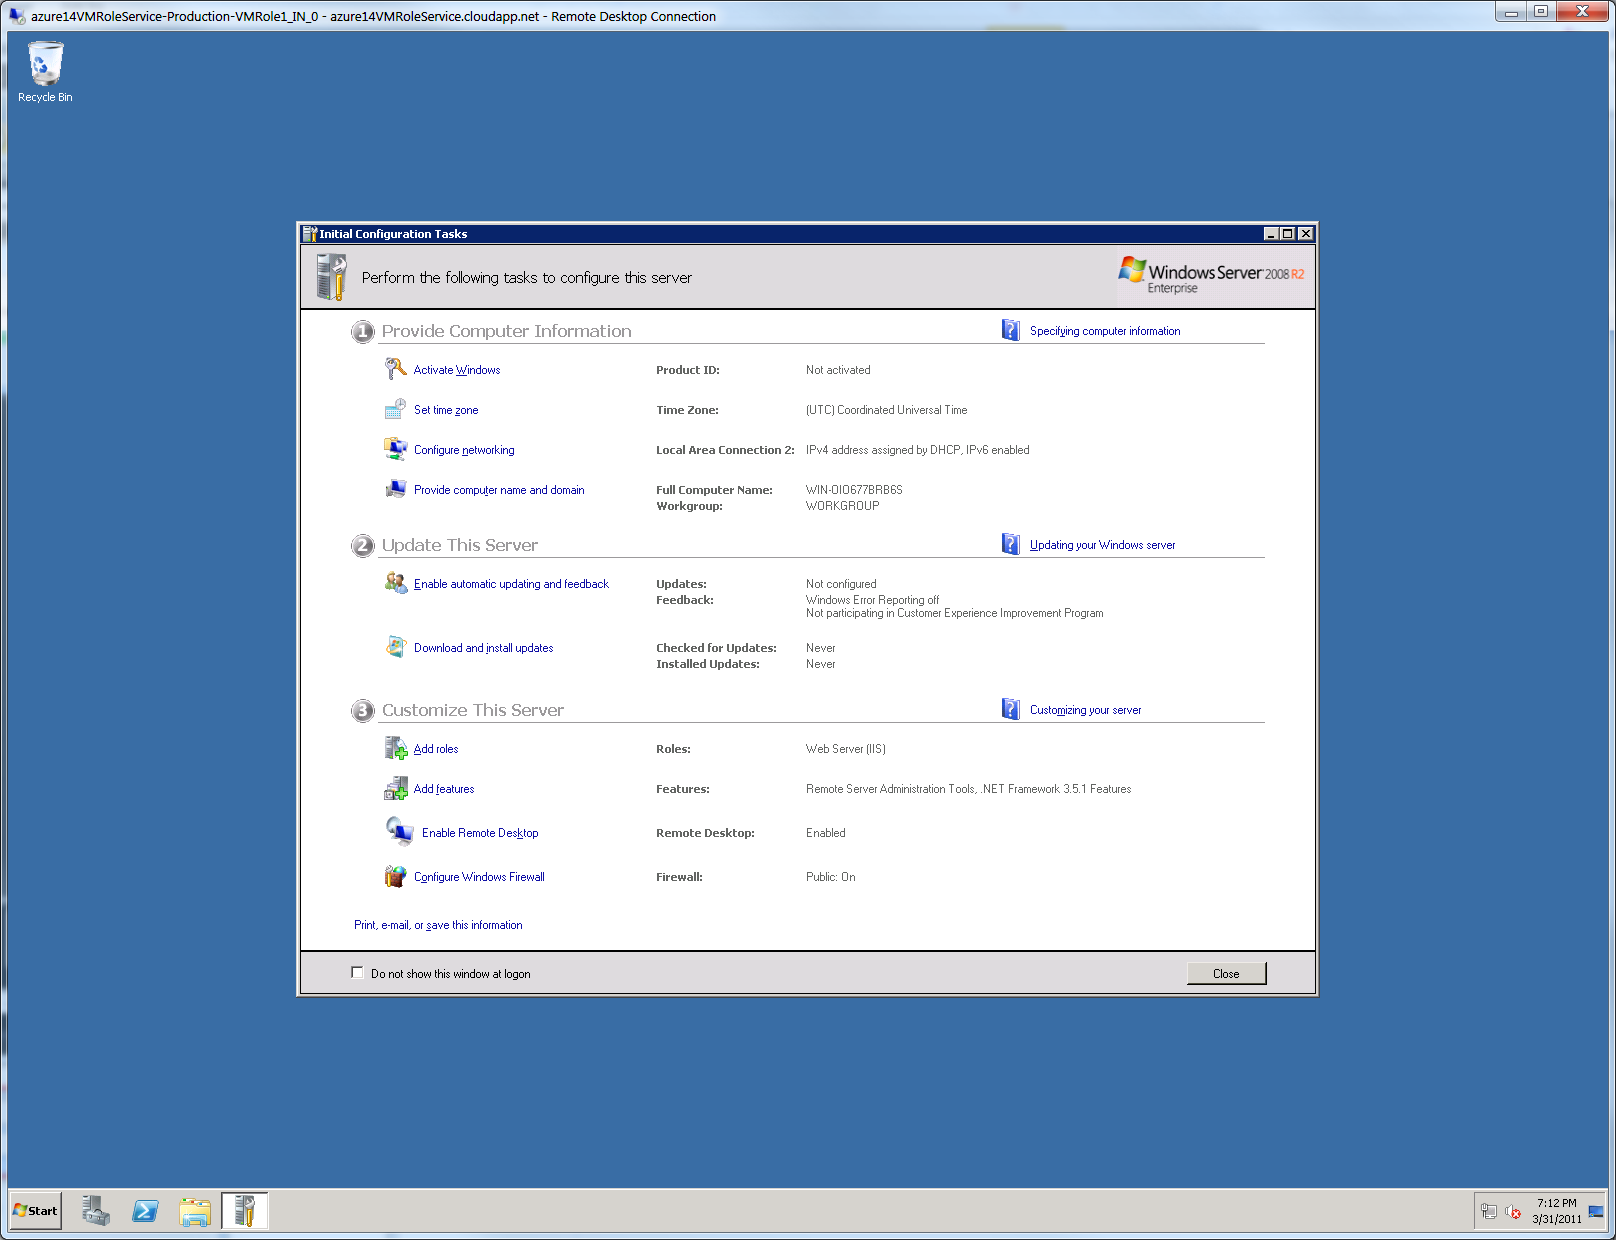
After a few seconds finally the
following window appears which shows that we have access to our Virtual Machine
which we have created earlier:
That’s it!!
Once your work in done in Virtual
Machine it is a safe practice to log off properly.
How to share RDP access with others:
If you find a situation, where you will have to share the
RDP access with someone else, in this case you can do the following to keep
your credentials:
1.
Go to Windows Azure Management Portal and in the
Remote Access toolbar please select "Configure".
2.
Now change the user name and password (This way
you can keep your personal password with you)
3.
After it, please select the "Connect"
option from Remote Access Toolbar and when you were asked to save the .RDP file
please save it on local machine.
4.
Finally, zip this .RDP file and share with
anyone and pass your temporary credentials by email or verbally.
5.
Once the other person work is completed in your
virtual machine, please follow the above step #2 and generate new username and
password to disable previous credentials.