How to take a screen-shot
One of the great parts of my job is that I get to spend time talking with other users of Microsoft Office about how they use the product and I'm regularly surprised (and even inspired) by the myriad of different ways the same product is used.
Inevitably I also spend a fair bit of time answering questions from people who can't get something to work. This can be more tricky, especially if the conversation is by email or phone and so I can't see the computer in question. This is where screen shots can be a total saviour and the best thing is they're really easy.
The everyone-can-do-it way
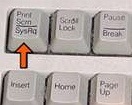 Take a look at your keyboard. Chances are that somewhere in the top right-hand corner (although this may vary) there's a funny little button saying "PrtScn". This is short for Print Screen and pressing it takes a picture of your screen (although it might initially look as though nothing has happened).
Once you've "printed" your screen (and originally, this button used to do exactly that) you can then paste it into a document (for example, Microsoft Word, Excel or PowerPoint), into an email message (HTML or Rich Text format only) or into image-editing software to refine the picture.
If you press the Alt key at the same time as PrtScn, then only the active (or top most) Window on your computer is printed. This is useful if you want to focus on a specific program (for example, an error message that you get in Excel) or don't want to share all of your desktop.
|
|
| My desktop printed using PrtScn | The active window printed using Alt + PrtScn |
For more detailed instructions, see this useful post on About.com.
See also: Screen Shot Tips & Tricks and other tools for taking screen shots.
The OneNote way
If you've got OneNote installed (and if you don't then you're missing out on one of the most useful members of the Office family - try it here!), then there's an even easier way: the screen clipping method.
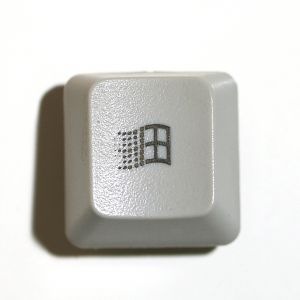 Press the Windows key + S and your screen will appear slightly dimmed and white. Then click and drag your cursor over the area you want to clip. When you release the cursor, the area you selected will automatically be stored (temporarily) in your clipboard, ready to paste.
You can get more instructions and information on how to change what happens to your screen clipping once you take it from Office Online.
The Windows Vista way
If you've got Windows Vista, then there's a great feature called the "Snipping Tool" that you can use to take a picture of any part of your desktop. See this article for more instructions.