Azure Dev Spaces - Deploying Angular and ASP.net Core App to Azure Kubernetes Service (AKS)
This article will show the ease of running and deploying containers in Azure Kubernetes Service (AKS) with minimal dev machine setup with Azure Dev Spaces. I am going to reuse sample application components from my previous article on AKS. With Azure Dev Spaces, you can develop on Windows, Mac, or Linux using familiar tools like Visual Studio, Visual Studio Code, or the command line. I have chosen Visual Studio Code on Mac.
In this article, I will share the steps needed to deploy sample application I created in Angular and ASP.net Core Web API using Azure Dev Spaces.
At time of writing this article Azure Dev Spaces is in preview and is isn't available in all regions.
Setting up Azure Dev Spaces
If you don't have Azure Kubernetes Service (AKS) cluster running, you can go through this article to Create AKS Cluster. Once AKS cluster is ready, the following commands are needed to setup Azure Dev Spaces
- For Visual Studio code, I had to install Azure Dev Spaces extension
- Run this Command to setup Azure Dev Spaces:
az aks use-dev-spaces -g {ResourceGroup} -n {AKSClusterName}- Update {ResourceGroup} and {AKSClusterName}
- Confirmation and admin privileges will be needed to proceed with installation
- Confirmation to create an Azure Dev Spaces Controller
- Select a dev space or Kubernetes namespace to use as a dev space
- Confirmation to select Kubernetes namespace 'default' as a dev space
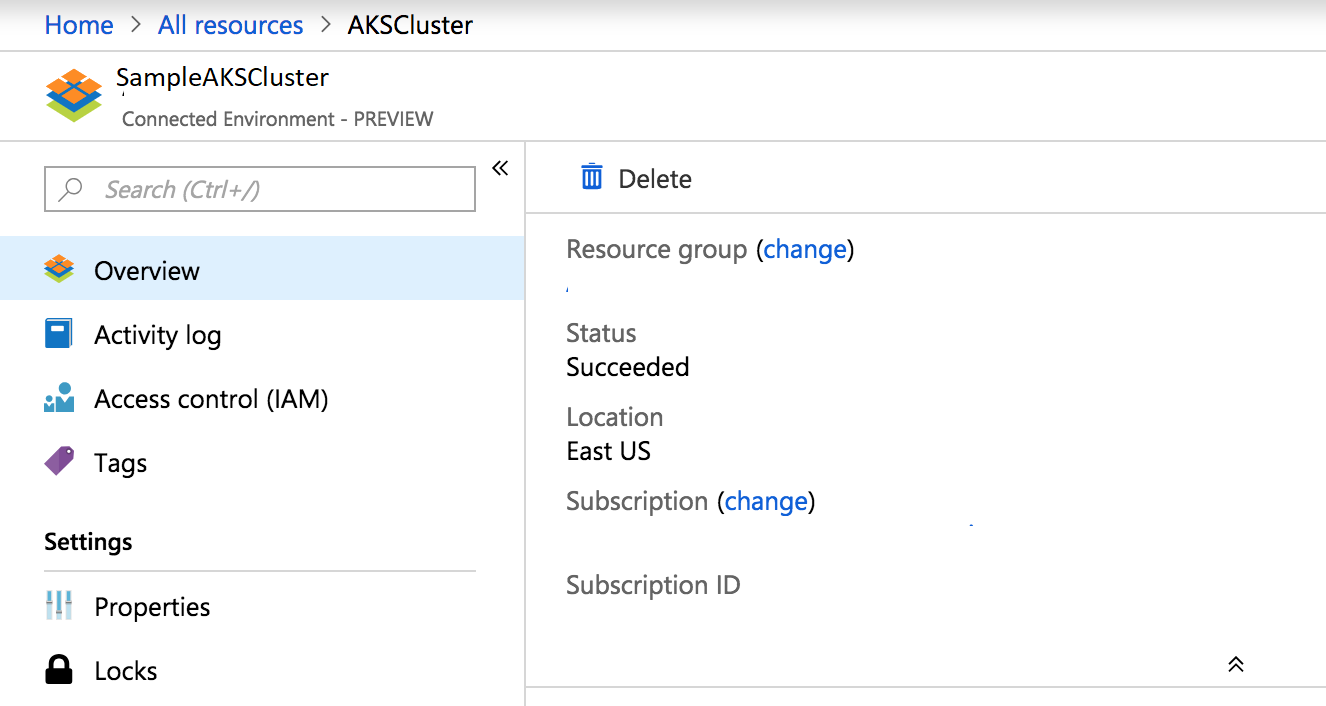
This command is going to take a while. After completion if you browse to Azure Portal, Azure Dev Spaces Controller resource will be created.
You can go through this article to Setup Azure Dev Spaces for detailed information.
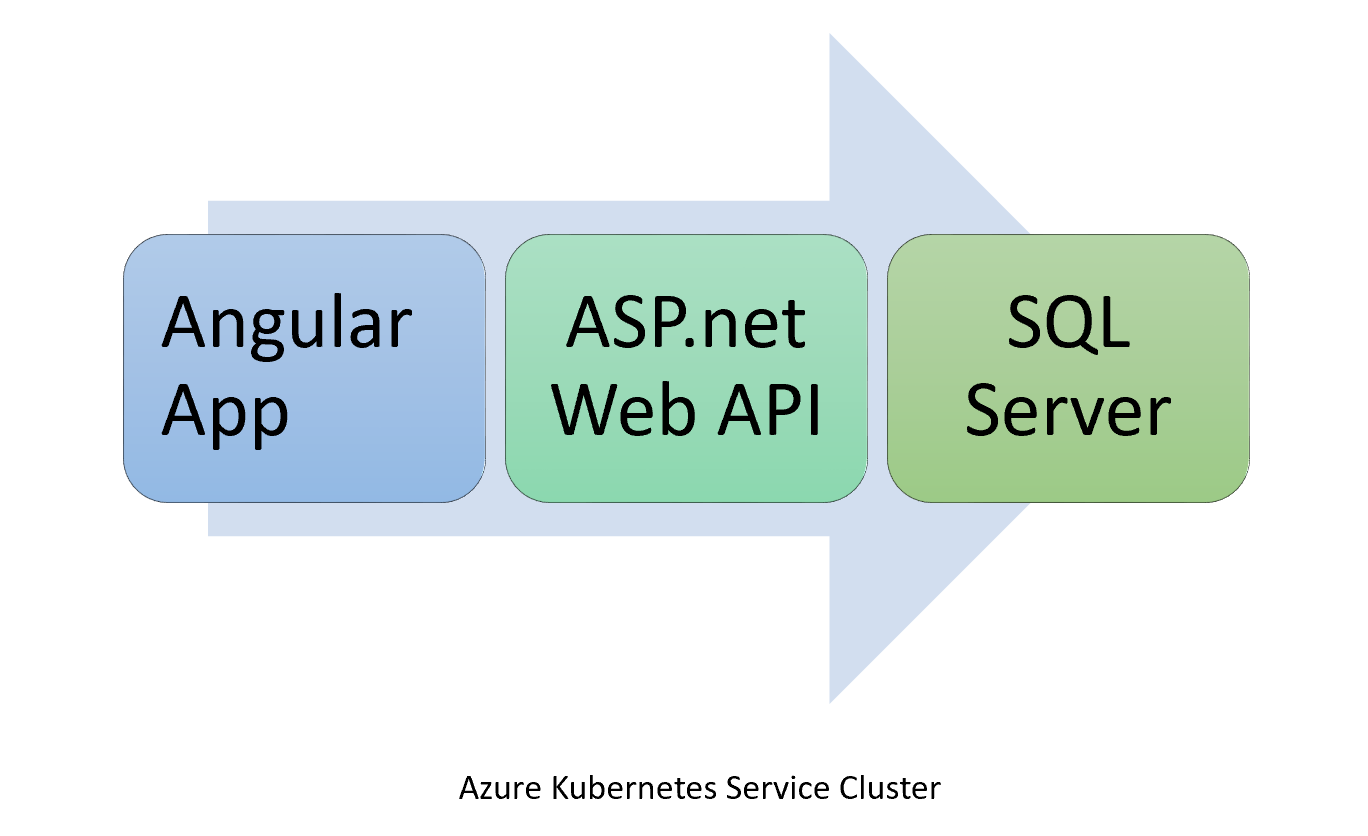
Similar to previous article, this sample application consists of Angular app which loads data from ASP.net Core WebAPI and Web API loads data from SQL Server DB.
SQL Server
This article assumes that SQL Server DB is already deployed to AKS. You can go through steps listed in previous article to setup SQL Server. The source code link of yaml snippets needed to deploy SQL Server can be downloaded from GitHub.
After creating all the resources needed to configure SQL Server, the next step is to setup ASP.net Core Web API.
ASP.net Core Web API
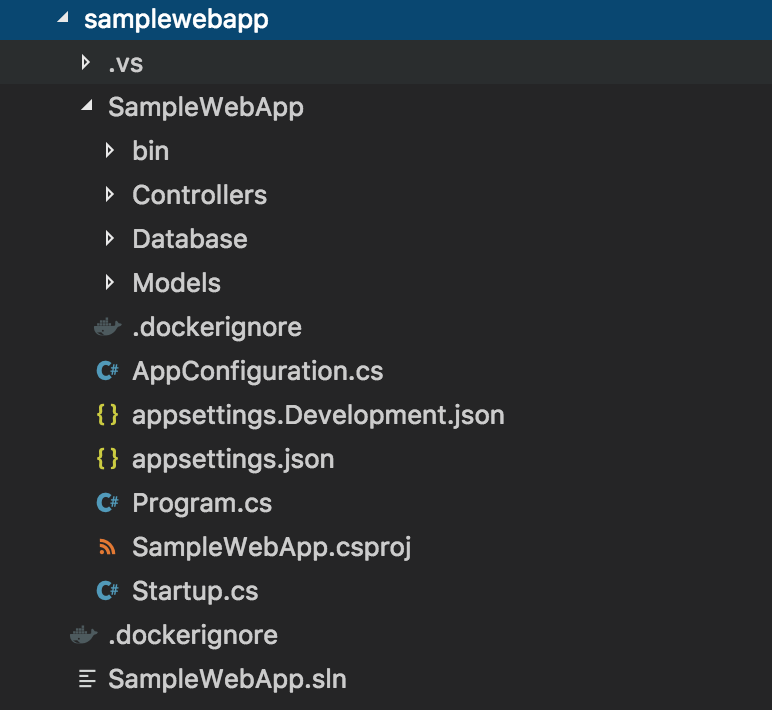
You can view source code for this solution at GitHub. Please update DatabaseConnectionString setting in 'appsettings.json' file with the SQL Server database connection string based on your 'sa' user password. This Web.API uses EntityFrameworkCore to create database and seed sample data. There is only one method in the Controller to get list of users from database to keep things simple.
As you can see, I haven't added DockerFile or scripts needed to deploy web api to AKS yet.
The next step is show the magic of Azure Dev Spaces extension which I had installed for VS Code. The steps are
- Open SampleWebApp project folder in Terminal (Right click and select Open in Terminal is using VS Code)
- Run Command
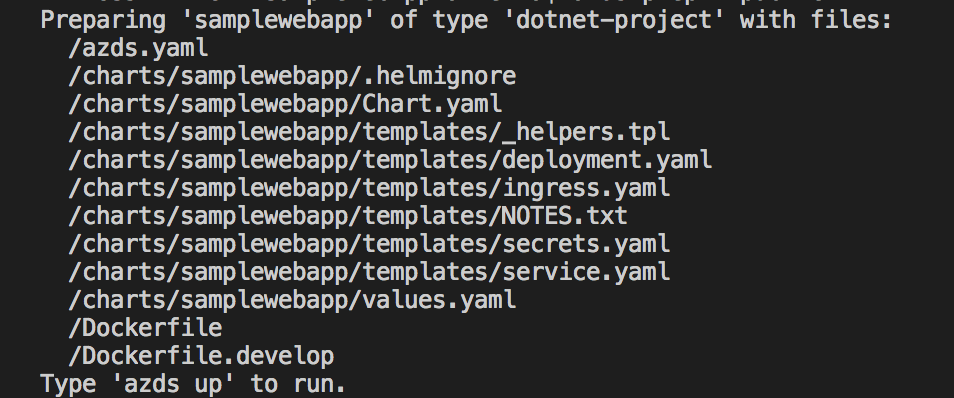
azds prep --public. This command is going to add files needed to deploy this resource to Kubernetes. 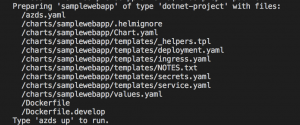
- Run Command
azds upto start deploying this Web API to AKS. This is going to take a while and steps involved are- Synchronizing Files
- Building Helm Chart
- Building Container Image
- Deploying Image to AKS
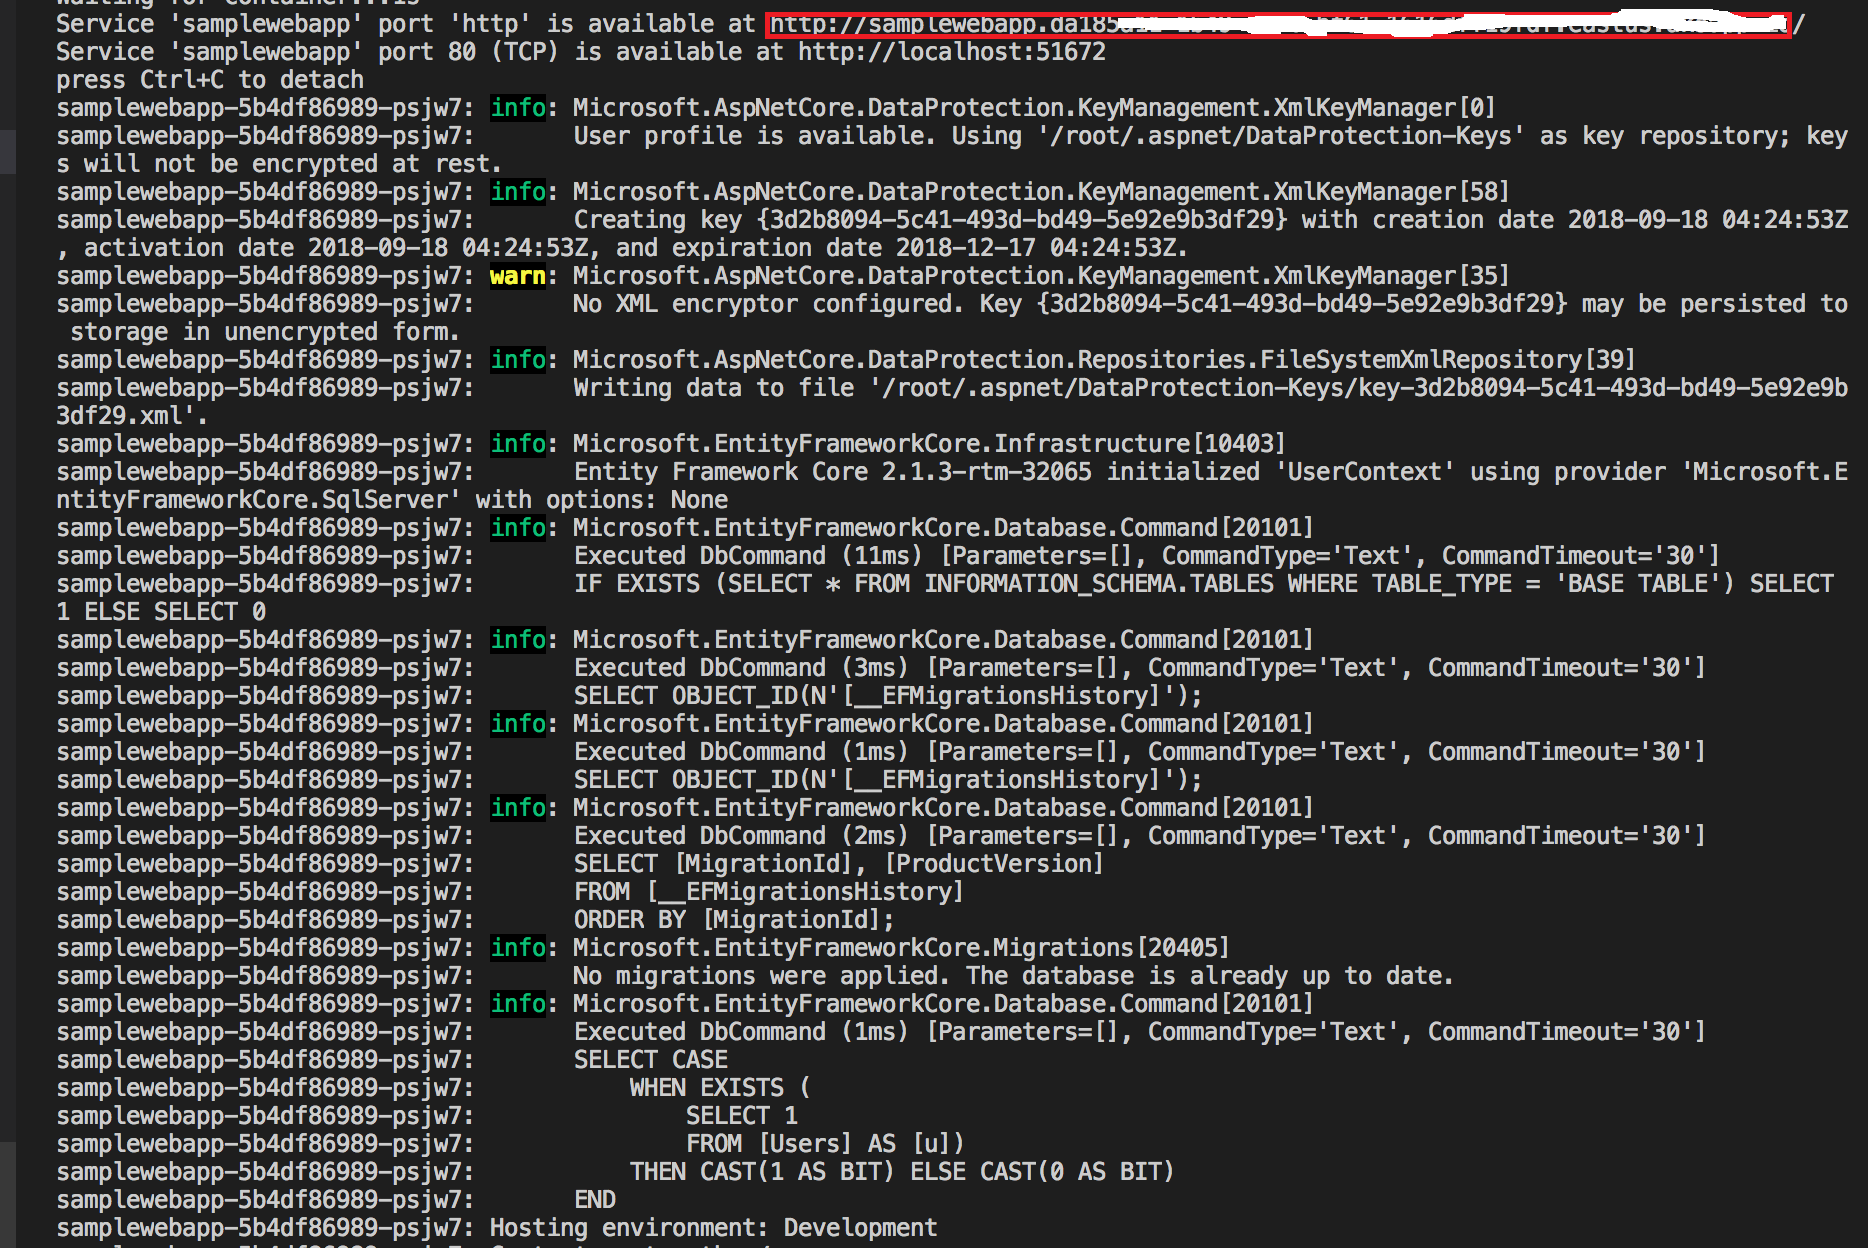
As you can see below, ASP.net Web API is up and running and main pointers are
- Azure Dev Spaces will create two URLs one for ingress and other as tunneled as you can see in first two lines of this image. The 'http' ingress URL is going to take a while and if it takes more than 5 minutes which happened in my case too, you will need to delete the pods by running commands
kubectl delete pod -n kube-system -l app=addon-http-application-routing-external-dnsand
kubectl delete pod -n kube-system -l app=addon-http-application-routing-nginx-ingress. Please read Troubleshooting for common problems. - The Command to check list of Uris and Status is
azds list-uris - Browse the URL to see list of users i.e. https://{YOUR_HTTP_URL}/api/users
- The pod name is also displayed and you can run this command to view details
kubectl exec -ti {POD_NAME} bash - As you can see in image captured below, you can see info messages which provides further insights
- Disclaimer: I tried to debug which is another cool feature however I ran into weird issue in VS Code. You can read futher about debugging at Initialize debug assets with the VS Code extension.
The next component is Angular App. Please take a note of the URL of this Web API as it is needed to be updated in Angular App.
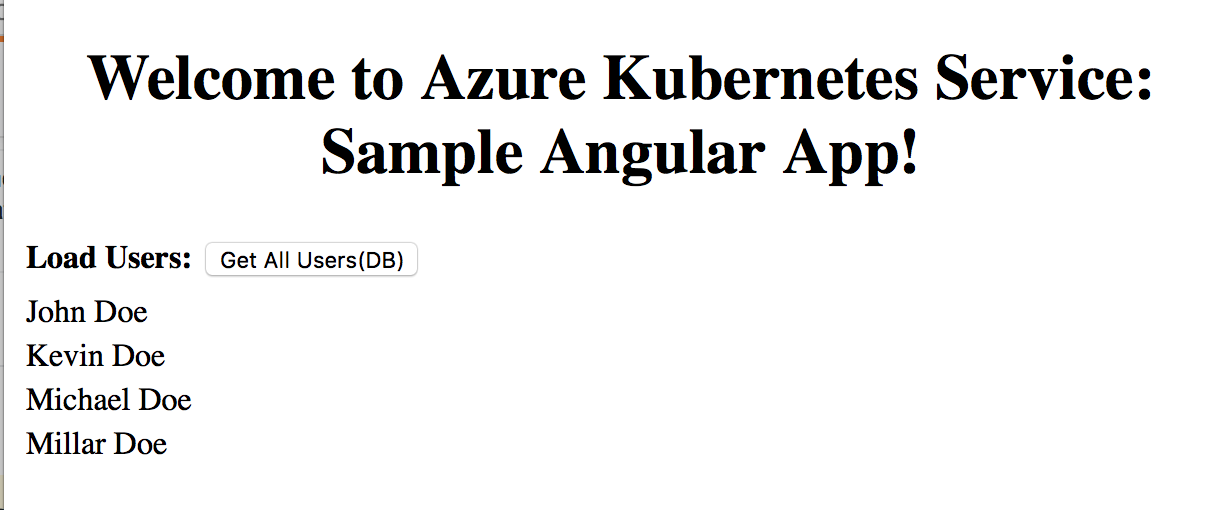
Angular App
This is the final component and before we proceed, we need to update external endpoint value of the Web API Service in Angular App. You can view the source code of Angular App at GitHub.
You will need to update environment.ts and environment.prod.ts to update API_URLexport const environment = { ApplicationConfig: { 'API_URL': 'https://{YOUR_WEB_API_ENDPOINT}/api/' } };
As you can see, I haven't added DockerFile or scripts needed to deploy web api to Angular App yet.

The differences which this Angular app code has from previous article's Angular app are
- addition of 'server.js' file so that this Angular App can be hosted in nodejs without need for nginx. In 'package.json', I have updated
"start": "node server.js". The 'server.js' code snippet is var express = require('express'); var app = express(); app.use(express.static(__dirname + '/dist/sampleangularapp')); app.get('/', function (req, res) { res.sendFile(__dirname + '/dist/sampleangularapp/index.html'); }); app.get('/api', function (req, res) { res.send(__dirname); }); var port = process.env.PORT || 80; var server = app.listen(port, function () { console.log('Listening on port ' + port); });
- addition of
RUN npm run build -- --prodcommand after auto-generating Dockerfile (created by runningazds prep --publiccommand) since I have used '/dist/sampleangularapp' path in 'server.js'.
Subsequent steps needed to deploy Angular App to AKS using Azure Dev Spaces are similar to ASP.net Web API i.e.
- Open sampleangularapp project folder in Terminal (Right click and select Open in Terminal is using VS Code)
- Run Command
azds prep --public. This command is going to add files needed to deploy this resource to Kubernetes - Run Command
azds upto start deploying this Web API to AKS. This is going to take a while. - Open the Http URL once ingress endpoint status is Available.
You can see the Azure Dev Spaces has created ingresses(samplewebapp and sampleangularapp) by opening AKS Dashboard. If you don't want to create ingresses you can set ingress: enabled: false in helm charts values.yaml.

Summary
In this article I have provided insights about Azure Dev Spaces(still in preview). The source code for this complete article can be downloaded from GitHub.