How to perform load testing using Visual Studio Test
There are many cases when we need to perform some load testing to double confirm the fix of an issue or verify one of our assumptions. One easy way to achieve that is using the Visual Studio Test Tool. I will take the azure web site as example to show you a simple walkthrough here (used VS 2013 in this article).
Configuration Steps:
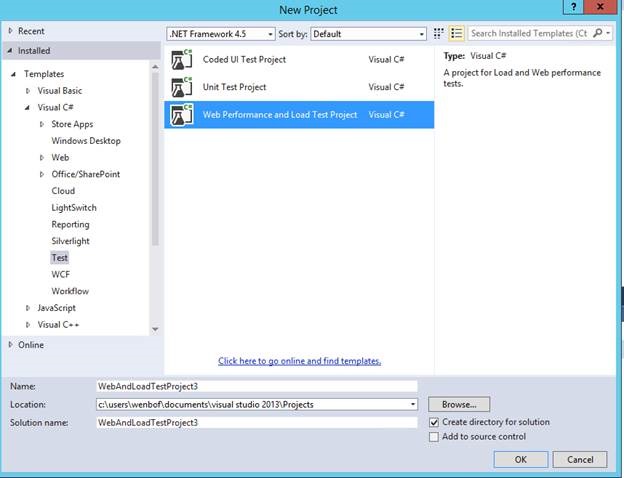
1. Open Visual Studio, and create a Web Performance and Load Test Project;

2. Open the Webtest added automatically, right click the webtest name from the webtest editor, click Add Request

3. You can edit the Url of the added request to set the value to be the targeting one from the Properties window; (here we set to my azure web site URL)

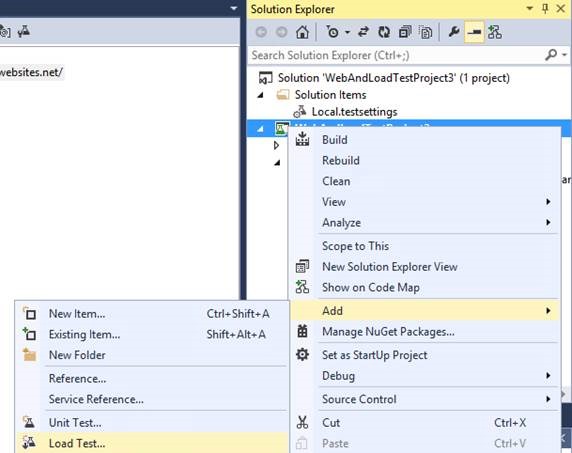
4. In Solution Explore, right click the test project, click add load test;

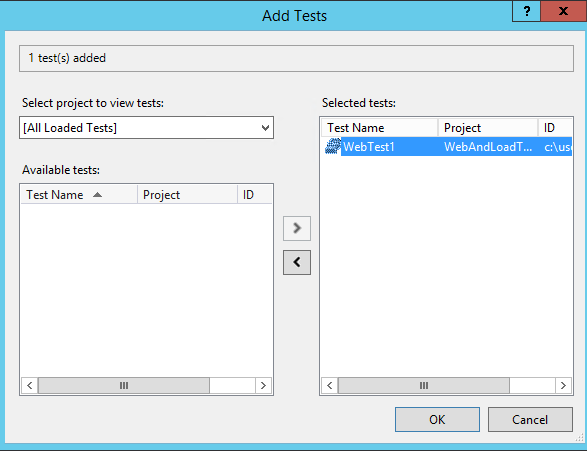
5. Click Next on the Load Test Wizard until reaches the Test Mix page where we need to click “Add.. ” to add the test we created in previous steps;

6. Click Ok and next to finish the wizard if you don’t have other settings to be customized.
Run the Test
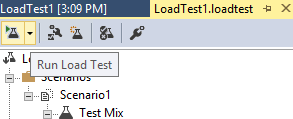
1. Double clicking the loadtest from the solution explorer will open the loadtest editor;
2. Clicking Run Load Test on the Right Top menu will trigger the load testing;

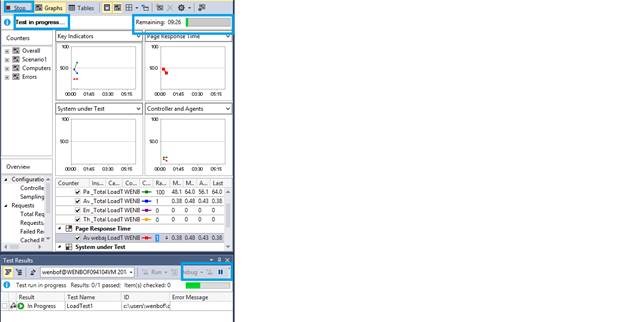
3. You can see that the Test is in progress including the current results as well as the remaining time; also you can stop the test if you like;

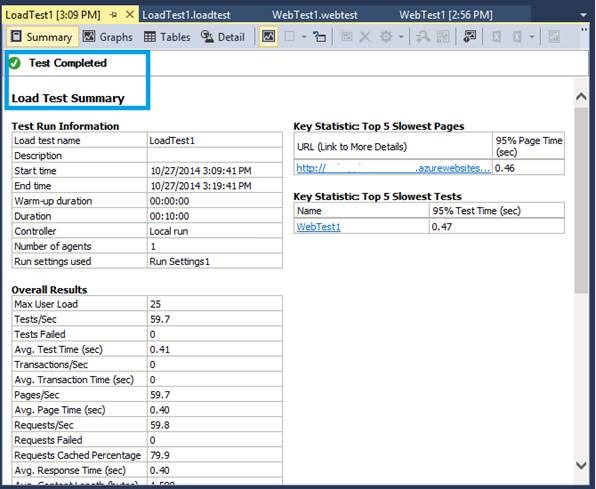
4. Once finished, a summary will be displayed.

Regards,
Wenbo Fu from GBSD DSI Team