Crawl transparency in SharePoint Server 2013. How to find when a list was crawled.
In this blog post, I will present a new feature in SharePoint 2013 – Crawl transparency. I will show you how it works with a step-by-step installation, from Site Collection deployment to crawl results check.
Goal: Information panel will show crawler status, so that you don’t have to access and filter data in Search Service Application log.
Before you start this procedure, make sure you have installed and configured SharePoint Server 2013. For more details how to install and configure SharePoint Server please , see Overview of SharePoint 2013 installation and configuration
Create a site collection by using the Product Catalog template.
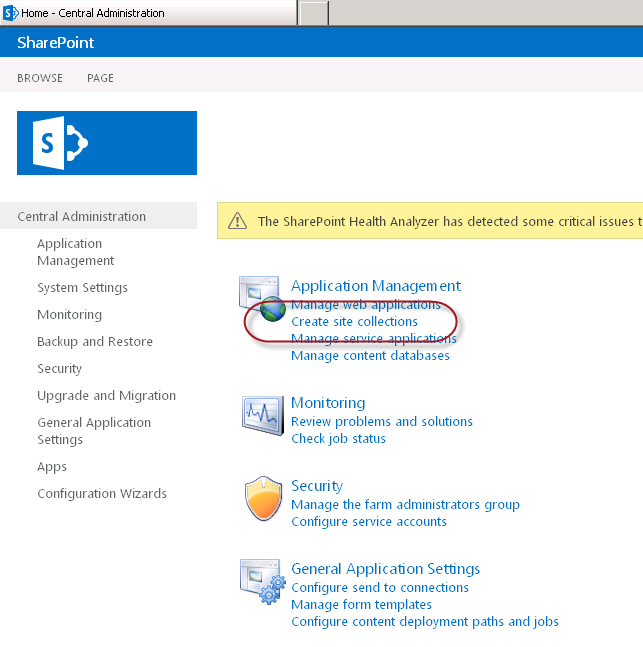
The Product Catalog is a new site collection template in SharePoint 2013. To create a new site collection, open Central Administration site and click Create Site Collection.
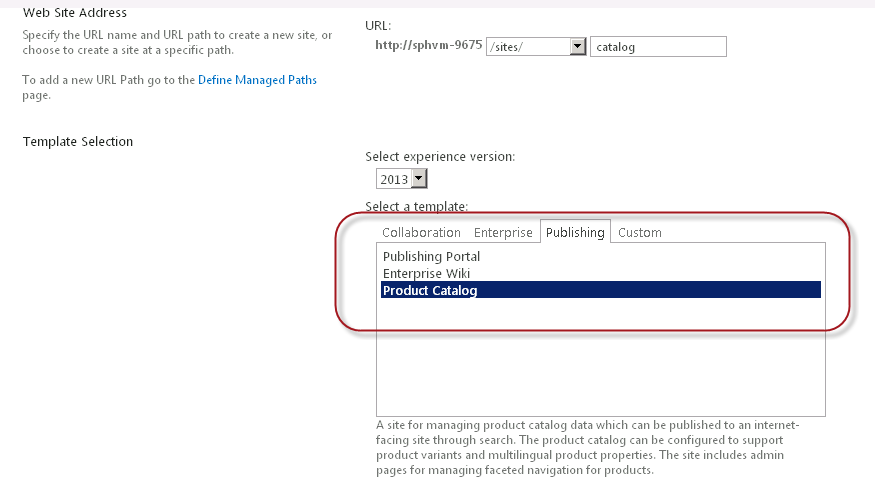
Type site name and URL you want to give this site collection, and ensure you have selected Product Catalog from the Publishing tab. Type admin’s login in User Login text box.
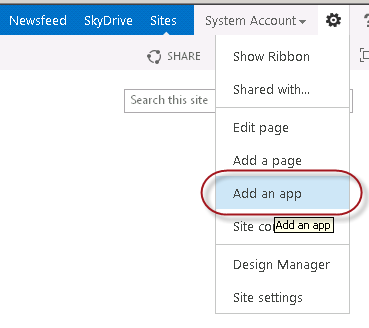
When the site collection has been created, browse to the site and create a new List by clicking on on Add an app from the Site Settings menu
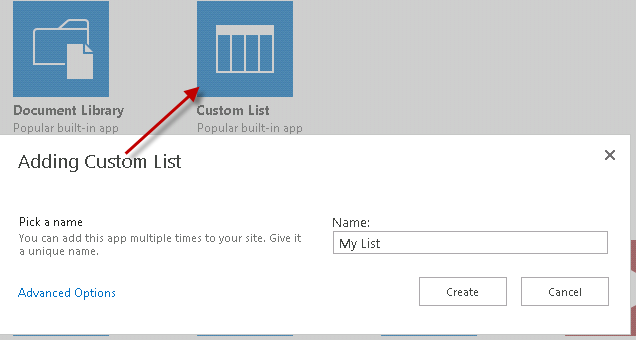
Click on Custom List template and create new list with the name My List.
Navigate to the newly created My List, and click on List Settings
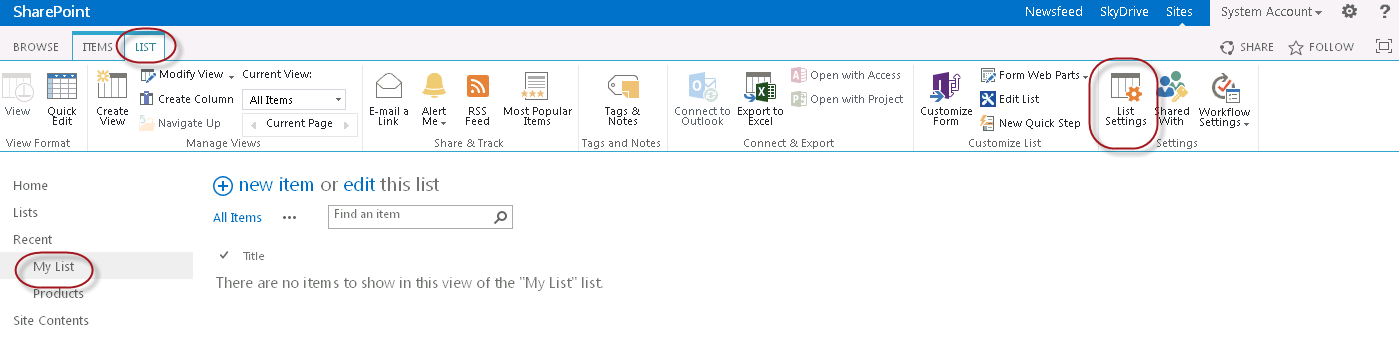
From list settings, select Catalog Settings
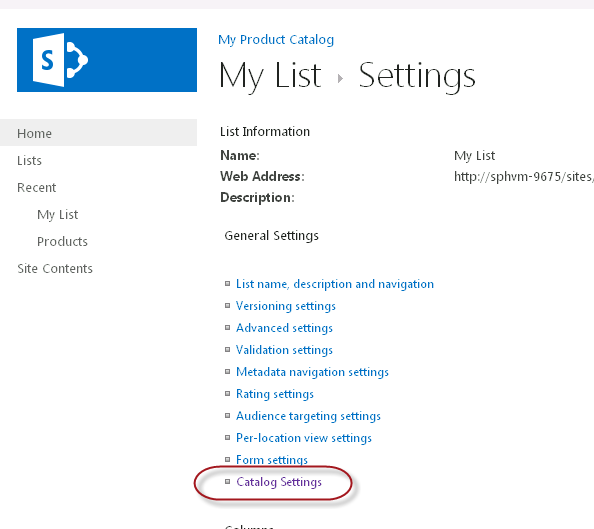
On the Catalog Settings Page you can see information about crawler status and when the list was crawled last time. The page also contains other features, which I will describe in other posts. Since My List was just created, it is not crawled and that you can read in note.
The panel also contains information about incremental, full and continuous crawl schedules.

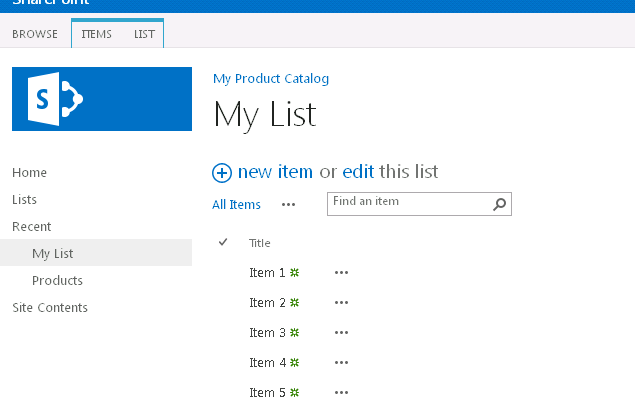
Go back to the list and, add some items
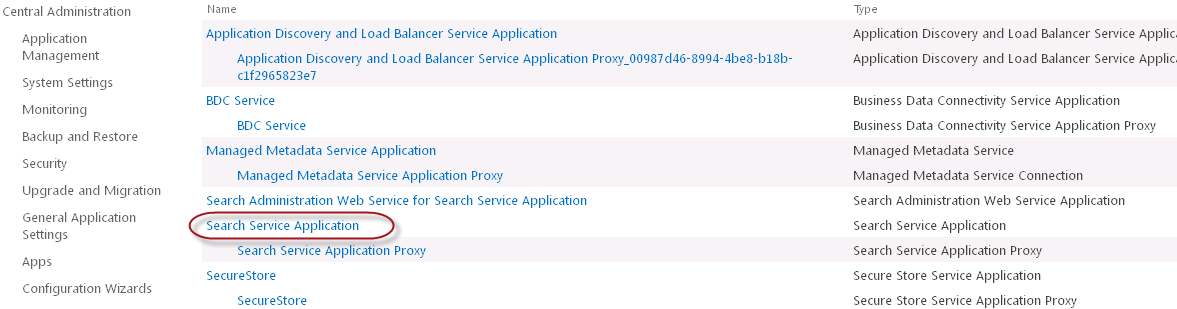
Now, let’s go back to the, Manage Service Applications page in Central Administration, and select Search Service Application
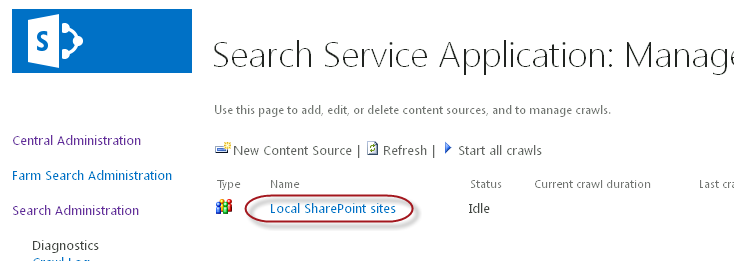
From Content Sources, click on Local SharePoint sites
Scroll to the bottom of the page and create incremental and full crawl schedules

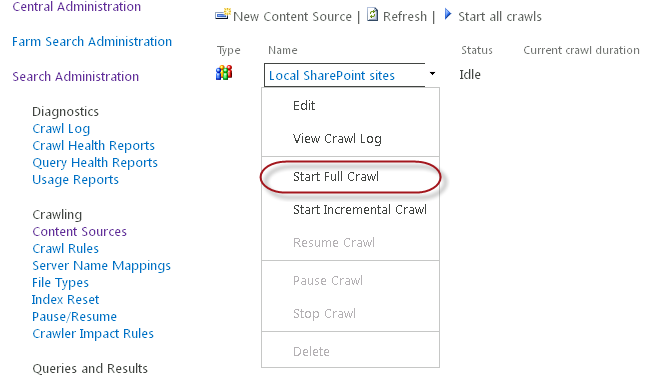
Click OK to save changes, and then click on Local SharePoint sites and select Start Full Crawl
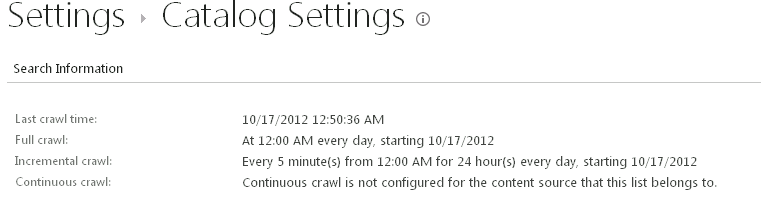
The crawling process will take some time. When it has finished, browse your list (My List), then go to My List settings, Catalog Settings. Now you can see that the Search Information panel shows full and incremental schedules have been setup, and last crawl time shows the time when the list was crawled. The information reflects time when last item from list was picked up by crawler.
The same information is accessible in Central Administration, from Search Service Application => Crawl Log
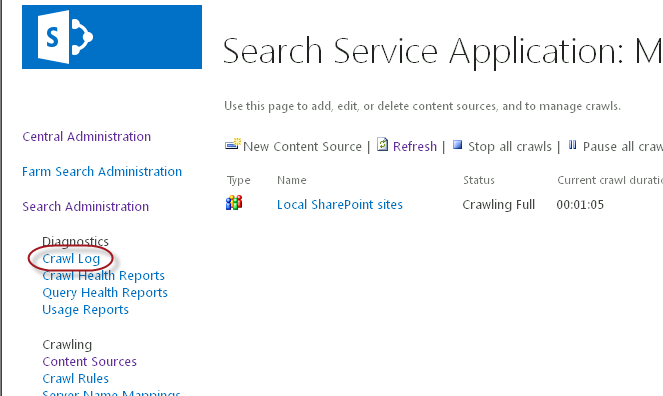
In the Crawl Log you can see information about all items that were crawled

That is all for this post, feel free to post questions and feedback is welcome.
In my next post, I will introduce the Enable Anonymous access feature, and also other options from the Catalog Settings.