Handling Visual C++ dependencies in a Desktop Bridge app in the Fall Creators Update
One of the requirements for packaging a desktop application with the Desktop Bridge is to embed inside the package all the required dependencies (libraries, frameworks, etc.) which are required by the app to run. The main goals are to provide a seamless user experience (the app should work out of the box once downloaded from the Store) and to support Windows 10 S (which doesn’t allow to manually download traditional desktop installers and applications).
One of the most common dependencies that I meet in my every day work with developers that want to bring their desktop applications on the Store using the Desktop Bridge is the Visual C++ runtime. The good news is that it’s one of the easiest dependencies to handle! The Windows team, in fact, has published them directly in the Store. As such, you don’t need to manually include them in the package and recreate in the VSF folder the same schema used by the classic desktop version of the runtime, but it’s enough to add in the Dependencies section of the manifest a specific entry.
Currently on the Store you can find 3 different versions of the runtime:
VC 14.0, which you can include by adding the following entry in the manifest:
 <Dependencies>
    <PackageDependency Name=”Microsoft.VCLibs.140.00.UWPDesktop” MinVersion=”14.0.24217.0″ Publisher=”CN=Microsoft Corporation, O=Microsoft Corporation, L=Redmond, S=Washington, C=US” />
</Dependencies>
VC 12.0, which you can include by adding the following entry in the manifest:
 <Dependencies>
    <PackageDependency Name=”Microsoft.VCLibs.120.00.UWPDesktop” MinVersion=”12.0.40653.0″ Publisher=”CN=Microsoft Corporation, O=Microsoft Corporation, L=Redmond, S=Washington, C=US” />
</Dependencies>
VC 11.0, which you can include by adding the following entry in the manifest:
 <Dependencies>
    <PackageDependency Name="Microsoft.VCLibs.110.00.UWPDesktop" MinVersion="11.0.61135.0" Publisher="CN=Microsoft Corporation, O=Microsoft Corporation, L=Redmond, S=Washington, C=US" />
</Dependencies>
You will have to directly add the dependency in the manifest only if you’re manually packaging a desktop application. If you’re using the Desktop App Converter, it will automatically detect the dependency and add the required manifest entry for you.
If you remember, we have already talked about handling C++ dependencies for Desktop Bridge applications on this blog. What’s changed in the Fall Creators Update? If you remember the post, handling these dependencies is super easy when the application is downloaded from the Store. Windows in fact, by finding the dependency entry in the manifest, automatically checks if you have the specific package on your machine. If the answer is no, it will automatically silently trigger the download of the required Visual C++ runtime. The operation is completely transparent for the user; from a Store point of view, he will see just the application he chose being downloaded and installed on his machine. However, on previous Windows 10 versions, during the testing phase you needed to do a bit more work. Since, for side loading, the automatic resolution of the dependencies wasn’t supported, you needed to download the app packages of the runtime and manually install them.
Now, with the Fall Creators Update, this requirement is gone! Windows 10, in fact, will solve any required dependency from the Store even during the side loading phase.
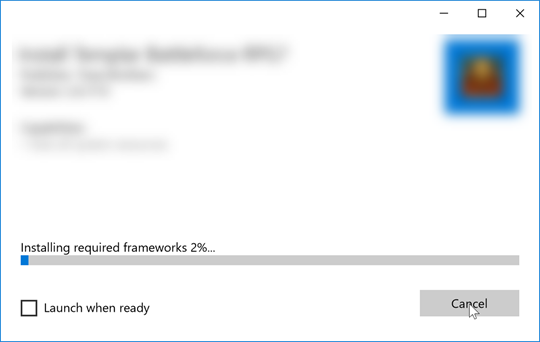
This is what you will see, during the side loading operation, when a package has a dependency you don’t have in your machine:
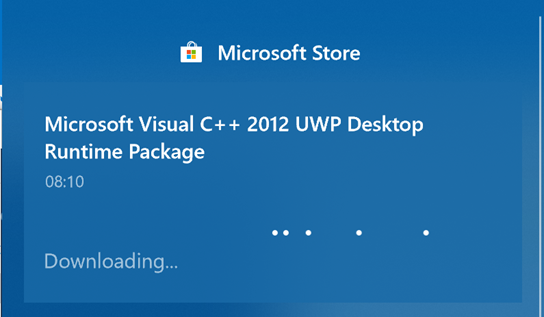
Additionally, if you look at the Action Center, you will find the following notification displayed until the deploy is complete:
No more spending time to understand which is the dependency you are missing and to search for it on the web. Cool, isn’t it?
And what if my application has a dependency from an older version of the VC libraries? In this case you will have to go with old good approach of embedding them directly in the VFS folder of your package, since they aren’t available on the Store. The easiest way to achieve this goal is to follow the guidance I have shared in this blog post about chaining multiple installers. This way, thanks to the Desktop App Converter, you can get a package which already contains a VFS folder and a registry.dat file with the proper structure and the right files.
Happy conversion!

