Using the trial API in your WinJS game
*This article is also part of a 30-day series to help you launch your app. For more information, visit Generation App and challenge yourself and take advantage of FREE support and resources to build your Windows Store app in 30 days.
The trial API is a great way to allow users to try out your game before purchasing it, or differentiate between a trial version and a full version. In this example, we are going to start with the JavaScript Game Template, available for download in the MSDN code gallery.
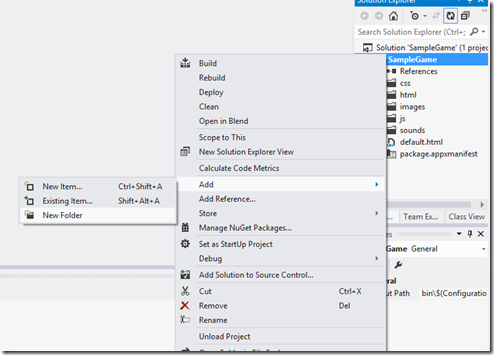
After opening the solution, right-click on the SampleGame project, Add->New Folder. Name this folder “data.”
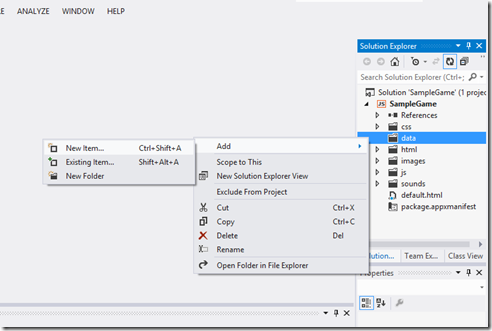
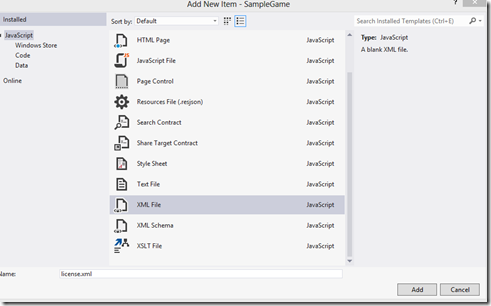
Right-click on the data folder you just created, then Add New Item. Add an XML file and name it “license.xml.”
Add relevant information for listing, license, price, etc your XML file. Here’s what I used:
<CurrentApp>
<ListingInformation>
<App>
<AppId>2B14D306-D8F8-4066-A45B-0FB3464C67F2</AppId>
<LinkUri>https://apps.microsoft.com/app/2B14D306-D8F8-4066-A45B-0FB3464C67F2</LinkUri>
<CurrentMarket>en-US</CurrentMarket>
<AgeRating>3</AgeRating>
<MarketData xml:lang="en-us">
<Name>Sample Game</Name>
<Description>Sample JavaScript Game for Windows 8</Description>
<Price>2.99</Price>
<CurrencySymbol>$</CurrencySymbol>
</MarketData>
</App>
</ListingInformation>
<LicenseInformation>
<App>
<IsActive>true</IsActive>
<IsTrial>true</IsTrial>
<ExpirationDate>2022-12-31T23:59:59.00Z</ExpirationDate>
</App>
</LicenseInformation>
</CurrentApp>
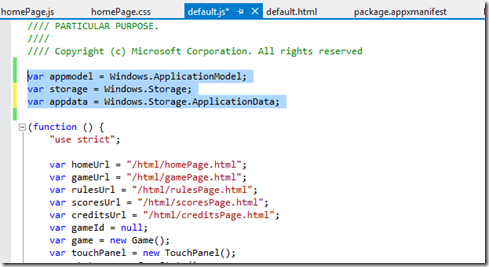
Open default.js and add the following variables to the top of your file:
var appmodel = Windows.ApplicationModel;
var storage = Windows.Storage;
var appdata = Windows.Storage.ApplicationData;
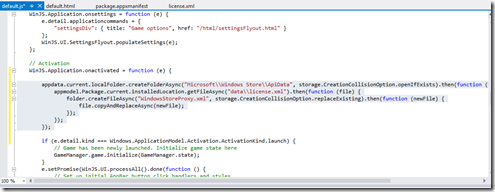
Now add the following to the same file:
appdata.current.localFolder.createFolderAsync("Microsoft\\Windows Store\\ApiData", storage.CreationCollisionOption.openIfExists).then(function (folder) { appmodel.Package.current.installedLocation.getFileAsync("data\\license.xml").then(function (file) { folder.createFileAsync("WindowsStoreProxy.xml", storage.CreationCollisionOption.replaceExisting).then(function (newFile) { file.copyAndReplaceAsync(newFile); }); }); });
We are now going to add the option to purchase a trial on the home page of the game.
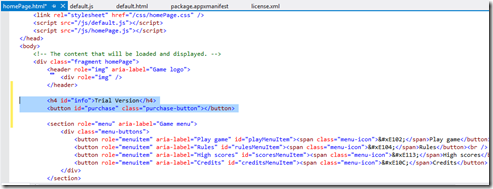
Open homePage.html and add the following text and button:
<h4 id=”info”>Trial Version</h4>
<button id=”purchase” class=”purchase-button”></button>
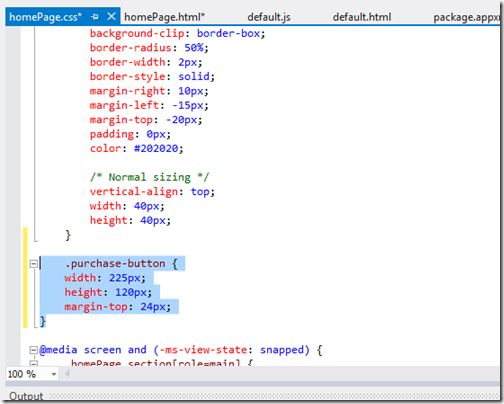
Open homePage.css and add the following CSS class to define the style of the button.
.purchase-button { width: 225px; height: 120px; margin-top: 24px; }
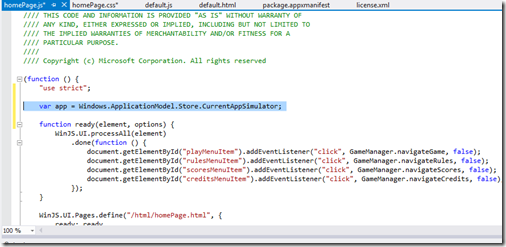
Open homePage.js and add the following after the “use strict” statement:
var app = Windows.ApplicationModel.Store.CurrentAppSimulator;
Now add the following to the ready function:
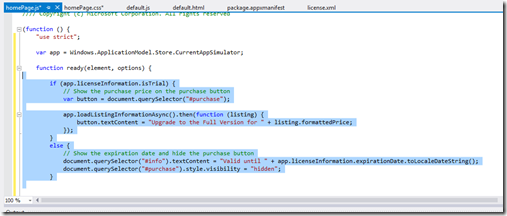
if (app.licenseInformation.isTrial) { // Show the purchase price on the purchase button var button = document.querySelector("#purchase"); app.loadListingInformationAsync().then(function (listing) { button.textContent = "Upgrade to the Full Version for " + listing.formattedPrice; }); } else { // Show the expiration date and hide the purchase button document.querySelector("#info").textContent = "Valid until " + app.licenseInformation.expirationDate.toLocaleDateString(); document.querySelector("#purchase").style.visibility = "hidden"; }
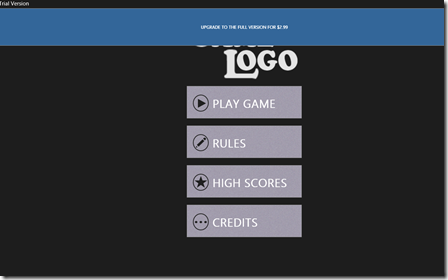
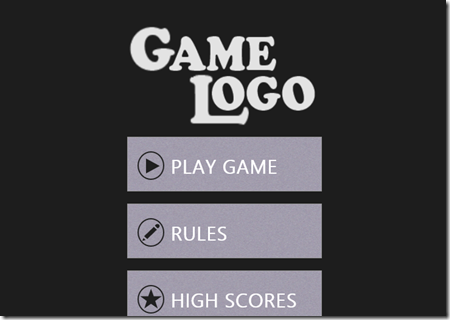
Press F5.
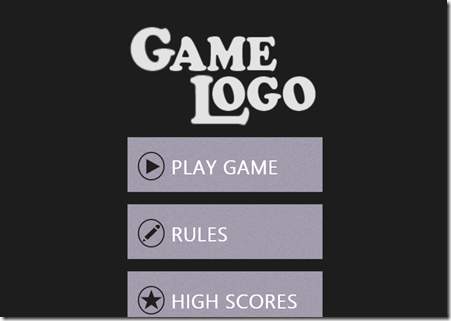
Now return to Visual Studio, stop debugging, and open license.xml. Change <IsTrial> from true to false. You’ll notice that the purchase bar is gone when you run the app.
Now change <IsTrial> back to true.
Helpful tip: Whenever you test IsTrial, don’t forget to also test for IsActive. When the trial period ends, IsTrial returns true, while IsActive returns false.
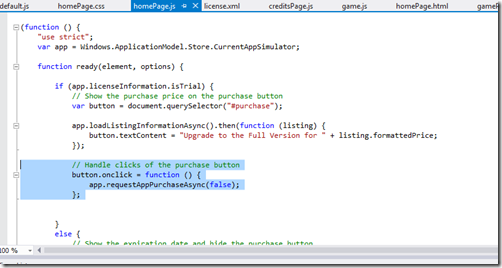
Now let’s add the following to homePage.js, just before the else statement:
// Handle clicks of the purchase button button.onclick = function () { app.requestAppPurchaseAsync(false); };
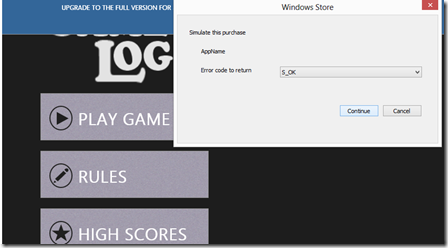
In order to simulate a purchase, click on the purchase bar and select S_OK for “Error code to return” and click Continue.
Now let’s test out whether we’ve purchased the app by leaving the home page and returning. You can do this by clicking on CREDITS and then going back to the home screen.
Helpful tip: When you are ready to submit your app, don’t forget to change CurrentAppSimulator to CurrentApp. Your Windows Store app will not pass certification otherwise.
For more on creating a trial version of your app, check out this article on the Windows Dev Center.
