Get your WordPress Blog up and running in 25 minutes (PHP customization included)
Getting your WordPress blog up and running has never been easier. Here I’m going to show you how to get started with WebMatrix, a free tool from Microsoft that you can download here. I’m using WebMatrix rather than going directly through WordPress because I want to easily customize and publish to my own domain.
Suppose I wanted to start a food blog to share my recipes and food adventures, although the former would only be existent in an alternate universe where my cooking repertoire extends beyond oatmeal. I don’t really want to deal with all the work required of putting together a blog from scratch. Since I like the popular WordPress sites, I’m going to easily and quickly create, customize, and publish my WordPress site with WebMatrix.
After downloading WebMatrix, start it up and select App Gallery.
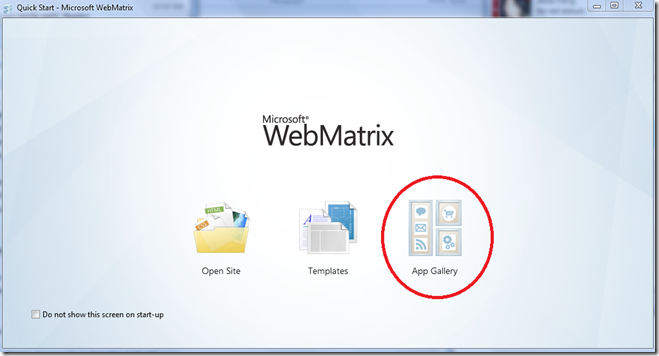
In case you’re wondering why this initial screen looks a little different, I’m actually trying out the WebMatrix 2 Beta released earlier this month, but setting up and customizing your WordPress blog is very similar in v1.
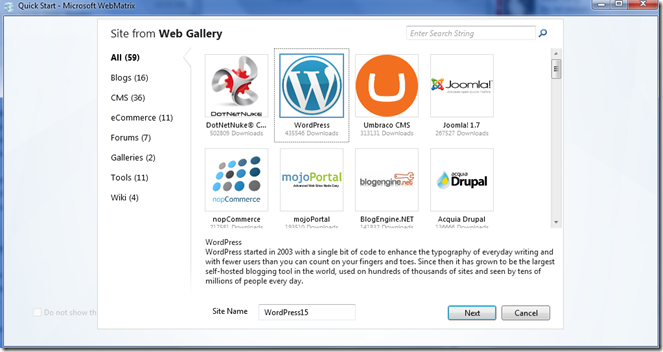
Select WordPress and give your site a name. Notice the sites are sorted by number of downloads. You can also filter out the type of sites you want to use.
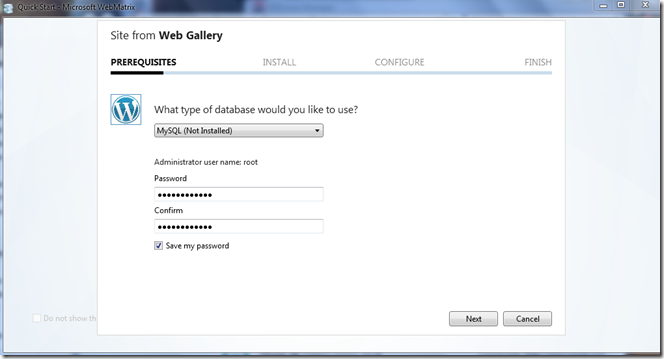
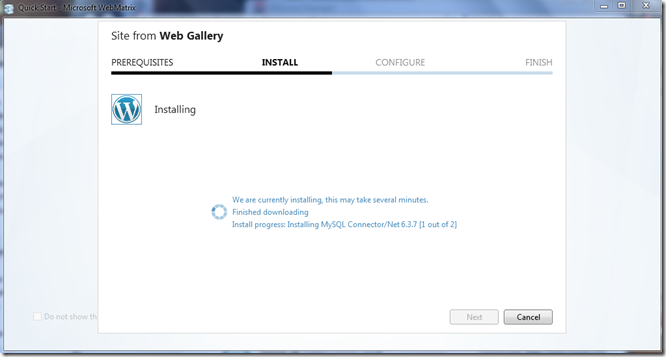
A WordPress site requires a database, and the beautiful thing about WebMatrix is that it detects what you don’t have and automatically searches for and downloads what you need.
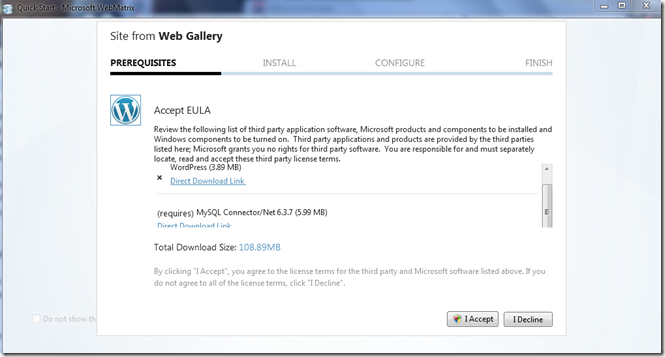
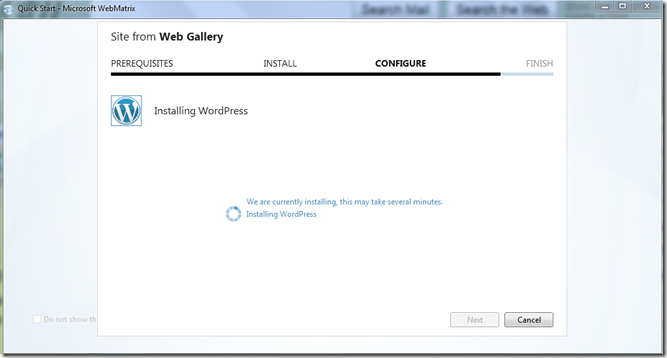
In this case we need MySQL server, PHP, and the MySQL Connector. You can even check out the direct download links. Accept the end-user license agreement.
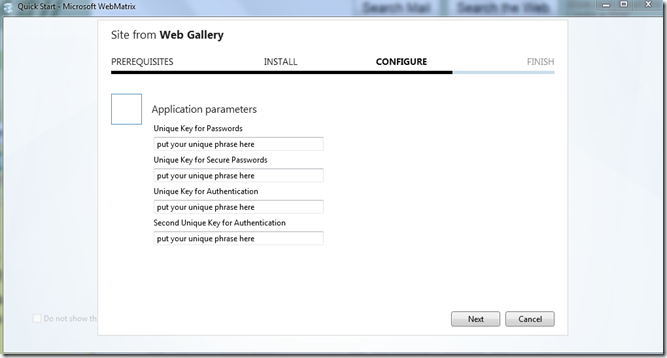
These unique keys provide extra security for the passwords stored in your database.
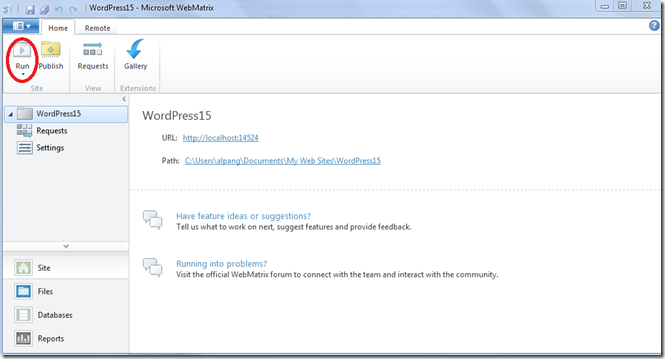
Notice the local URL for your site. Click Run. You can also try running it in other browsers by selecting the down arrow under Run.
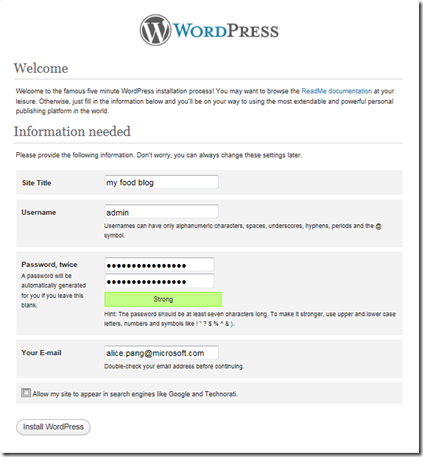
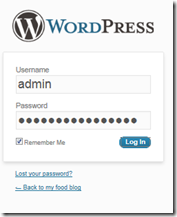
Set up the required information for your blog. At this point you’ve had to enter a number of passwords; this one is for your WordPress site. Remember the username and password you just typed, Install WordPress, and enter this information to get to your WordPress dashboard.
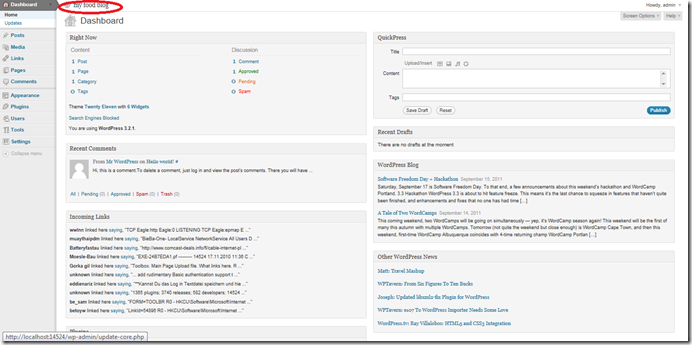
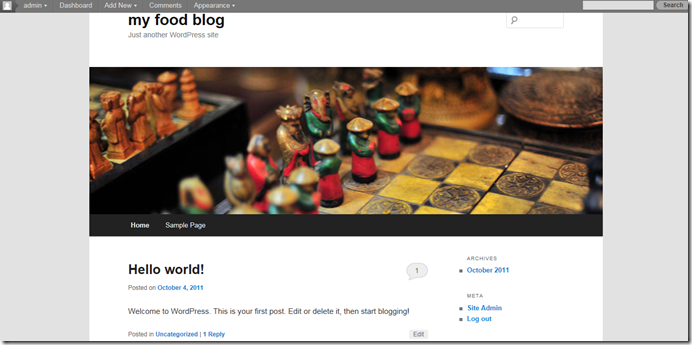
Now you can see your dashboard. Click on the site title, “my food blog” to preview your site.
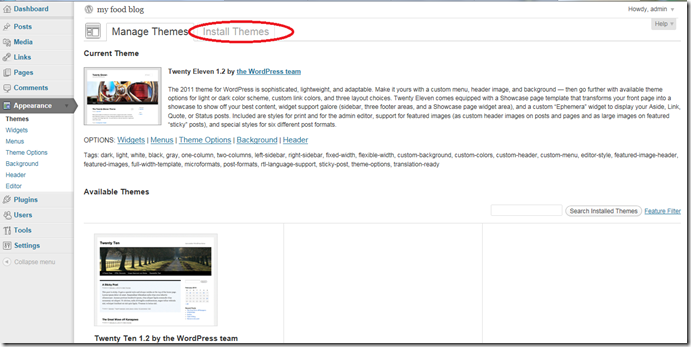
This theme doesn’t really fit my food theme very well, so I’m going to install a new them via WordPress.
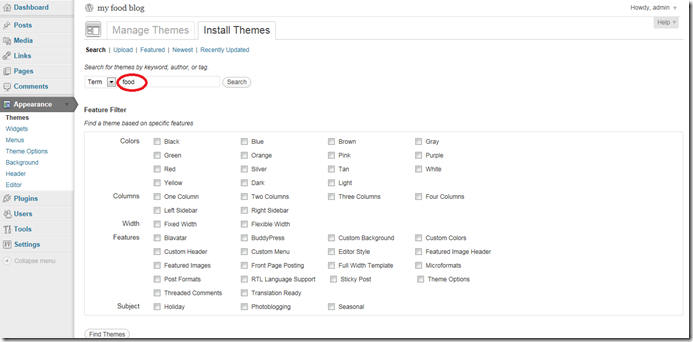
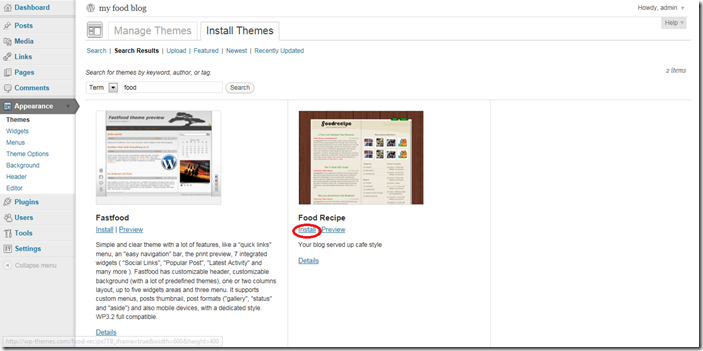
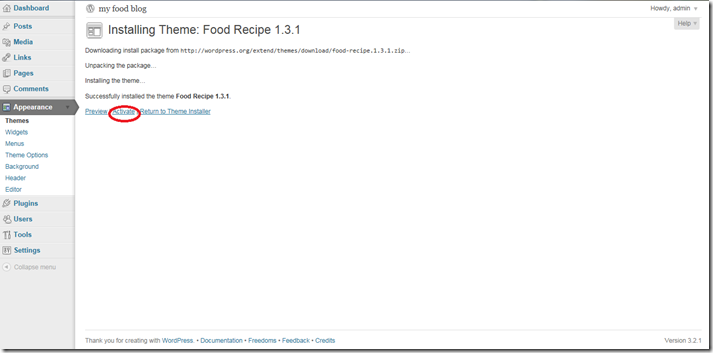
After searching for a food theme, I can install and activate one I find more appropriate.
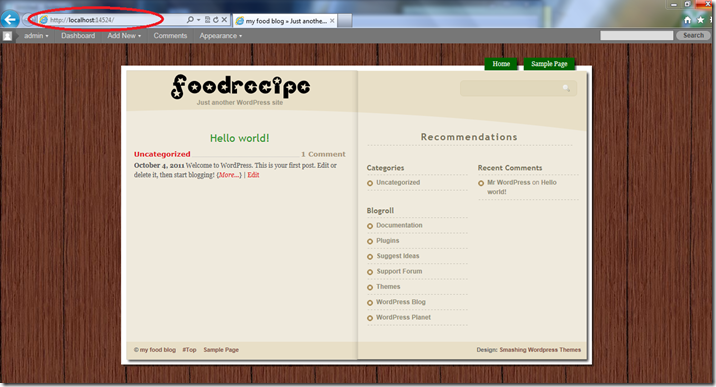
Notice the site is still running locally.
Right-clicking on the IIS Express tray icon on the bottom right of my screen reveals my sites that are running.
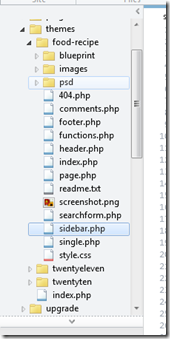
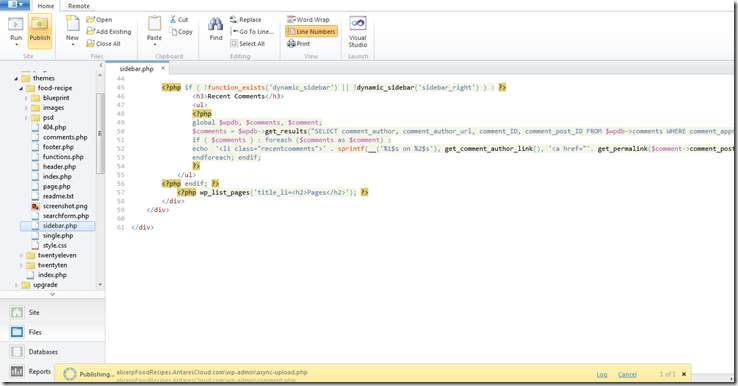
Now suppose I want to get a little more hands-on with PHP and customize my sidebar. Here you can find some examples of customization from wordpress.org. Let’s navigate to my installed theme
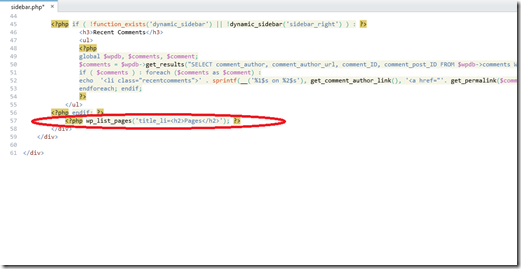
I’m going to add some pages to put the title “Pages” in an H2 heading and the Pages in a list below the title.
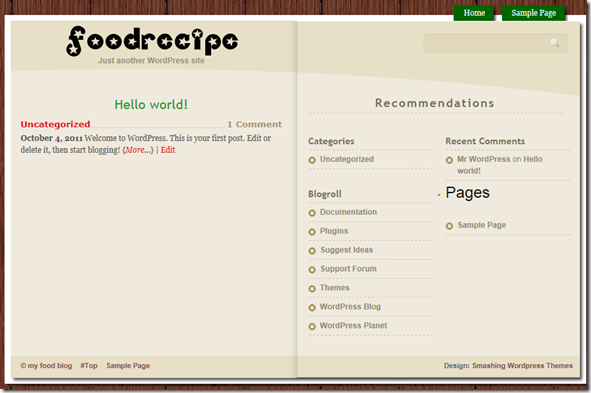
After I save and hit Run:
At this point I’ve created a WordPress blog, customized the theme in WordPress, and customized my sidebar with PHP code. Now all I need to do is publish my blog.
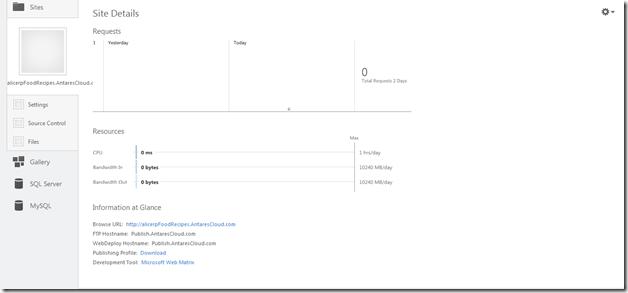
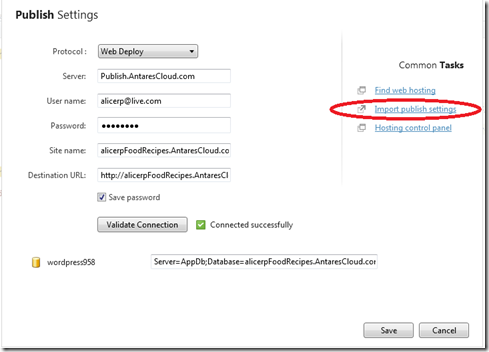
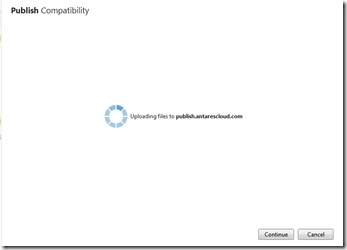
By clicking Publish at the top left next to Run, I get to the “Publish Settings” menu. I can either use Web Deploy or FTP. I’m going to use Web Deploy and import my publish settings. If you don’t have a hosting provider, you can Find web hosting. WebMatrix also makes it easy to Import publish settings. I’m using www.antarescloud.com, where I have easily downloaded my publishing profile to be imported.
Once your site is published you can check it out live on the web!

