Integrating Bing Maps with WPF applications
A little background info
Windows Presentation Foundation (WPF) is a UI framework for building rich Windows client apps that can be standalone or browser-hosted. As is the case with Windows 8 Store Apps, WPF also seeks to separate the appearance of a user interface from its behaviour. The appearance is specified in XAML and the behaviour is implemented in a managed programming language like C# or Visual Basic. If you are not already familiar with WPF or are getting started, I recommend having a look at this first.
The Bing Maps WPF Control already contains all the standard features we already expect from a Bing Maps control such as Map Styles (Road, Aerial and Hybrid), shapes (pins, polylines and polygons) and map navigation with pan and zoom keyboard controls. All we then need to do is download the control and add it to our application.
Sample WPF application
One of the most common features of a mapping application is the ability to track a user’s location and build some functionality around that, like bringing the user more relevant information based on his/her location. An example would be an app that tracks a user’s current location then displays restaurants that are closest to the user. Both Windows 8 and Windows Phone 8 have an inbuilt geolocation component that gets you location information from the Windows Location Provider (using Wi-Fi triangulation and IP address data) or it may come from other sources such as a GPS device.
Most modern browsers can also handle location-aware browsing using a public geolocation service provider. How about a WPF application? There are multiple ways of approaching this problem. In the sample app, we use ipinfodb.com, a public geolocation provider, to get our location then display this on a map. (Note: the provider’s data in this scenario might not be accurate for some regions, but it will give us an idea of how to integrate Bing Maps into a WPF application)
So let’s get started on our application:
- Download the Bing Maps WPF control from this link.
- Using Visual Studio, create a new Windows WPF Application (in this case we shall be using C# for the code behind)
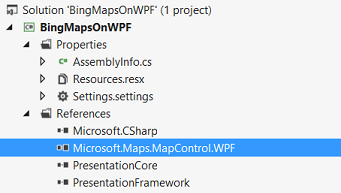
- On the project menu, select add reference and click on browse on the subsequent dialog box
- Browse to the location of the Bing Maps WPF Control installation select the Microsoft.Maps.MapControl.WPF.dll file from the libraries folder.
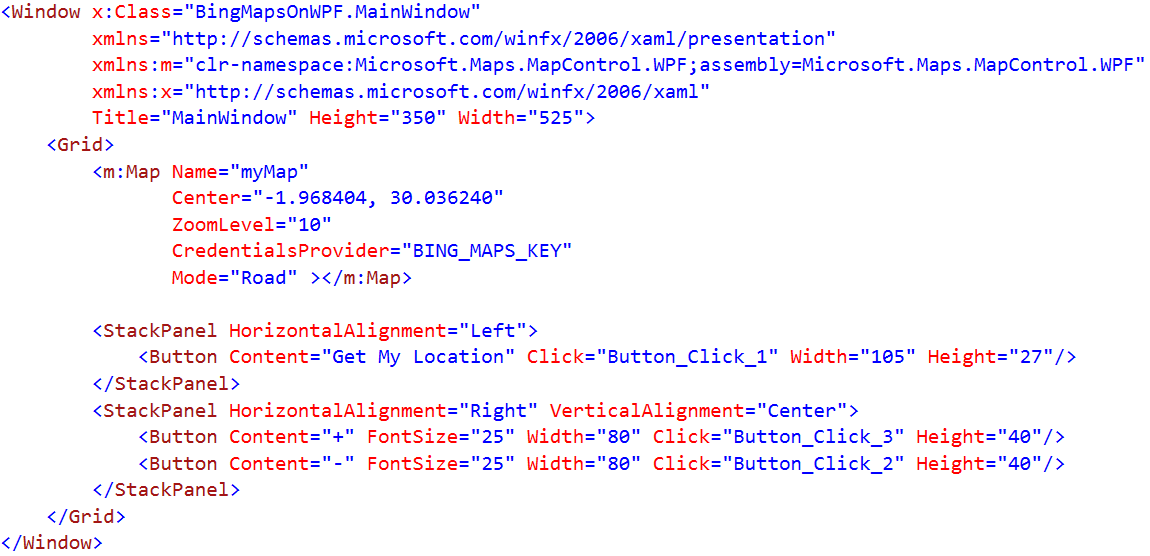
Add the map control assembly to MainWindow.xaml of your project by inserting the following code:

Our UI is pretty basic: a control that holds our actual map, the zooming buttons and a button, which when clicked, gets my location and displays it on the map. (Remember to replace the BING_MAPS_KEY placeholder with the actual key you got from the Bings Maps Portal). By default, the map centres on Kigali, Rwanda at startup.
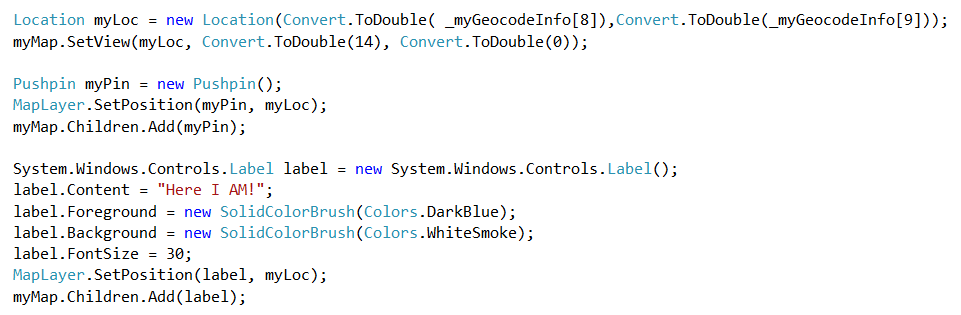
The get-my-location button click method contains standard Bing Maps code that adds a pushpin to a map indicating our location based on the coordinates returned by the geolocation service provider APIs.
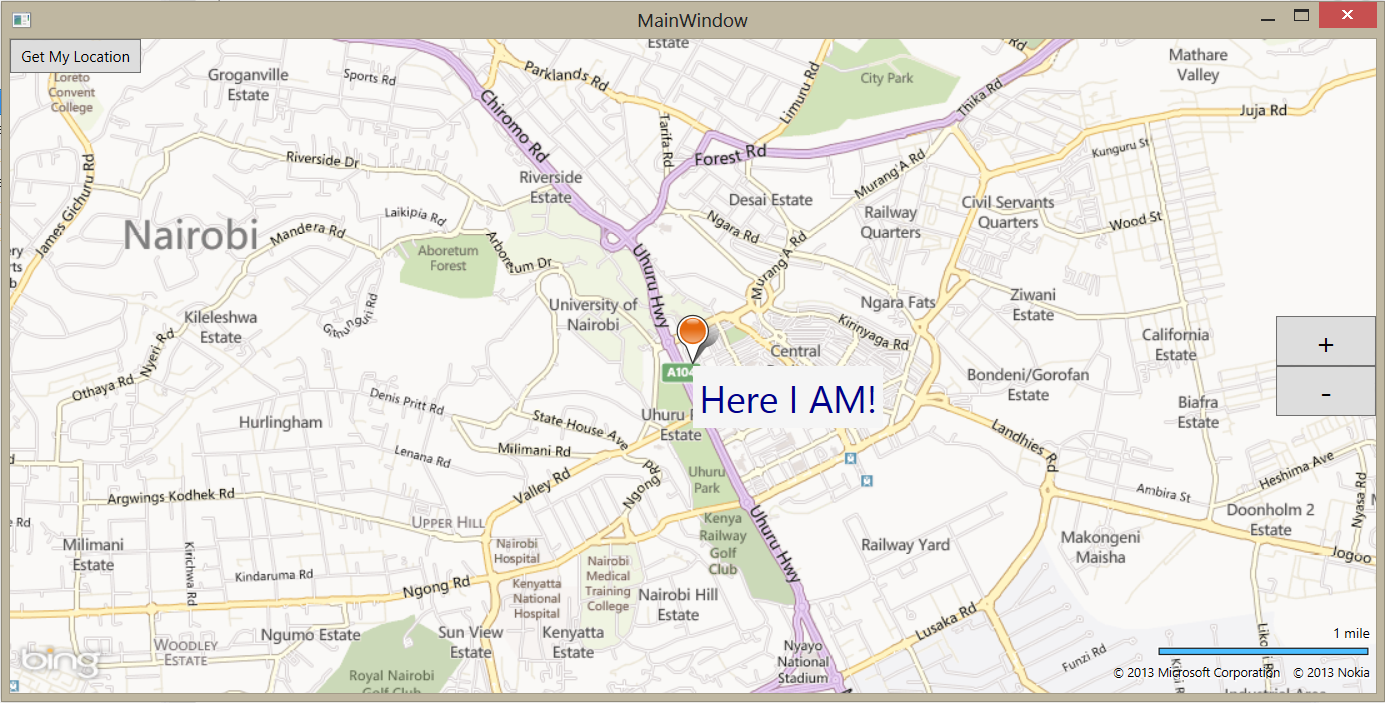
We are now ready to run our application …
NB: The full project is attached on this blog post.