Hosting an Express Node.js website on Azure
I'm writing this post from Kenya, where I'm presenting Windows Azure this week at the #MSKenCamp. Be sure to follow the hashtag and @AfricaApps for updates on our whereabouts.
Introduction
In this post, we are going to deploy an Express Node.js on Windows Azure websites using GIT, and we're going to do that using Windows Azure command line tools, just for fun. Note that these steps might appear to be long cause we're going to go through a lot of things that you will only need to setup once. After that, publishing would be a breeze.
Getting started and setting up the prerequisites
If you don't have Node installed, go ahead and install it from a package.
Windows Azure command line tools are conveniently written in Node.js, and if you haven't done so already, you can install it by launching a Node command prompt and doing an:
npm install -g azure-cli
When the installation is done, you are ready to start.
We need to download your Windows Azure publish settings so that the Windows Azure command line tools know how to authenticate with your account. You can do so by typing the command below in a Node.js command prompt:
azure account download
This will open your default browser and prompt you to sign in to the Management Portal. After signing in, your .publishsettings file will be downloaded. Make note of where this file is saved.
Next, import the .publishsettings file by running the following command, replacing <path to .publishsettings file> with the path to your .publishsettings file:
azure account import <path to .publishsettings file>
After importing your publish settings, you should delete the .publishsettings file for security reasons.
You are now ready to being creating and managing Windows Azure Websites and Windows Azure Virtual Machines.
Create the website structure locally, and on Azure
Now that you've setup the environment, let's use the Windows Azure command line tools to actually create a our website on the Windows Azure platform as well as create a GIT folder for it.
For this part, we will be using the GIT command prompt so that the GIT environment variables are ready.
Let's create the website shall we?
Create a folder to store the local files, and change directory into it
 mkdir helloazureexpress
cd helloazureexpress
Using this command we will create the website on Azure, and create a local folder for it on our computer which will be the base for a local GIT repository.
azure site create helloazureexpress --git
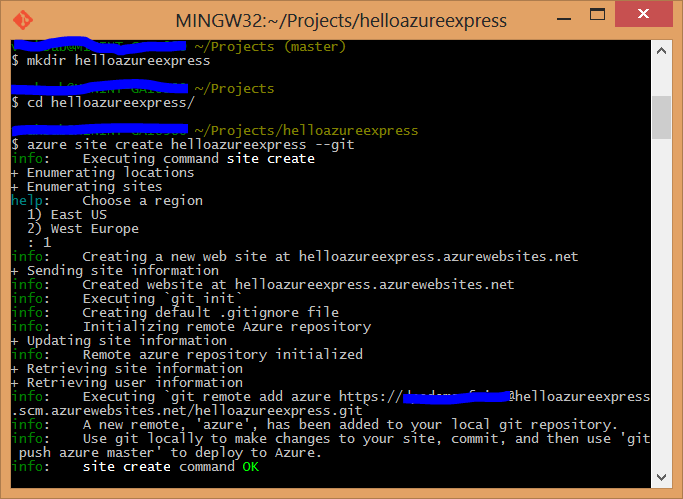
Now the website has been created on Azure, and a local GIT repository has been created as well.
Install Express
We'll be following the Express installation instructions from the official guide.
Now let's install Express globally
npm install -g express
Create a website using Express
Now that Express is installed, let's go ahead and use it to generate a website
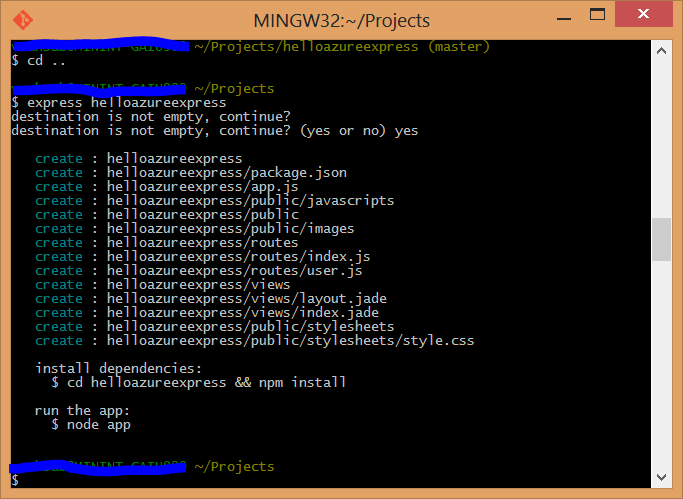
Supposing you are now in the helloazureexpress folder, go up one level
cd ..
Then it is time to generate it
express helloazureexpress
Add the generated files to GIT and commit them
 cd helloazureexpress
git commit -m "initial commit"
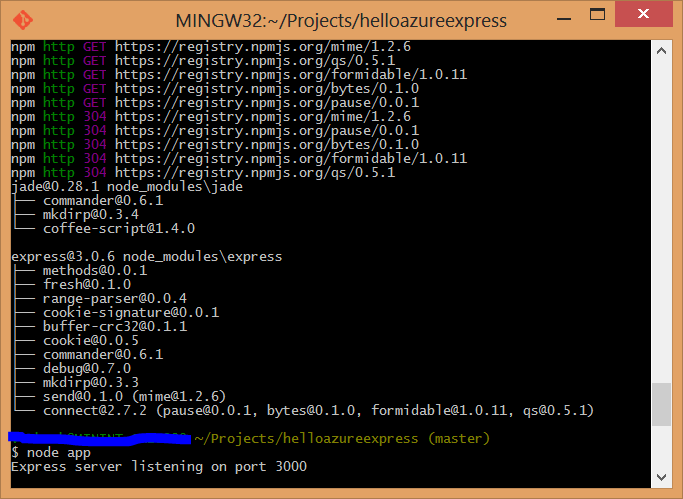
Install the app and any dependencies
npm install
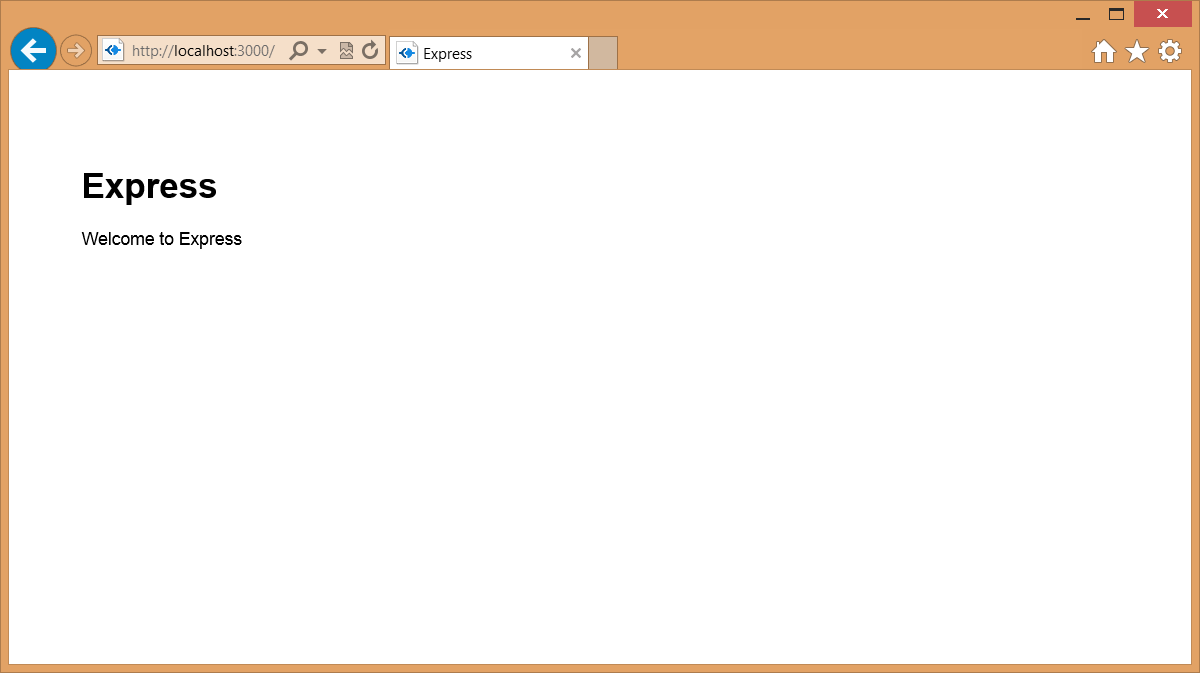
Run locally, express would start on the local PC
node app
Now if you open this https://localhost:3000 you'll find your Express site running
Commit changes to your Windows Azure GIT repository
So now the application all running and dandy on your local host, it is time to take it up to the cloud.
Now, all we have to do is push the changes
git push azure master
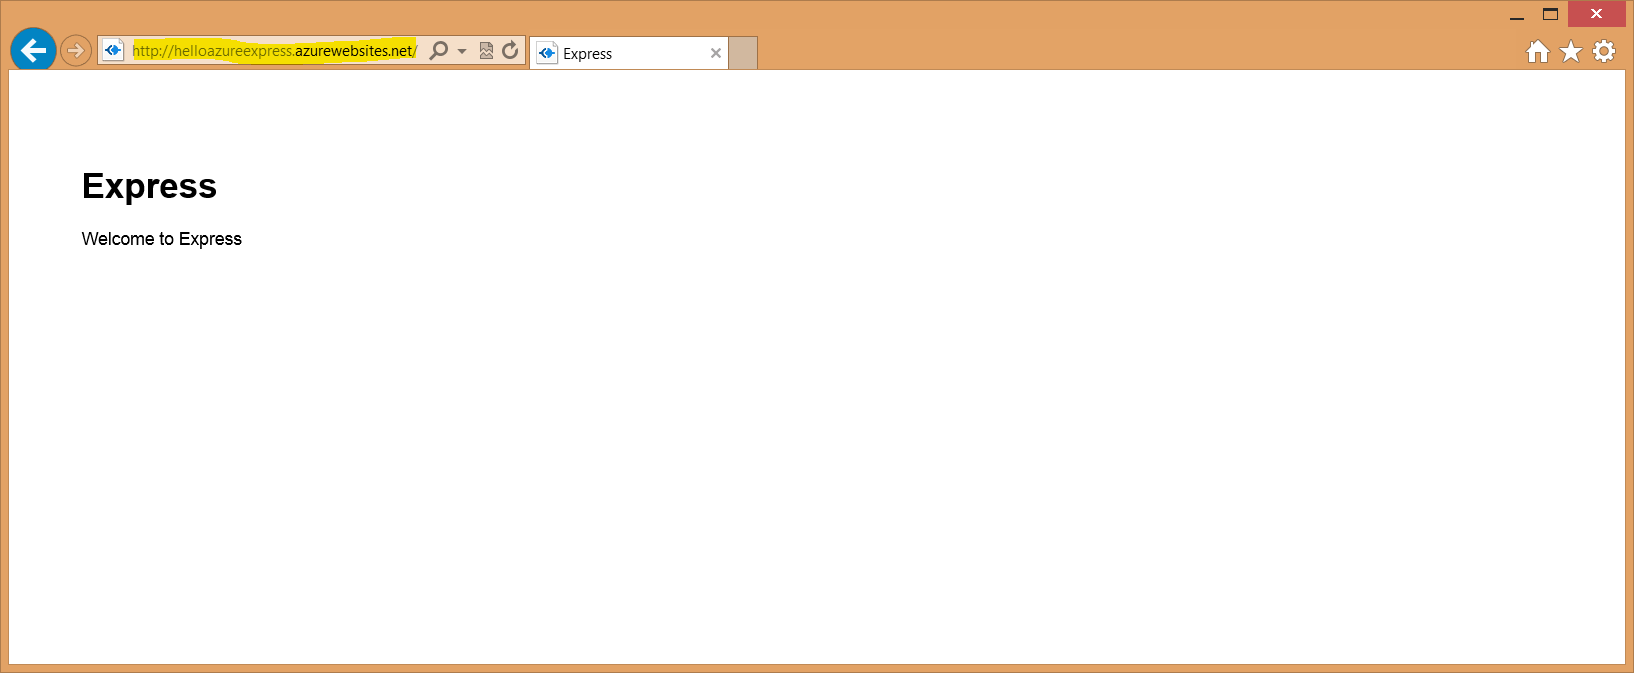
We're done! The Express Node.js website has been deployed on Azure
Note: This post is cross posted to my new blog at https://sabbour.me/