Ask Learn
Preview
Ask Learn is an AI assistant that can answer questions, clarify concepts, and define terms using trusted Microsoft documentation.
Please sign in to use Ask Learn.
Sign inThis browser is no longer supported.
Upgrade to Microsoft Edge to take advantage of the latest features, security updates, and technical support.
Note
Access to this page requires authorization. You can try signing in or changing directories.
Access to this page requires authorization. You can try changing directories.
This post is to show how to use the ADAL .NET library to acquire a token interactively in a console application. It will go through setting up an Azure Active Directory Application, setting up the .net console application, acquiring an access token, and then make a HTTP request using the token acquired from the ADAL .net library to get 5 users using the Microsoft Graph API.
First we will need to setup an Azure Active Directory Application Registration in your Azure Portal. You can do this by going to the Azure Portal > Azure Active Directory > App Registrations > Add Application.

Then set the Application Registration to a native app, and put in your own respective values for redirect url and name. The redirect URL will not matter, it will only be important to remember for when you are asking for an access token, and the name is up to you.
Note: It is important to make it a Native Application, otherwise you will get errors saying that there is no Client Secret

After you have created the Application, keep track of the Application ID for later. You will need it to authenticate with this AAD Application Registration, then go to required permissions >Add > select an API > Microsoft Graph API > select view users' basic profile > and press grant permissions.
For more information on which permissions you need and how to grant permissions in different ways, please refer to these posts :


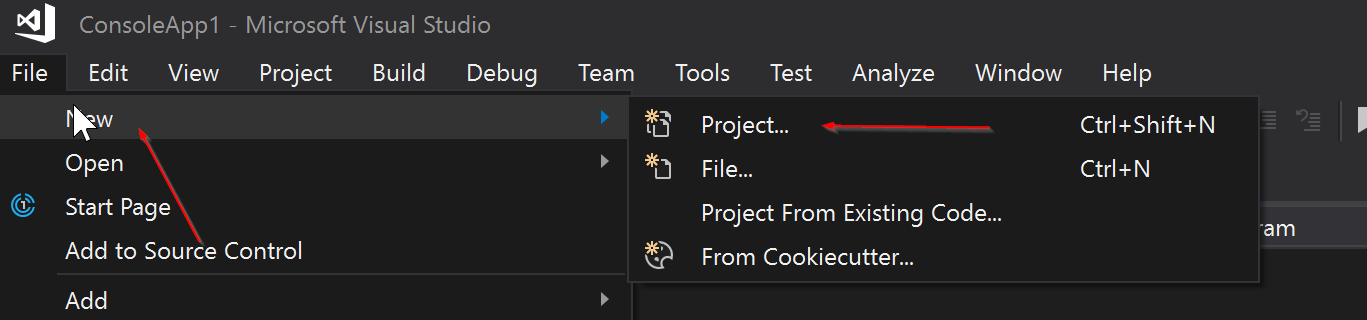
To start, let's create a new project, install the correct NuGet packages, and fix reference assembly issues.
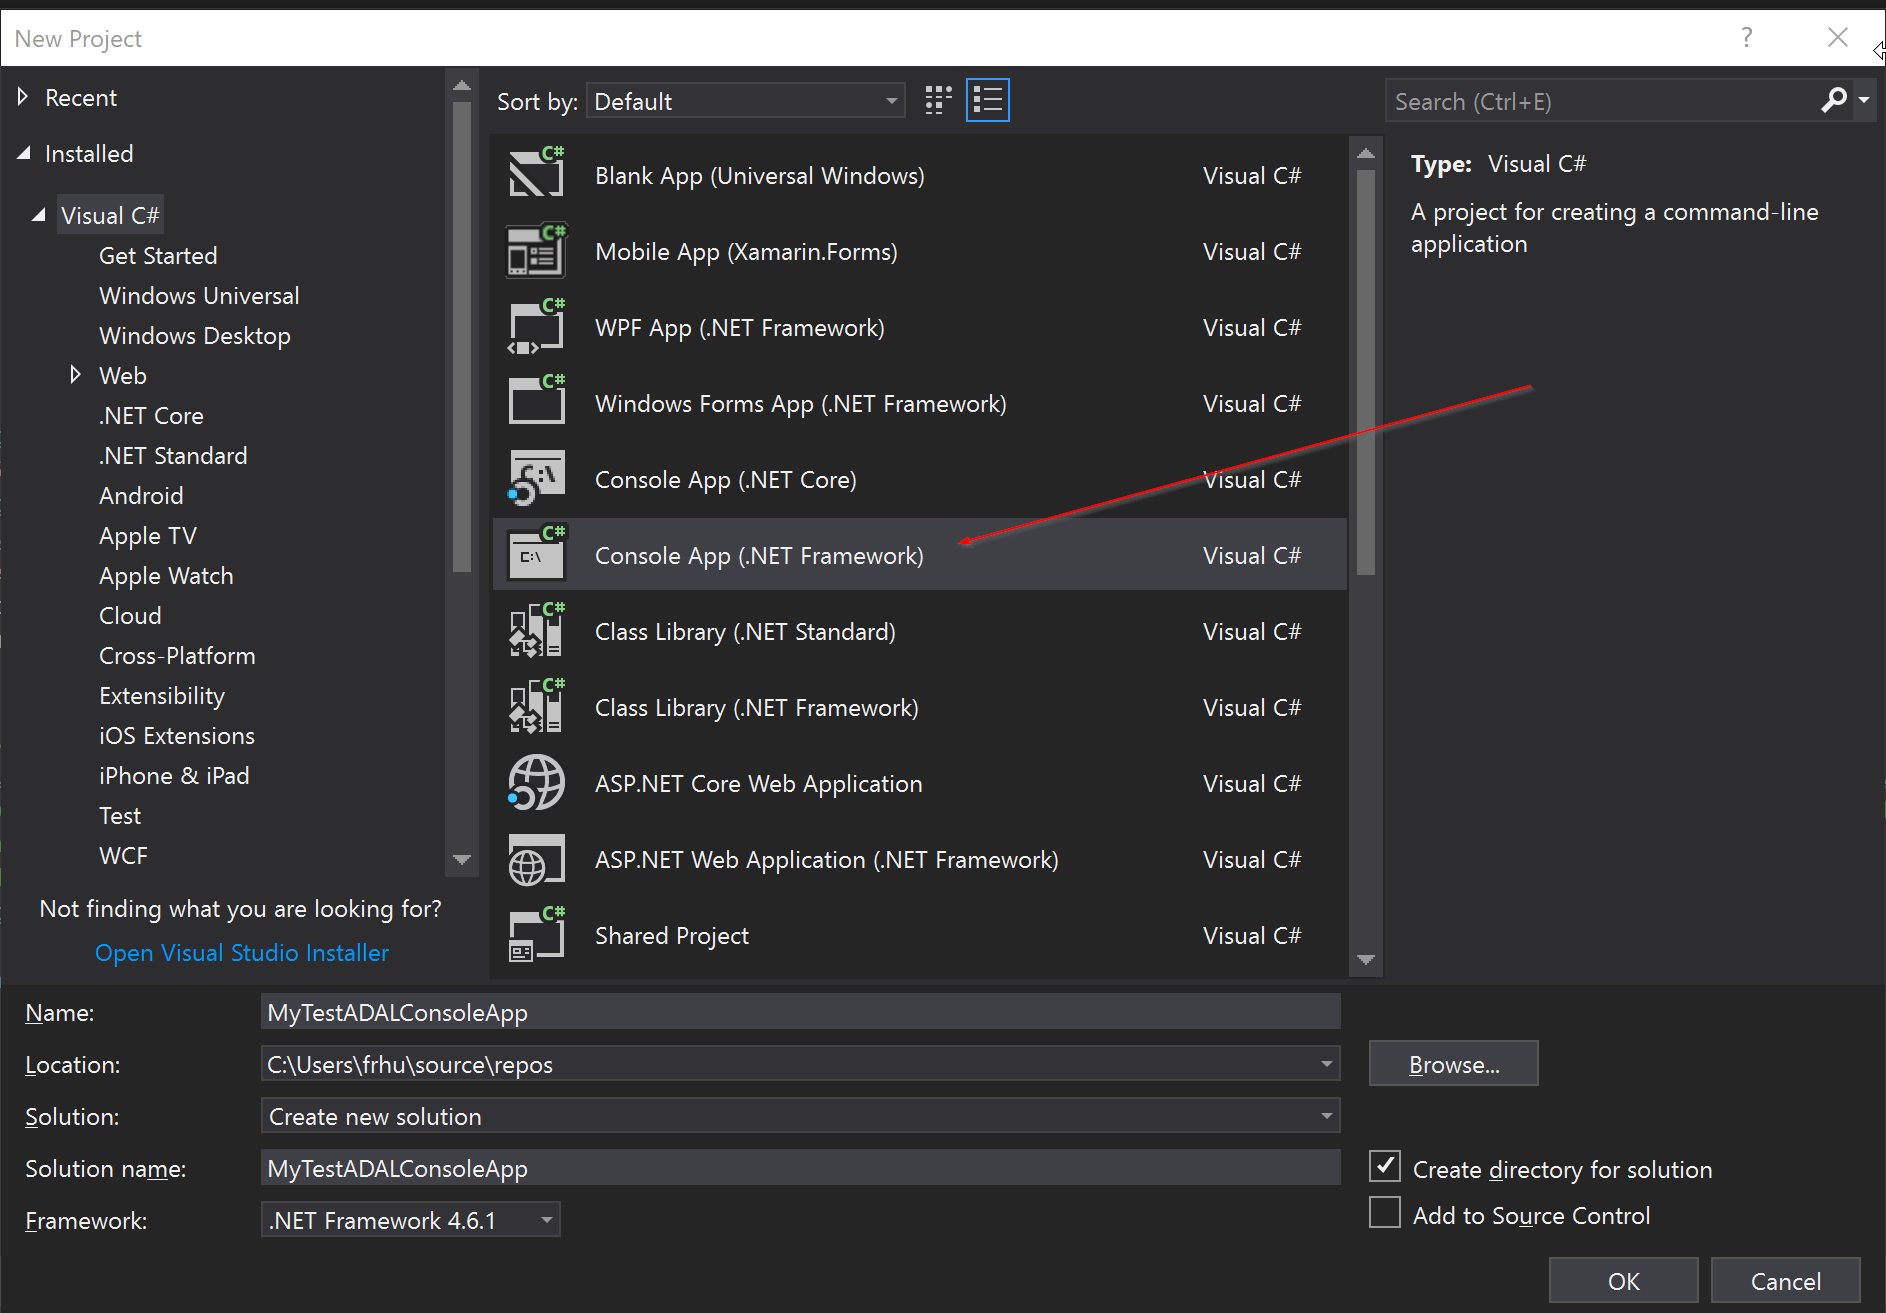
In this tutorial I will be using a new project with the template Console App (.net framework).
Now that we have a fresh new console .net application, we will need to install some libraries in order to get an access token from Azure Active Directory. The ADAL libraries are Microsoft maintained libraries that we will need to get for our .net console application.
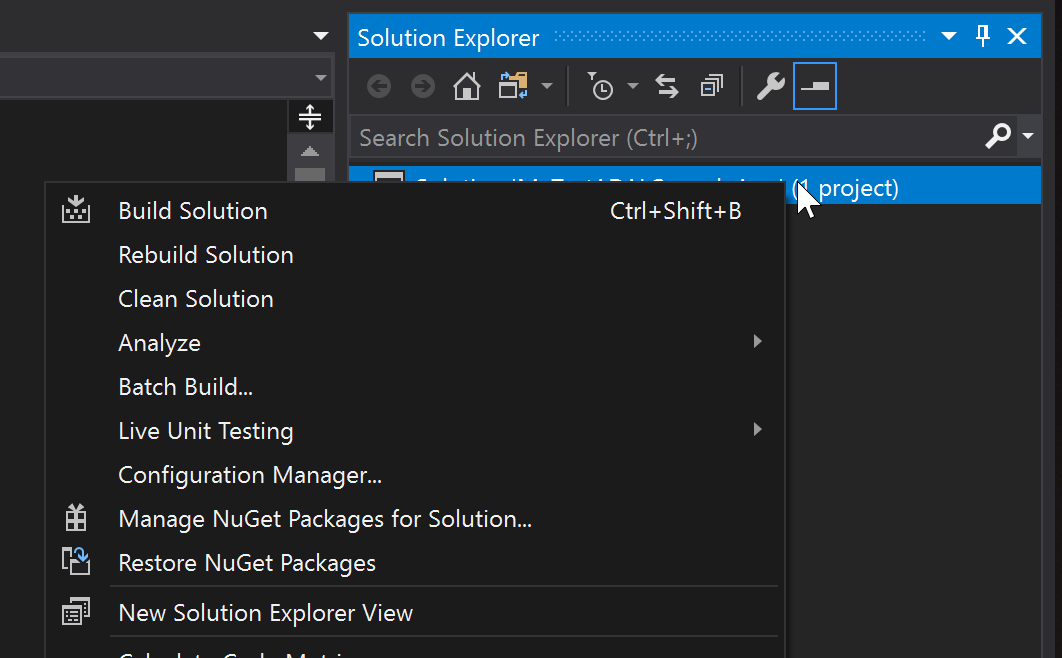
We can do this by going to our NuGet Manager and picking up the correct libraries.
In order to do this you will want to right click on the solution, and go to Manage NuGet Packages for Solution.
In this example we will be using the NuGet pacakages below. You can search and then download them via the Browse section of the NuGet Manager.
Id Versions
-- --------
Microsoft.IdentityModel.Clients.ActiveDirectory {4.3.0}
Microsoft.IdentityModel.JsonWebTokens {5.3.0}
Microsoft.IdentityModel.Logging {5.3.0}
Microsoft.IdentityModel.Tokens {5.3.0}
Newtonsoft.Json {11.0.2}
System.IdentityModel.Tokens.Jwt {5.3.0}

The ADAL libraries are the Microsoft.IdentityModel libraries, however the other two libraries are being used for formatting JWT tokens and JSON tokens to be a readable print. This is to make our lives easier later on once we get the access token and JSON response.
After you have installed all the NuGet libraries, you may still need to fix a reference assembly for System.Web.Script.Serialization.
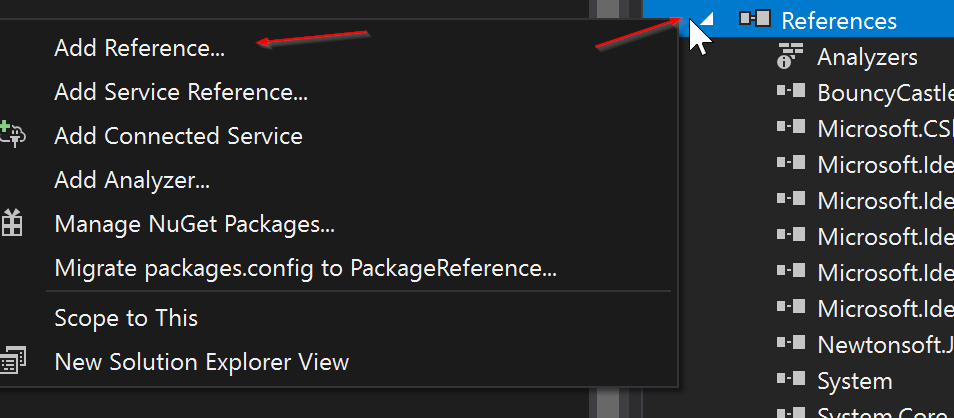
In order to do this, right click on the references in the solution explorer and then click add reference. We will then want to add the System.Web.Extensions, as shown in the picture below.

Now that we have all the correct libraries and references installed into our solution, you will want to declare some variables for your AAD token acquisition.
You'll need to declare the variables listed below. In this example we will be accessing the Microsoft Graph API, so the resource URI has already been declared.
You will need to replace the client id(Application ID), redirect URI, and tenant id with your own respective information. You can get the tenant ID from your Azure Active Directory portal in the overview section. You will need to get the client id and redirect URI from the first steps that we followed when creating the AAD Application.
After you have initialized the variables we can setup our main method with some empty methods. I have setup my main method as below. First we will get our access token, and then make the call to the Microsoft Graph with the access token to retrieve 5 users.
Once we have the variables declared and our main skeleton method setup, we can start on our Access Token Call method, shown below. First we initialize the authcontext which is the variable that maintains the environment for the ADAL library. In this setup we try to acquire the access token three times if it fails. Once you have initialized the authcontext, you can simply make the call :
authContext.AcquireTokenAsync(resourceUri, clientId, new Uri(redirectUri), new PlatformParameters(PromptBehavior.Auto));
Which will get the access token. In this method we also pretty print the JWT token, so that you can read the claims in the console.
The pretty print method can be found here :
That defines the getAccessToken() method.
Now, we will need to flesh out the getMembers() method.
This method can be seen below, first we add the access token we just got to the headers of the HTTP client, then we make the Microsoft graph call using a getAsync method call from the HTTP client class. The documentation on the Microsoft Graph list users call can be read here :
https://developer.microsoft.com/en-us/graph/docs/api-reference/v1.0/api/user_list
In addition to getting the users, we have set the OData V4 $top requirement, in order to get only the first 5 users. In order to continue getting the next 5 users, you can utilize the skip token that is sent back in the response body.
More documentation on this can be found here :
https://developer.microsoft.com/en-us/graph/docs/overview/query_parameters https://developer.microsoft.com/en-us/graph/docs/concepts/paging
After getting the JSON response, we utilize the prettify JSON method in order to clean up and easily print out the JSON response.
Now we can run our console application, and we will get 5 users from the Microsoft Graph API.
Note: The account you login with will need the permissions to read all basic user profiles in order to properly call the Microsoft Graph API call as this is an on behalf of the user flow.
After going through all of this we have setup an AAD App registration that we can connect to using ADAL .NET. We have filled out the code to acquire an access token using ADAL and then make a HTTP request using the HTTP Client to get 5 users from the Microsoft Graph API.
If you have any issues with the code, feel free to open up a GitHub issue on the repository to address any coding issues. If you are having an issues with AAD Access, please open up a support ticket and one of our support engineers will reach out as soon as possible.
The full GitHub Repository of this code can be found here : https://github.com/frankhu1234/ADAL-.NET-Console-Application
Ask Learn is an AI assistant that can answer questions, clarify concepts, and define terms using trusted Microsoft documentation.
Please sign in to use Ask Learn.
Sign in