Automate the deployment of a multi-container application using Azure DevOps
In the previous post we have seen how, thanks to Azure Web Apps, we can easily host our multi-container solution on the cloud, by reusing the same techniques (pushing images to Docker Hub, creating a Docker Compose file, etc.) we have used to deploy the solution locally.
However, in the process we had to perform many manual tasks. Every time we update the code of the Web API or the web application, we need to push a new image to Docker Hub; then we need to access to the Azure Portal and force a new deploy, so that the existing containers can be stopped and redeployed using the new version of the image.
In this post we're going to see how we can simplify this process thanks to Azure DevOps and Docker Hub. At the end, we'll be able to just push new code to our repository and, in a few minutes, the new version of the application will be up & running on Azure, without any manual steps in between.
Let's start!
Welcome Azure DevOps
Azure DevOps is the new major re-branding of Visual Studio Team Services. It's not just a new name, but the platform itself has gone through a major overhaul. The most relevant one is that now the platform is split into five services, which can be used independently from each other. This means that, for example, you can leverage the project management experience offered by Azure Boards, but host your code on GitHub and use Jenkins to create a continuous integration pipeline. Or, vice versa, you can use Azure Pipeline to create a CI workflow, but host your code on BitBucket.
In this post I'm going to use two services offered by Azure DevOps: Azure Repos, to host the source code of my project, and Azure Pipelines, to create a workflow that can automatically create and push a Docker image for my application.
If you don't already have an Azure DevOps account, you can go to https://dev.azure.com/ and create one. Azure DevOps offers a free plan, which supports unlimited private repositories, up to 1800 minutes per month for CI/CD and up to 5 users (plus unlimited stakeholders, which are users that can access to the reporting boards, but they can't start builds, commit code, etc.).
Additionally, if you're working on an open source project, you get also unlimited users and unlimited CI/CD minutes. You can find a comparison between all the plans here.
Let's create a new project by using the New project button, give it a name and leave all the default options turned on. At the end of the process, in the left panel you will see a list of all the available services:
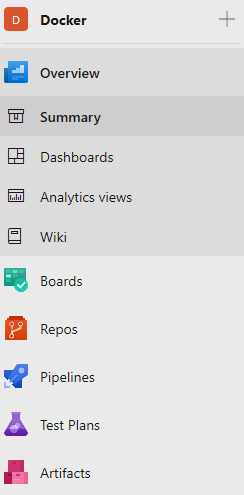
You have also the opportunity to click the Project Settings button at the bottom and turn off the services you're not planning to use.
Publishing the source code
The first step is publish the source code of your project on a repository, so that we can create a pipeline that performs a build of the project every time we push some changes. If your project is already hosted on GitHub or another provider feel free to skip this step. Otherwise, you can use Azure Repos to host your code. I won't go into too many details here because I'm expecting you already know how to work with a Git repository.
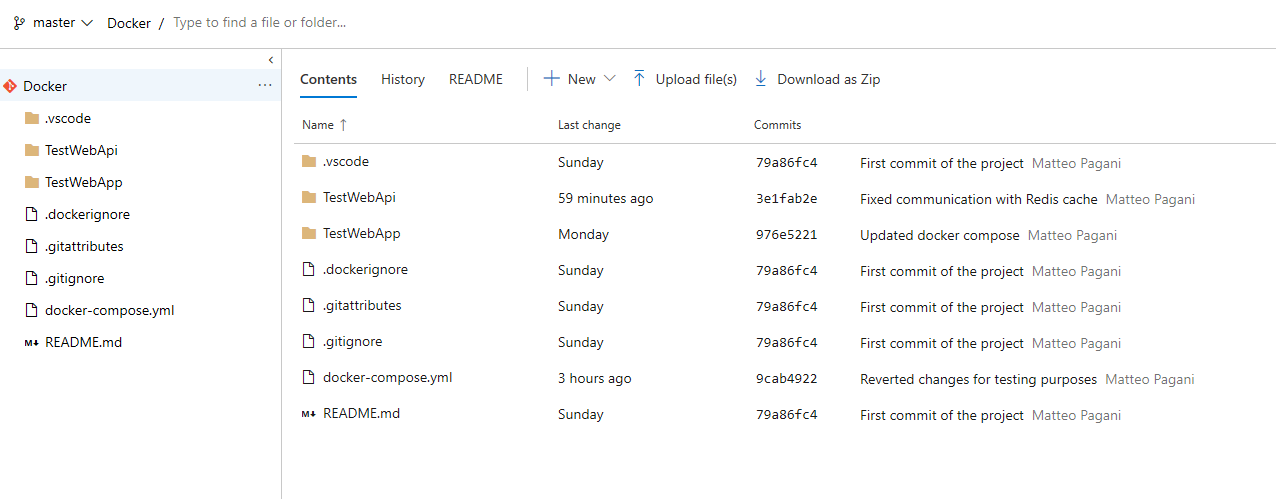
When you click on Azure Repos, at first, the repository will be empty so you will see the URL you must set as remote for your Git repository, plus some additional options to initialize the repository. Once you've done that, simply push your code from your local repository. Then, if you refresh the page, you should see the code of the solution:
You can easily do this from Visual Studio or Visual Studio Code themselves. Visual Studio offers built-in support to Azure DevOps, while in Visual Studio Code you can install an extension which will allow to perform the authentication and get access to your repositories.
In my case, I've pushed on the repository the full multi-container solution we have previously built. The project contains two folders, one for each .NET Core project: the web application and the Web API. You can find the original project on GitHub.
Creating the pipeline
Now that our code is hosted on a repository, we can start creating a CI/CD pipeline. The goal is to update and push our Docker images every time we update the code of the solution.
Let's start by moving to the Pipelines section of our project in Azure DevOps and to create a new one.
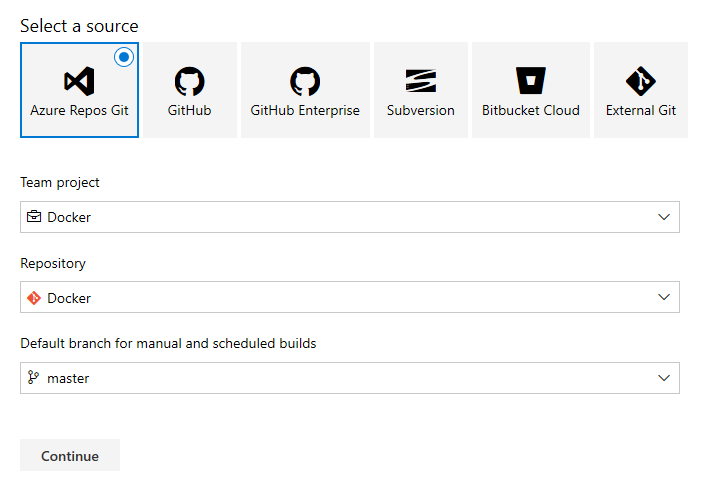
The first step is to specify the source which hosts our code. As you can see we have multiple built-in options or we can connect to any external Git repository.
In my case I've hosted the code on Azure Repos, so I've chosen Azure Repos Git and then I've picked:
- The team project
- The name of the repository
- The name of the branch I want to use
The experience would be very similar with other sources. The only difference is that you may have to perform additional steps in order to connect to an external service. For example, if you choose GitHub, you'll have to authenticate with your GitHub credentials before choosing the repository and the branch you want to use.
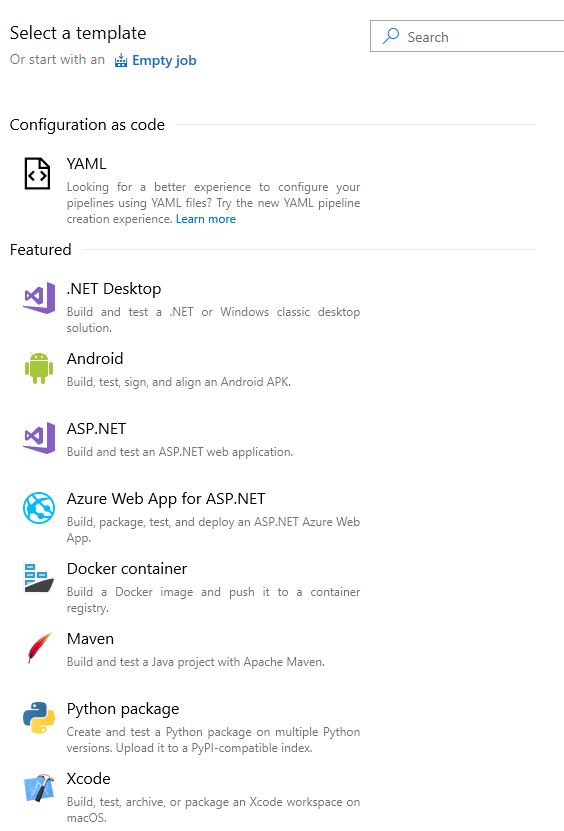
The second step is to choose a template. There are multiple templates for all the major development technologies: .NET, .NET Core, Python, XCode, Android, etc. Each of them contains a pre-configured set of steps, which are performed one after the other during the build process.
The one we're looking for is called Docker container:
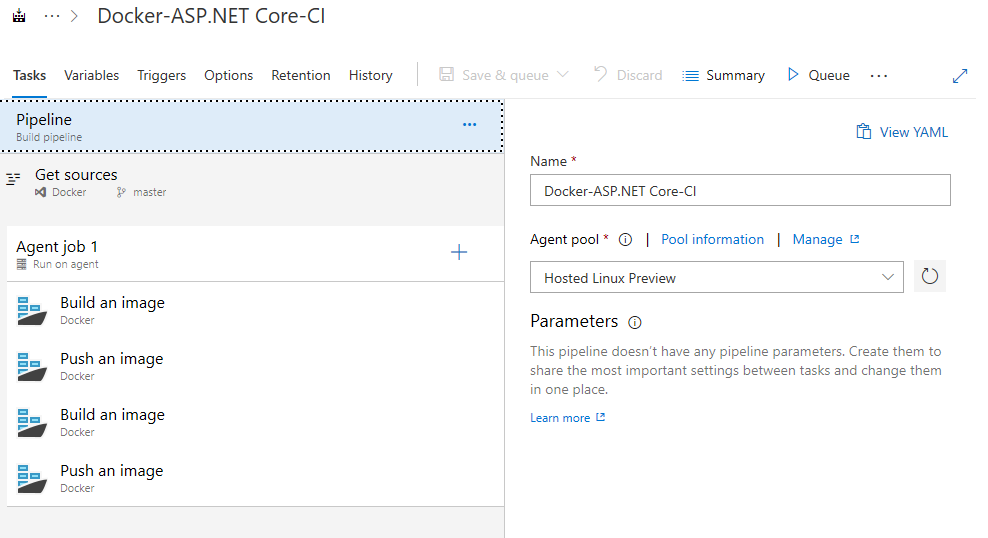
Press Apply and you will be redirected to the visual editor where you can configure the pipeline, by editing the existing steps, add new ones, etc.
The pipeline contains two activities. The first one is Get sources and it's the first step we have configured. It will make sure that, whenever a new pipeline will be executed, it will performed against the most recent version of the source code.
Then we have a default agent job, which contains all the build steps that are executed once after the other. Eventually you can add multiple agent jobs, if you want to perform more tasks at the same time. For the moment we'll keep things simple, so we'll add all the steps inside the existing agent job.
Since we have chosen the Docker template, the agent job will already contains two steps: Build an image and Push an image. This is exactly what we need. We want to make sure that, every time we update the source code of the project, we build a new image for our web app and our Web API and we push them to Docker Hub.
However, the existing steps are just a placeholder. We need to configure them, so that they will be used to actually build the right project and to push the right image.
Let's start with the Build an image task. The first thing we need to set is which is the container registry we want to use. In our case it's Docker Hub, so we need to choose Container Registry under Container registry type.
The next step is to specify the connection to Docker Hub, using the Docker registry service connection option. Since it's the first time we configure it, it will be empty. Press New:
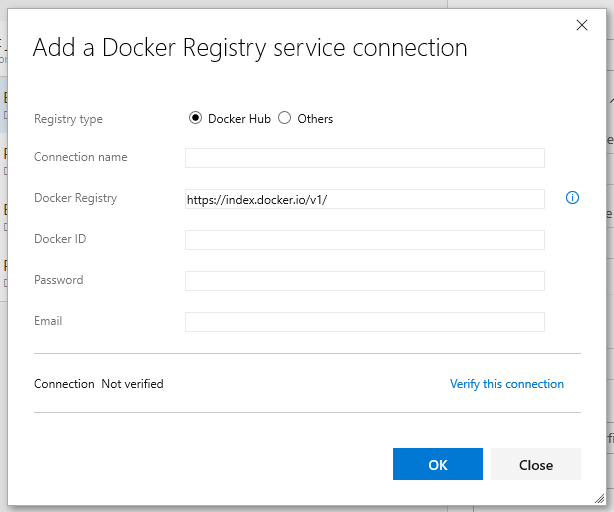
Here you can setup your connection. Choose Docker Hub as Registry type, then give it a name under Connection name. Leave the default registry endpoint and fill the Docker ID, Password and Email fields using your Docker Hub credentials. Before pressing OK, choose Verify this connection to make sure you have configured the right account.
Now we can move to the Commands section, where we can customize the command to execute. In this case it's a build command, so we need to specify which is the Dockerfile we want to use. By clicking on three dots near the Dockerfile field we'll be able to explore the source code on the repository and to look for our Dockerfile. Let's start to build the Web API, so choose the Dockerfile under the TestWebApi folder.
The other options to set is the name of the image, which must match the one we're using on Docker Hub. Move to the Image name field and set it accordingly. In my case, I've set it to qmatteoq/testwebapi.
That's all. However, this step takes care only of building the image. To actually publish it on Docker Hub, we need to customize the second step, called Push an image. If you click on it, you'll notice that the template is exactly the same. The only difference is that the Command field will be set to push and, as such, the other fields will be slightly different (for example, you can't choose a Dockerfile now). First let's setup the connection, under Container Registry. Since we have already configured the connection to Docker Hub, we don't have to do it again. Just choose Container Registry from Container registry type and Docker Hub (or the connection name you have specified before) under Docker registry service connection.
Under Commands, instead, we need to set the Image name field with the name we're using on Docker Hub. In this case, since we're still working with the Web API project, it's again qmatteoq/testwebapi.
The configuration is completed. However, we haven't fully finished our job. So far, in fact, we have just built and pushed the Web API project. What if we change something in the web application? We need to add two new steps to the pipeline, in order to build and push also the image for the web application.
Click on the + symbol near the agent job and look for a task called Docker:
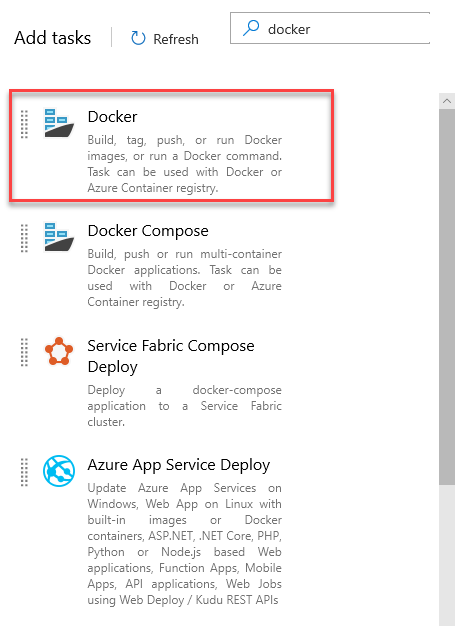
Press Add and, by default, you will get a new task called Build an image. We need to configure it in the same way as the previous one. The only differences are:
- Under Dockerfile we're going to pick the Dockerfile stored under the TestWebApp folder
- Under Image name we're going to set qmatteoq/testwebapp as name
Now we need to push this image, so let's press again the + symbol and add a new Docker task. By default, it will be again titled Build an image. This happens because, by default, when you create a new Docker task the Command field is set to build. Move to the dropdown and change it to push. You will notice immediately that the task will be renamed to Push an image. Also in this case just set the connection to Docker Hub and, under Image name, set the right one (in my case, qmatteoq/testwebapp).
That's all! Now press the Save & queue button and choose Save. The pipeline is now saved and it will be listed in the main Azure Pipeline page.
Now if you want you can manually trigger a build by pressing the Queue button. The build will be queued and, as soon as there's a free agent, it will be picked up and processed.
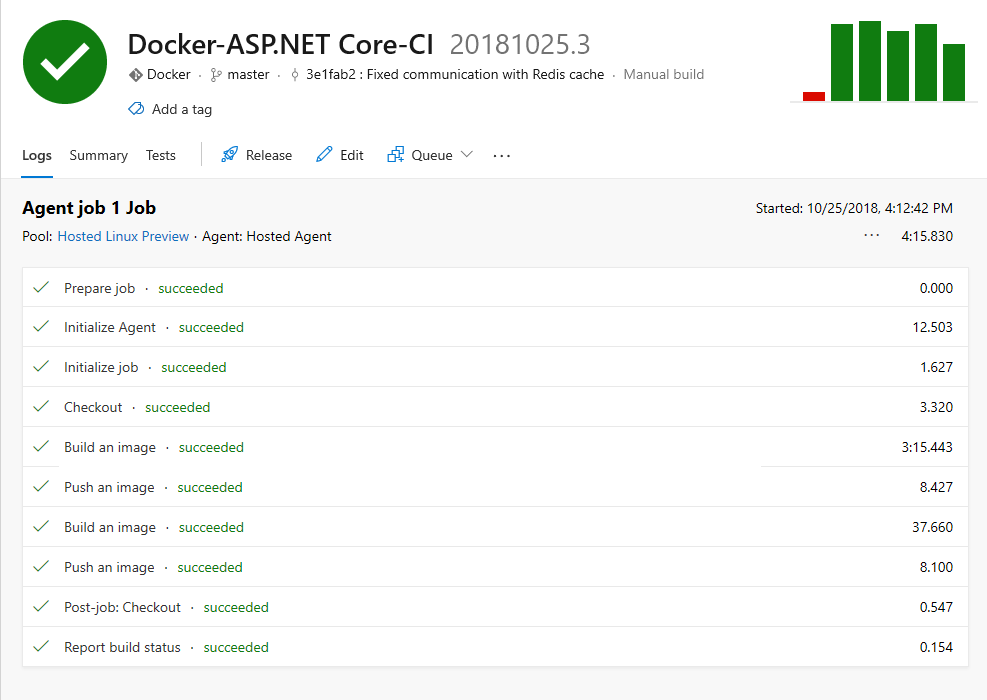
Otherwise, if you want to automatically trigger it (which is our ultimate goal), just perform a change in the code of your application and push it to the repository. After a few seconds, you will see a new build being automatically queued. When the build is running, you can click on it to see all the details in real time. You'll be able to see which tasks is being executed and, through a command prompt window, a real time log of the operation being executed.
At the end of the process, you'll be notified (by mail and directly in the portal) about the status of the build. If everything went well, all the steps will be marked as succeeded and you'll get a green mark.
If something went wrong, instead, you'll see a red mark and the task that failed will be highlighted:
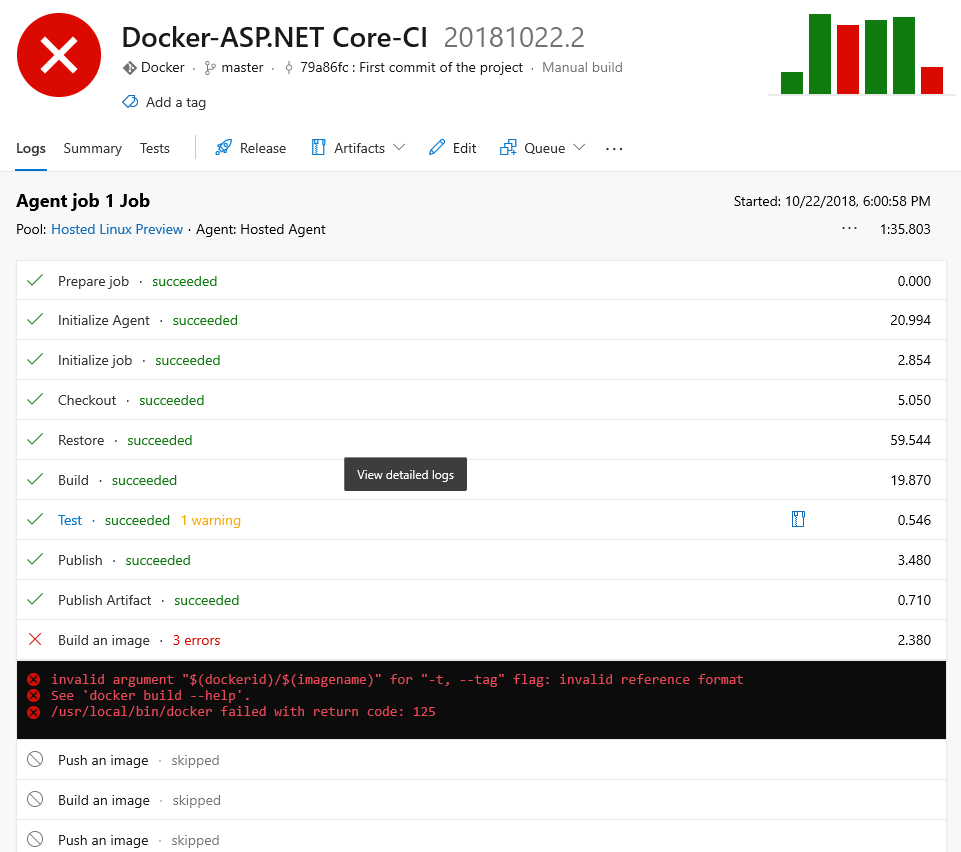
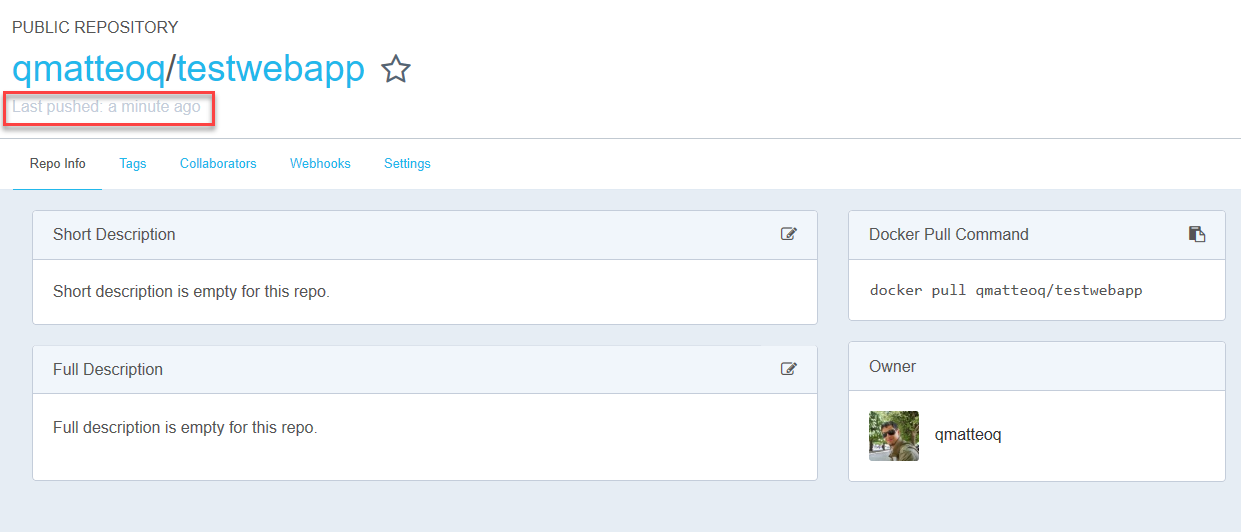
However, if you have followed all the steps so far, the build should have completed successfully. As a proof, you can log to your Docker Hub account and look at the details of one of your images. If everything went well, the Last pushed field should be very recent:
Automate the deployment of the new images on Azure
Thanks to the previous work we have removed the requirement of manually building and pushing a new image on Docker Hub every time we update our application. However, we haven't fully removed the requirement of doing manual steps. We still need to go to the Azure portal, open our Web App and force a new deploy of the Docker Compose file. This way, the running containers will be deleted and Azure will rebuild the solution by pulling the most recent version of the images from Docker Hub.
However, thanks to a feature offered by Azure App Services, we can automate also this last step. A container deployed on an App Service, in fact, exposes a webhook, which is a URL that other services can call to notify that a new version of the image is available. In order to get this URL, open again your web app on the Azure portal, move to Container settings and look for the Continuous Deployment option. First turn it on, then click copy near the Webhook URL field (or click show url if you want to see the full URL):

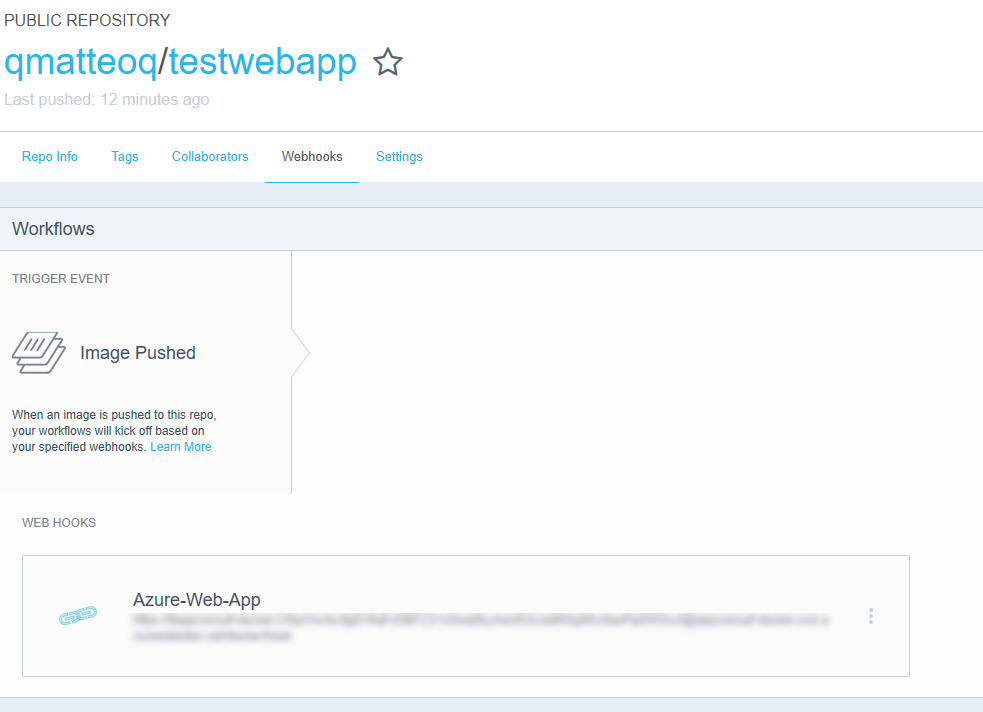
Now we need to provide this URL to our registry, so that it can notifies our Azure Web App every time a new image is available. In our case we're using Docker Hub as a registry, so login and go to the details of the images we have just published. You will find a section called Webhooks. Press the Create a webhook link and:
- Define a name of your choice
- Specify as URL the webhook you've retrieved from Azure App Service
That's it! Now every time you push a new version of the image, Docker Hub will perform a POST HTTP call to our Azure App Service which, as a consequence, will trigger the redeploy of the containers using the most recent image.
Let's test the full workflow. Open the Index.cshtml file under the Pages folder in the web app project (included in the TestWebApp folder) and look for the section titled Application uses. Make a random change in the text: for example, I've changed the text Sample pages using ASP.NET Core Razor Page to Sample pages using ASP.NET Core Razor Pages running on Azure Web Apps with Docker.
After you've done the change, commit it to your local Git repository and then push it to your hosting service (Azure Repos, in my case). The push will trigger a new build on Azure DevOps and, after a few minutes, you should receive an email to notify you that the build has been completed successfully. If you now open your browser against the URL of the Azure Web App you will see the updated page up & running:

Wrapping up
In this blog post we have seen how, thanks to Azure DevOps and the webhook feature provided by Azure Web Apps, we are able to fully automate the building and deployment process of our Docker based solution. Thanks to this approach, we have removed every manual step required to push the updated images to Docker Hub and to deploy them on Azure. It's enough to push the updated code to our repository to trigger a complete workflow that will convert the updated code into one (or more) Docker images, which will be automatically deployed to our Azure Web App and replace the running one.
Happy coding!